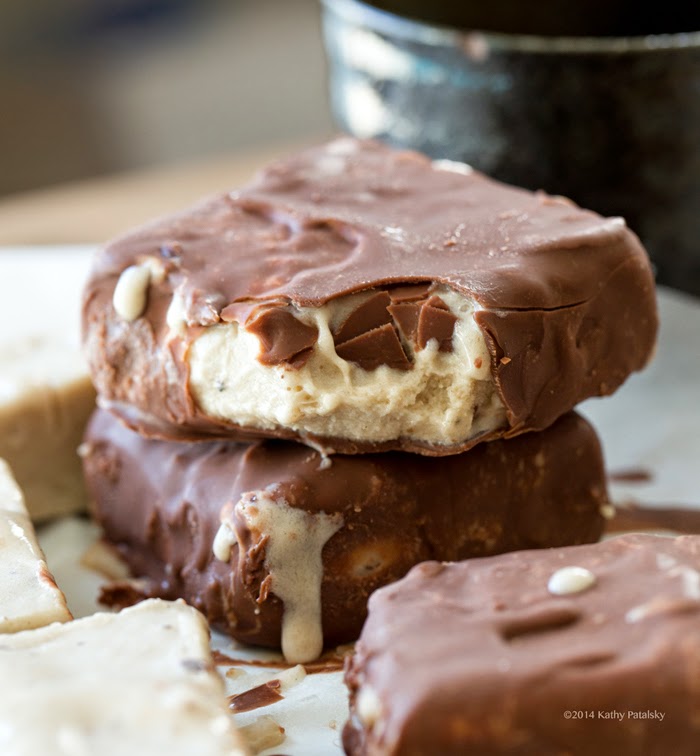
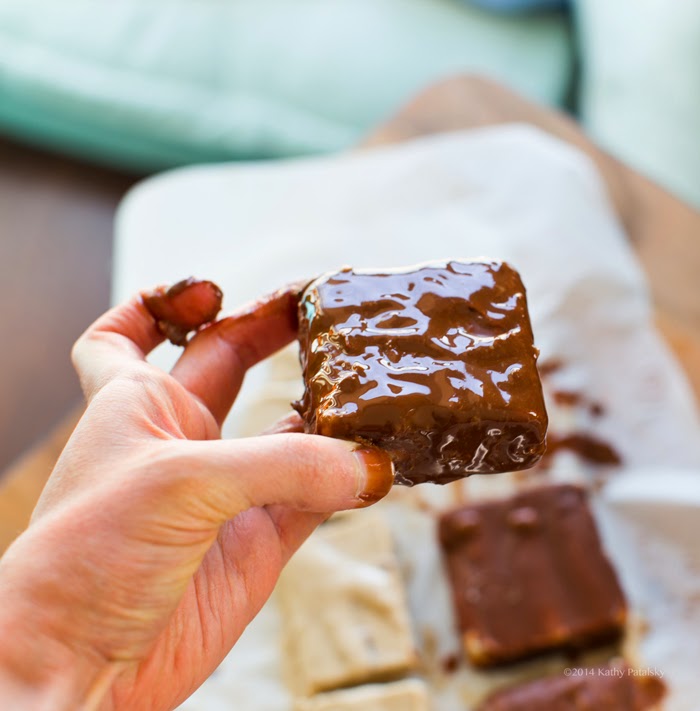
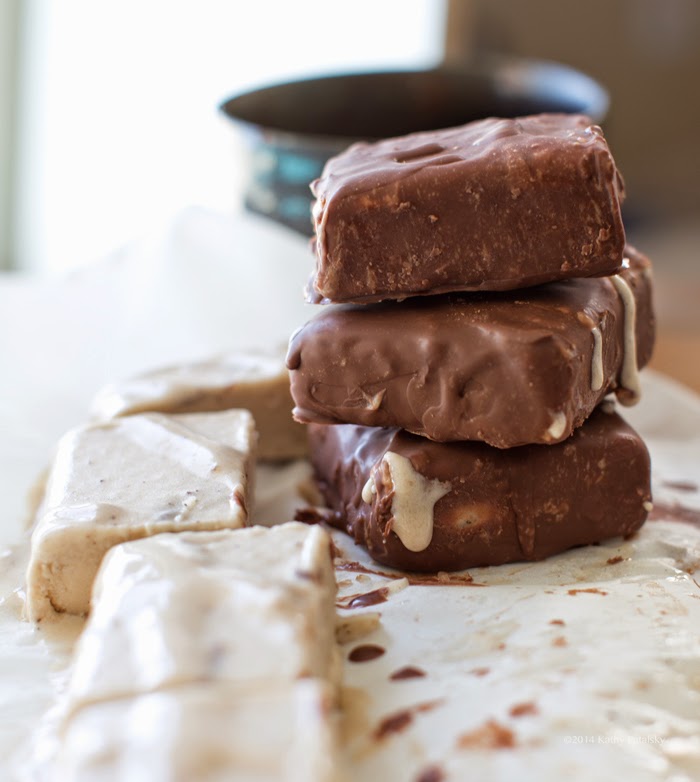
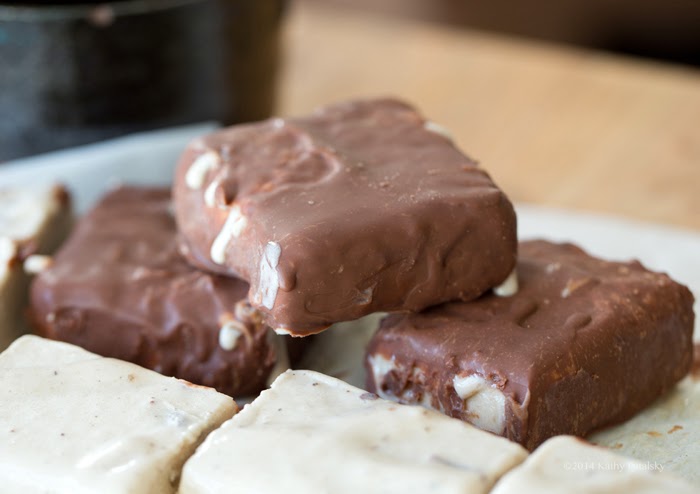
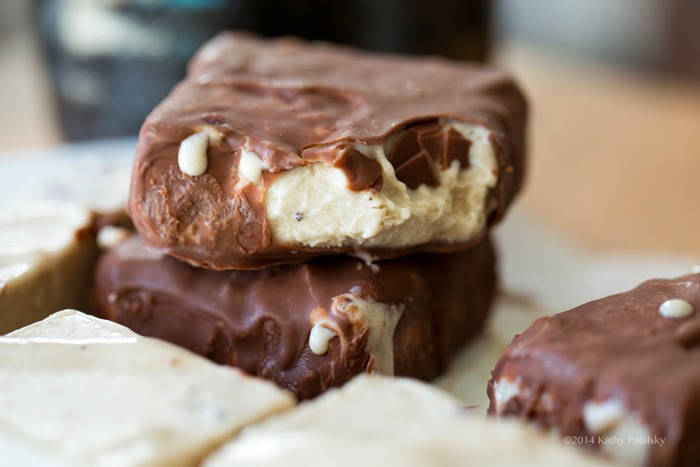
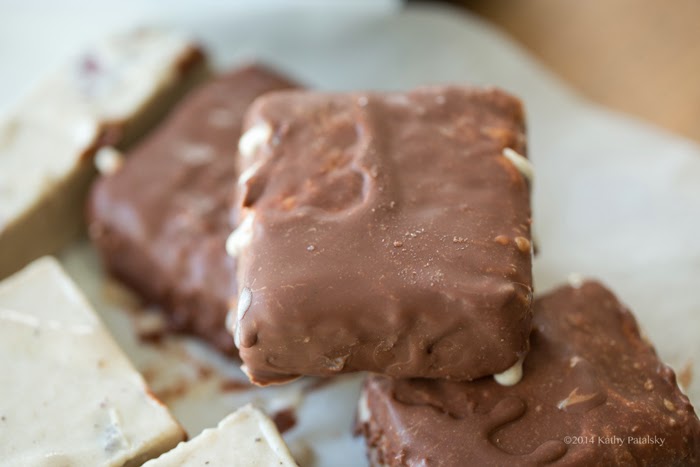
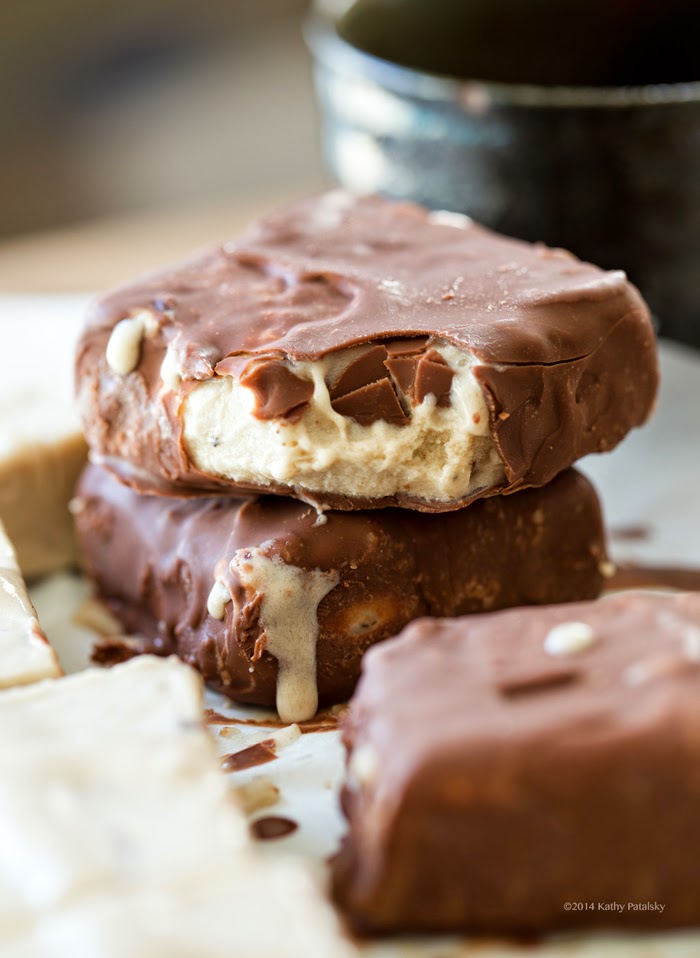
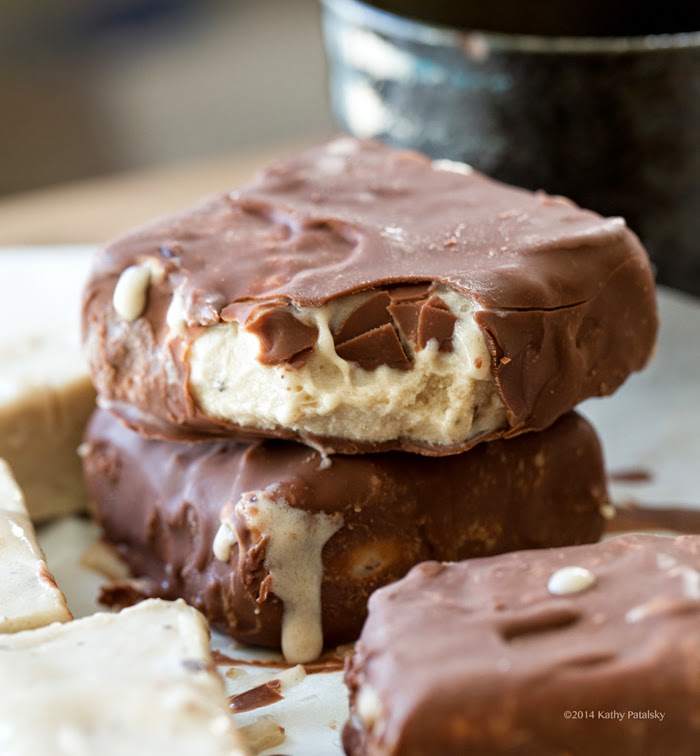
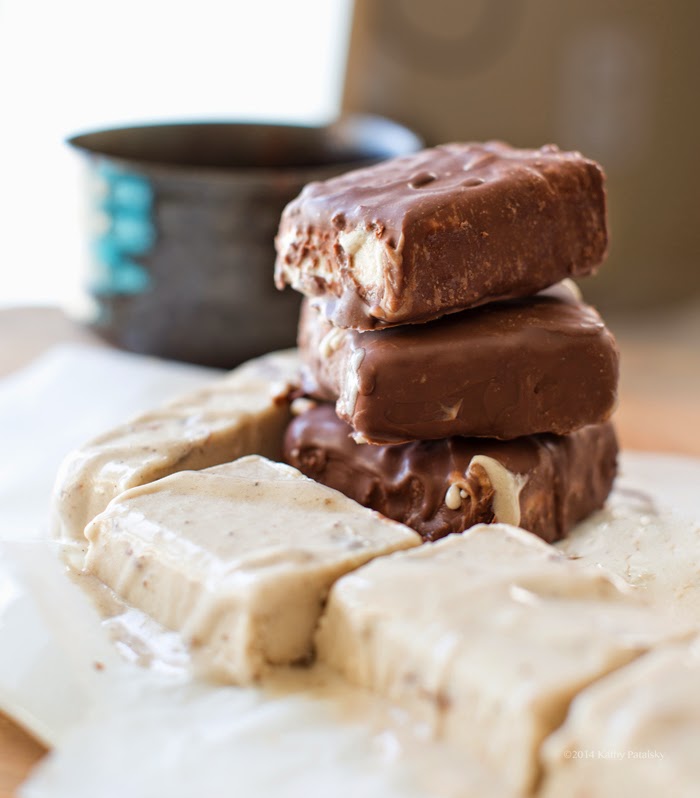
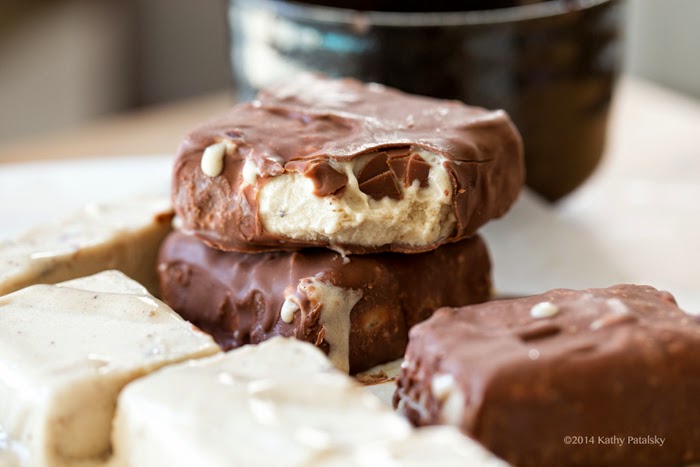
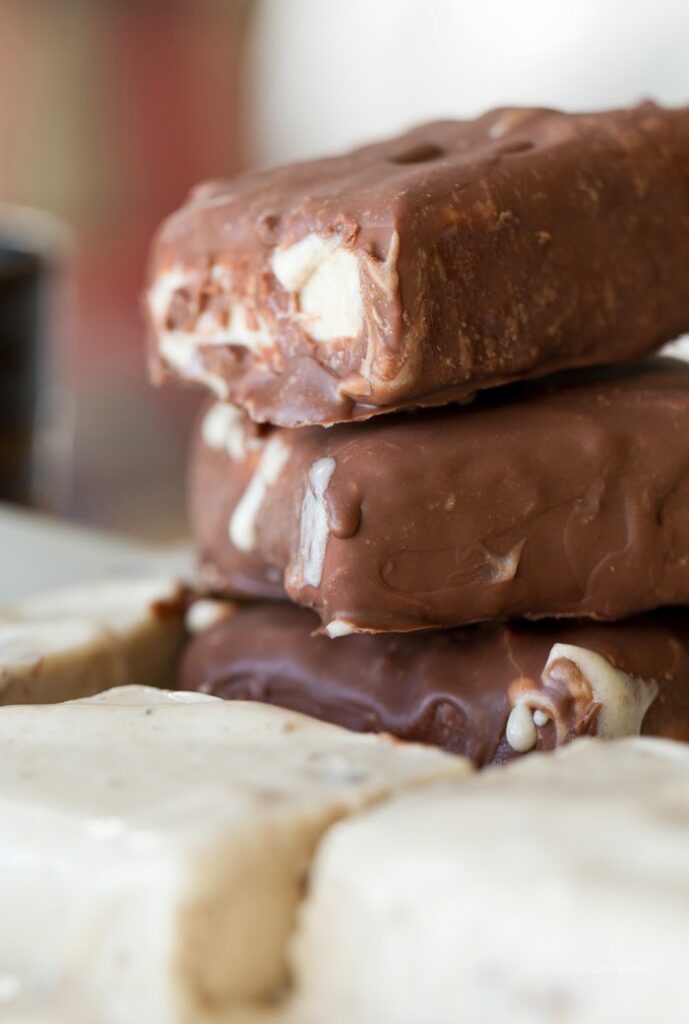
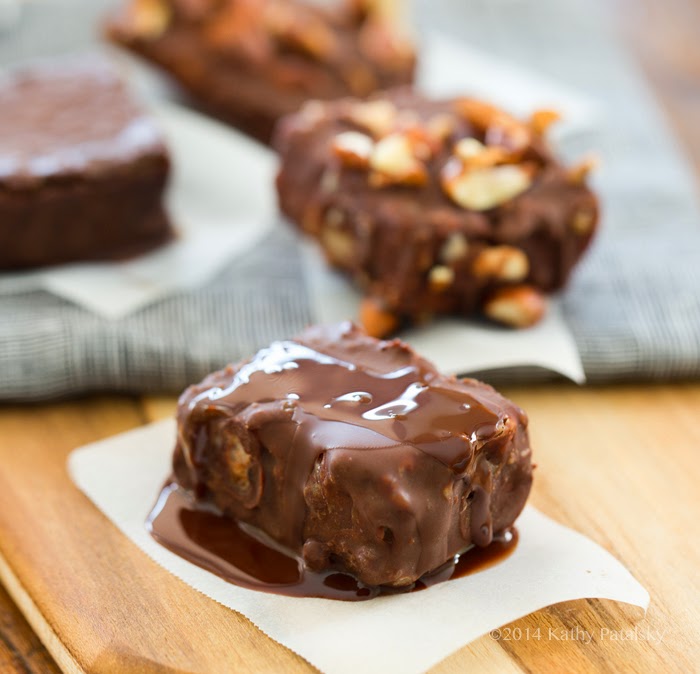
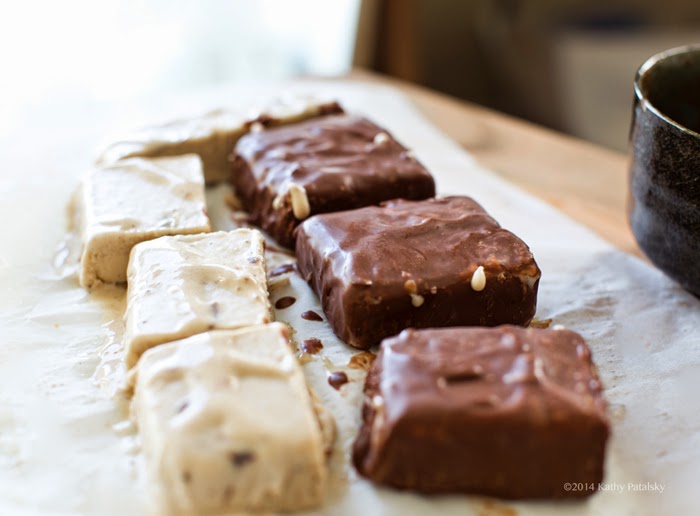
I have but one question for you today. What would you do-oo-oo for a vegan-version, "Klondike-inspired" Chocolate Coated Ice Cream Bar? Well you don't have to shimmy or shake or hop on one foot. You just have to get in the kitchen and make it. Easy. No, really, it is! Chocolate Coated Ice Cream Bar bliss awaits you..
It seems the 80's and 90's are back in style. I mean seriously, have you been to Urban Outfitters lately? Or any trendy store, really. Whitewashed jeans, floral everything, neon, crop tops, patterns, shapes and stripes that remind me of the intro to "Saved by the Bell" and I even (gasp!) saw a few bodysuits on the racks. Lets NOT bring back that trend ladies.
And one treat from my 80's + 90's childhood was The Klondike Bar!
Klondike Bars. I used to adore those foil-wrapped ice cream bars. The silky white cream, covered in a thin shell of crispy dark chocolate, all melty and amazing. I think we actually always had them in our freezer, back in the day. Is that normal? Looking back.... Probably not.
Now to veganize this treat via an easy recipe I did a few tweaks and, well, upgrades to the original concept bar.
So. Here they are. Klondike Bars. Veganized. And kinda even more amazing than ever. If you ask me.
Watch my how-to video then get the recipe below!
(psst.. I used the raw option of the chocolate coating in the video, but the chocolate chip option in the photos. Both were delish!)
Seven steps:
1) Blend up the vegan ice cream. Totally homemade in your blender. (Side step: Prep any ice cream add-ins - optional. (Caramel and nut butter swirls can be fun to add like in this recipe.)
2) Chill the ice cream in a square dish - I use a bread loaf pan.
3) Mix up the chocolate.
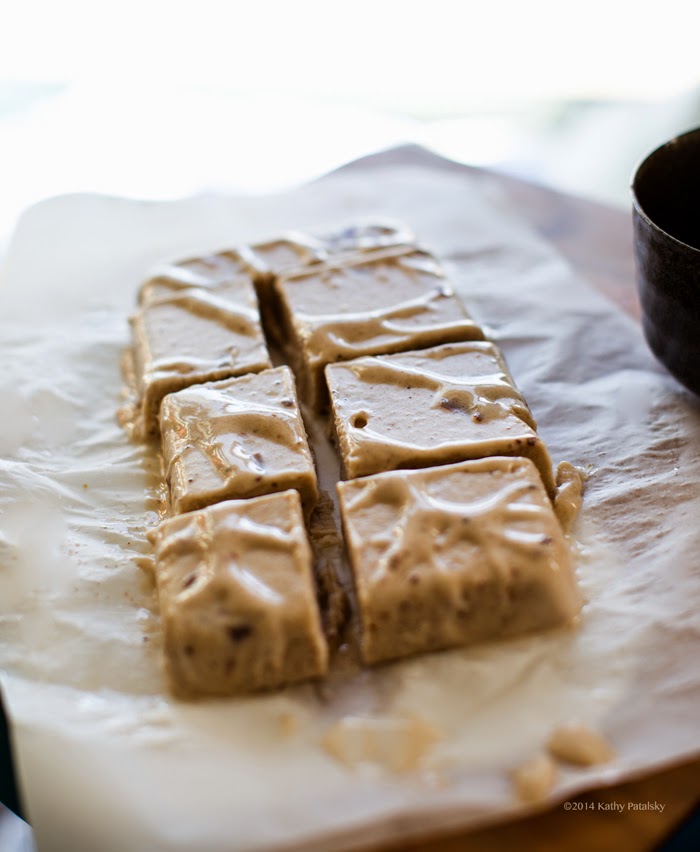
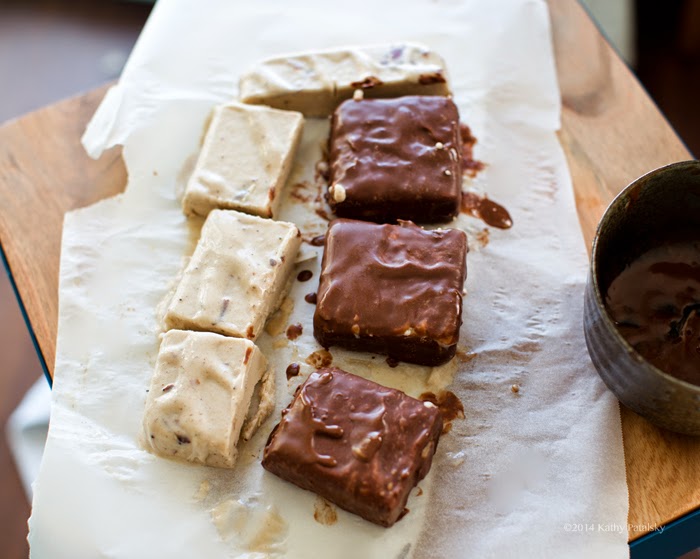
4) Remove ice cream block. Slice the bars.
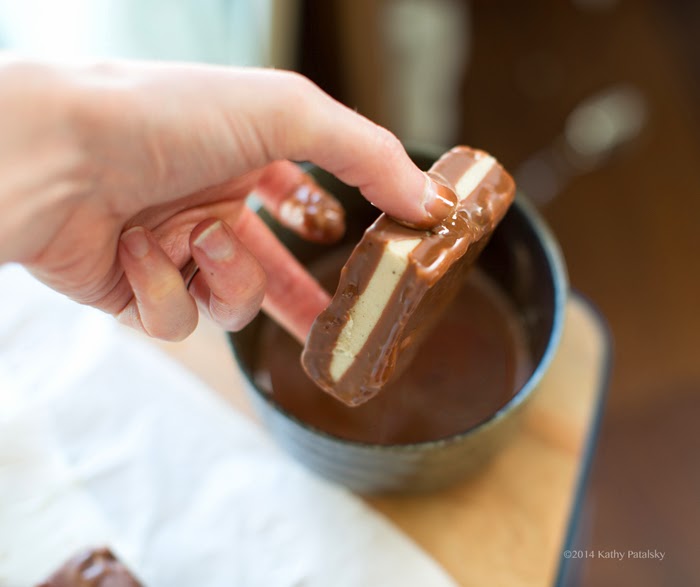
5) Dip bars. Double dip.
6) This one is easy --> eat the bars. (Oh, and for complete flashback fun, wrap the bars in some foil.)
7) Freeze leftovers for future blissfulness.
Got it? Easy. You can totally do this.
The recipe below uses vanilla bean "ice cream" but you can do chocolate, swirled or really any version vegan blender ice cream you want.
Chocolate Dipped Vanilla Bean Ice Cream Bars
By
Published 05/14/2014
tools: blender, metal bread pan or brownie tin, chilled - spatula, knife, parchment paper
Ingredients
- Banana blender ice cream:
- 2-3 large ripe frozen bananas
- vanilla bean flavoring (1 whole vanilla bean - seeds scraped, pinch vanilla bean flakes or ⅛ teaspoon vanilla extract)
- ½ cup + 1 tablespoon non-dairy milk (almond or soy milk advised. Use coconut milk for extra richness!)
- Choose one option for coating:
- Chocolate Chip Version: ⅓ cup semi-sweet chocolate chips + ¼ cup coconut oil
- Raw Version: 2 tablespoon cacao powder + ⅓ cup coconut oil + pinch of salt
Instructions
- Place the metal brownie or loaf pan in the freezer before getting started. Having a chilled pan helps the ice cream freeze more quickly.
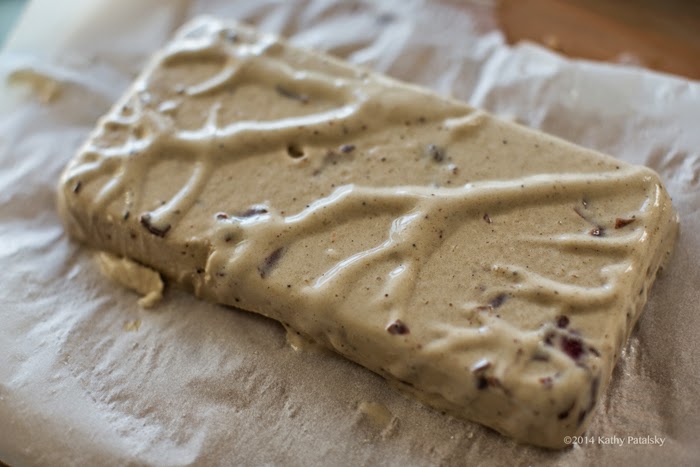
- Add the ice cream ingredients to a high speed blender, start blending until the bananas become thick and creamy like a very thick shake or smoothie. The thicker the better. Pour the mixture into the chilled bread loaf pan. Optional: fold in any ice cream add-ins like nuts or chocolate chips. Place the pan in the freezer to chill and harden for at least two hours. The ice cream needs to be rock hard when you remove it from the pan.
- Bar prep time! First you will prepare the chocolate coating. For the chocolate chips option, simply melt the chips and oil in the microwave in thirty second increments, stirring well at each stopping point, until the mixture is silky and melted. For the raw version, you want to melt your coconut oil using a hot water bath (or you could warm in the microwave too) and then simply stir the cacao powder into the melted oil. For both methods, allow the chocolate to cool for at least two minutes before you start dipping the squares.
- Grab your ice cream dish from the freezer. Loosen the edges with a butter knife. When the edges are slightly melting and obviously loosened, flip over the pan, onto some parchment paper or a large flat plate. You want to ice cream out in one large piece. It will still be quite hard. Next you start slicing the ice cream into squares and rectangles.
- Now for the fun part! Lay out some parchment paper on a large tray and one by one start coating your bars in chocolate. Using your fingers, dip the cold bar into the chocolate, flip quickly to coat all sides and then place on the parchment paper. The technique takes some practice so start with your smaller or less desirable ice cream squares. Repeat until all the bars are done. You can then do a double dipping session for the bars if you'd like. You can eat the bars right away or place this tray in the freezer. You could also double dip the bars after freezing for a few minutes if they are getting too melted during the dipping process.
- That is it! You are done! Now you can dive into a bar or store them in a sealed container in the fridge to enjoy later. Foil-wrapping optional!
Yield: 7-8 bars
Prep Time: 00 hrs. 20 mins.
Cook time: 00 hrs. 10 mins.
Total time: 30 mins.
Tags: vegan,dessert,chocolate,ice cream,bars
Get creative! Add nuts, popped rice cereal anything you'd like!


