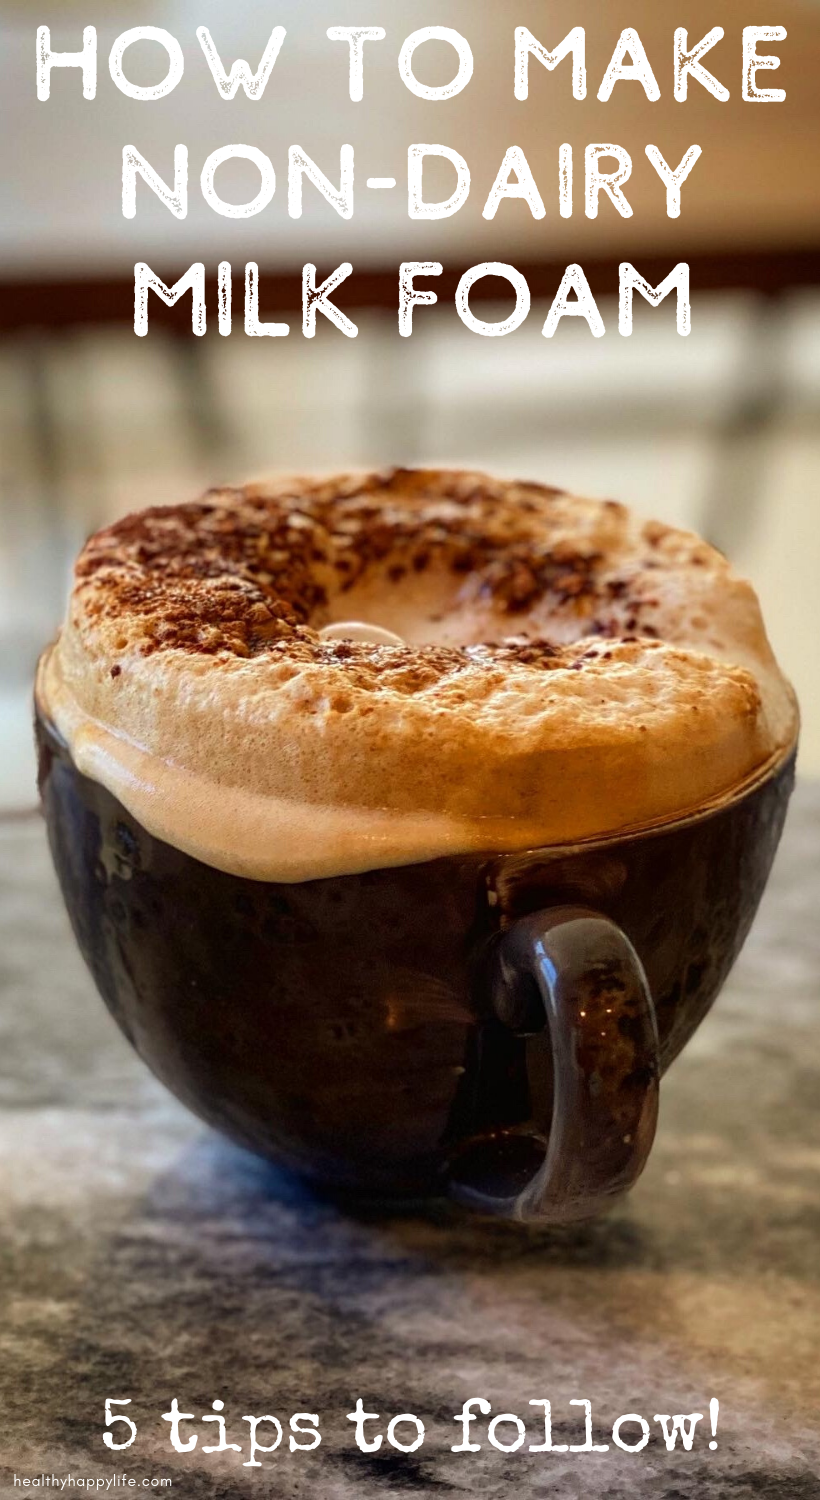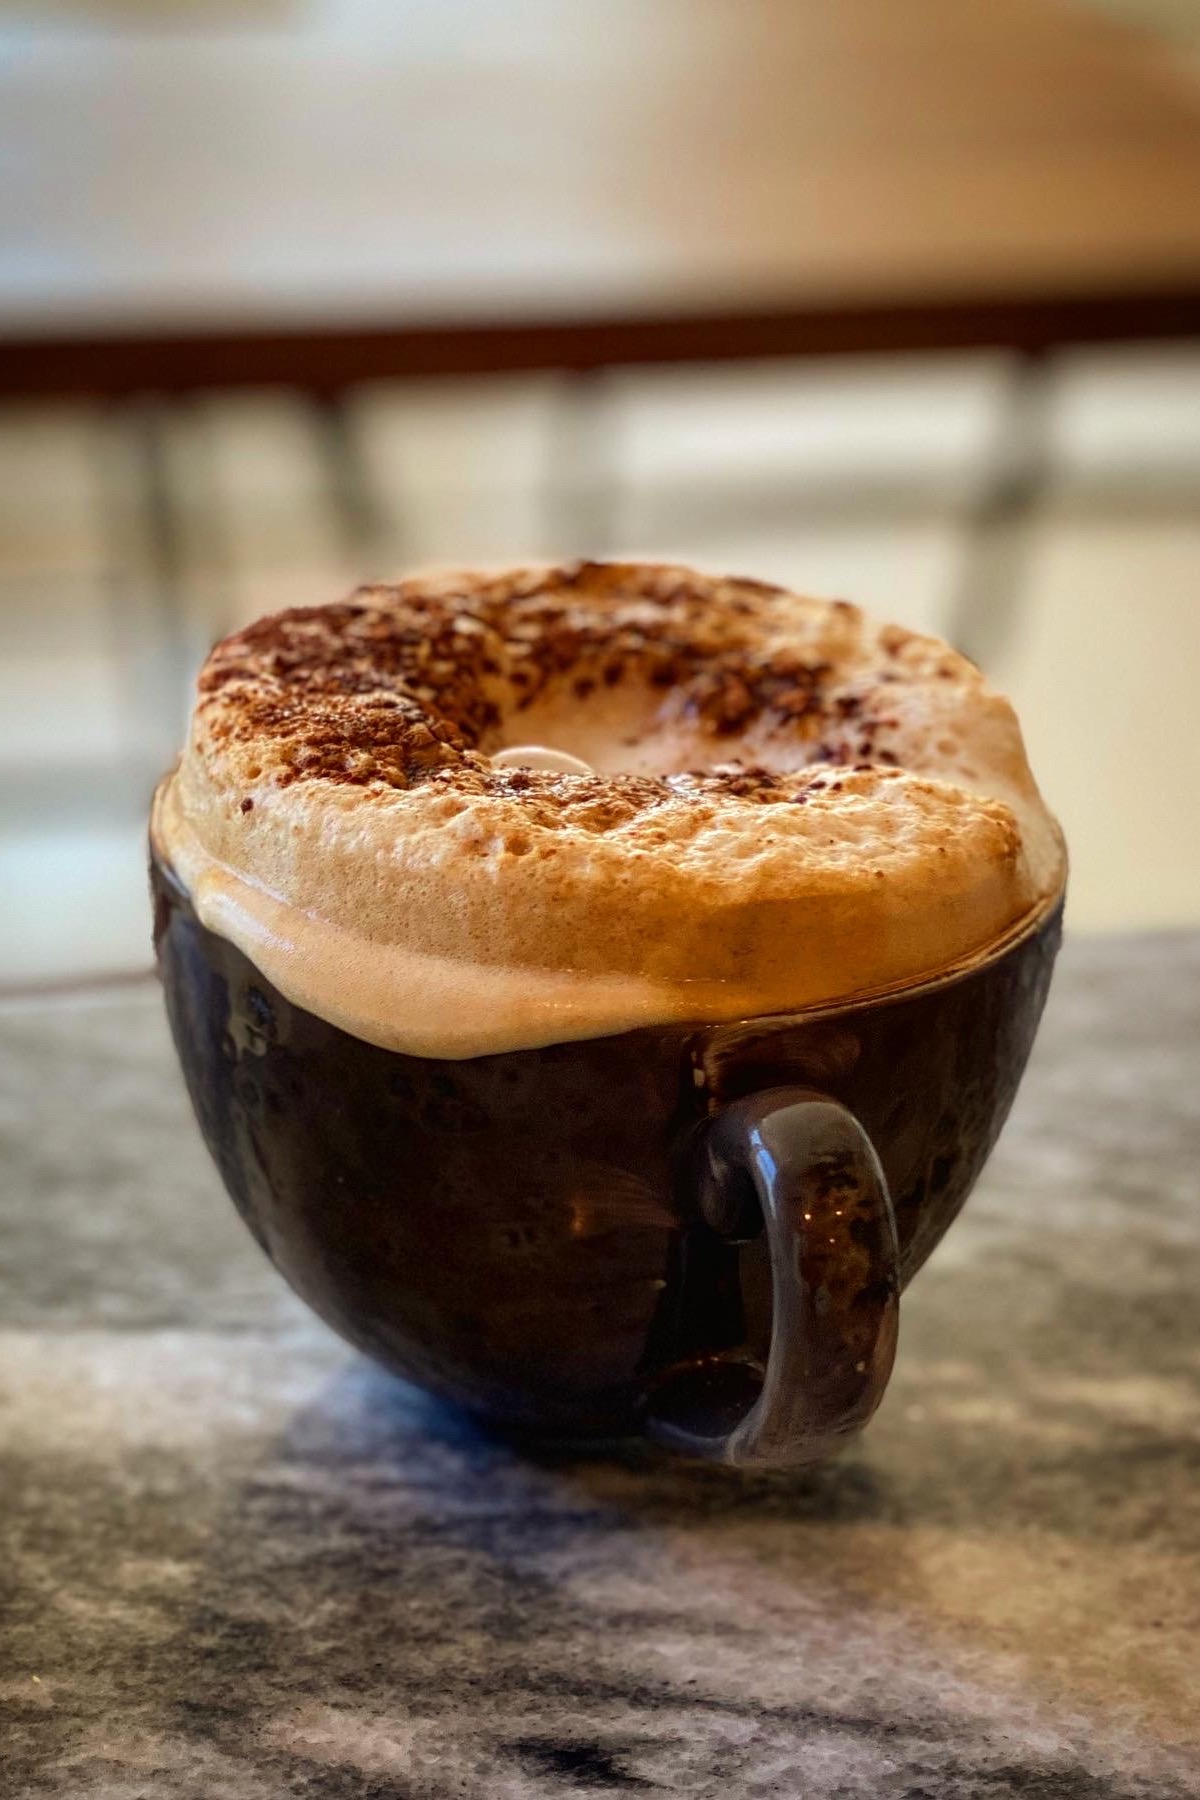
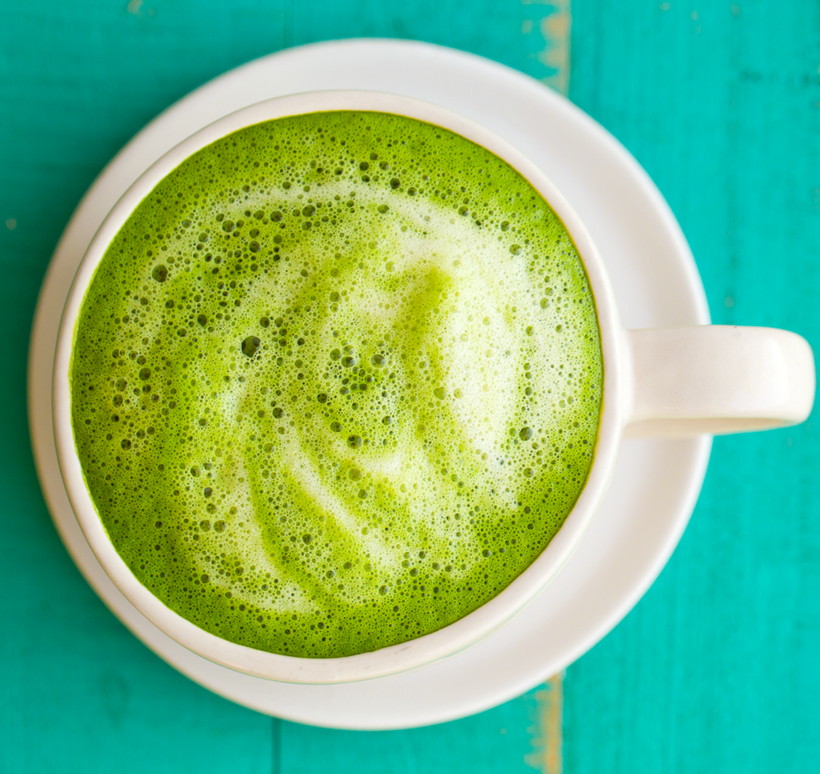
Something every latte lover wants: amazing foam! Foamy lattes used to be challenging to achieve with non-dairy milk, but not if you know what you are doing. Today I am sharing my five tips for how to make vegan milk foam.
These tips can be used for espresso or coffee, matcha or even rooibos or golden lattes!...
5 Tips for Making Vegan Milk Foam
1 - Use Soy Milk
This is my best tip for success. But real quick - if you absolutely don't like or drink soy milk for whatever reason, the next best options are a full bodied oat milk or pea milk. Oatly and Ripple are the brands I know well.
There are also 'barista blends' of a few almond milks and other varieties, but they usually contain a few added gums or thickening agents and I just really haven't even found them to be super successful at creating dairy-free foam anyways...
So yeah, go for the beans! Beans, as you might already know, are great at creating bubbles and gas and foam! Just look at the success of aqua faba, aka the chickpea juice in a can of chickpeas that vegan cooks use for everything from vegan macarons and whipped cream to extra fluffy baked goods.
Soy milk is rich and creamy and has that beany lift that is perfect for making foam. Oh, and it tastes really great too! Soy milk is my go-to vegan milk for just about anything.
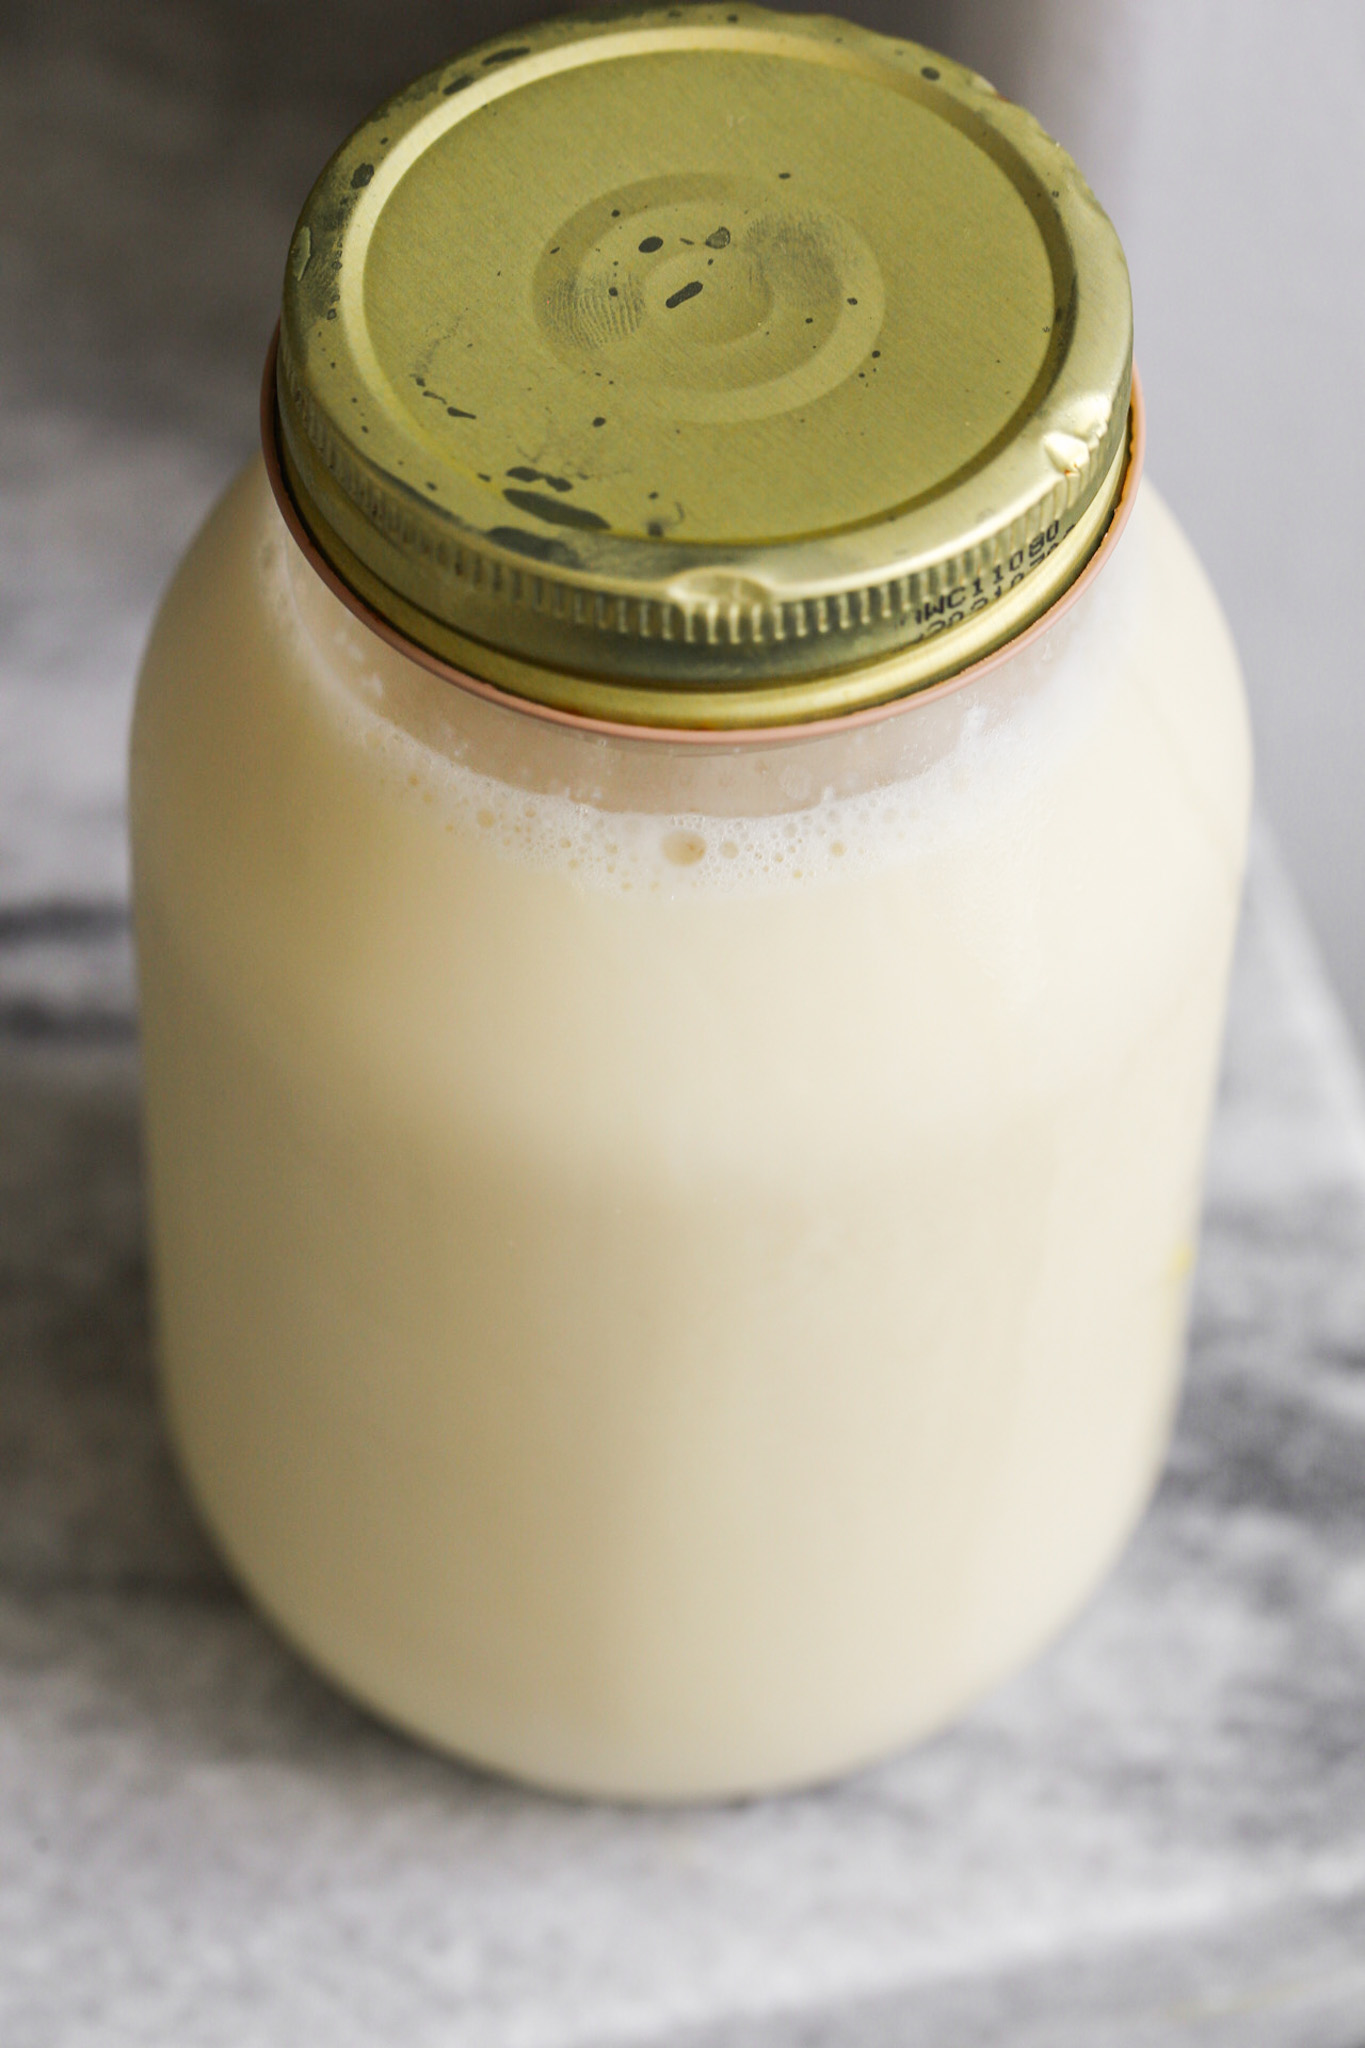
Brands? I love Silk and theWhole Foods 365 brand of organic soy milk. And even better: when I DIY my own soy milk in my juicer!..
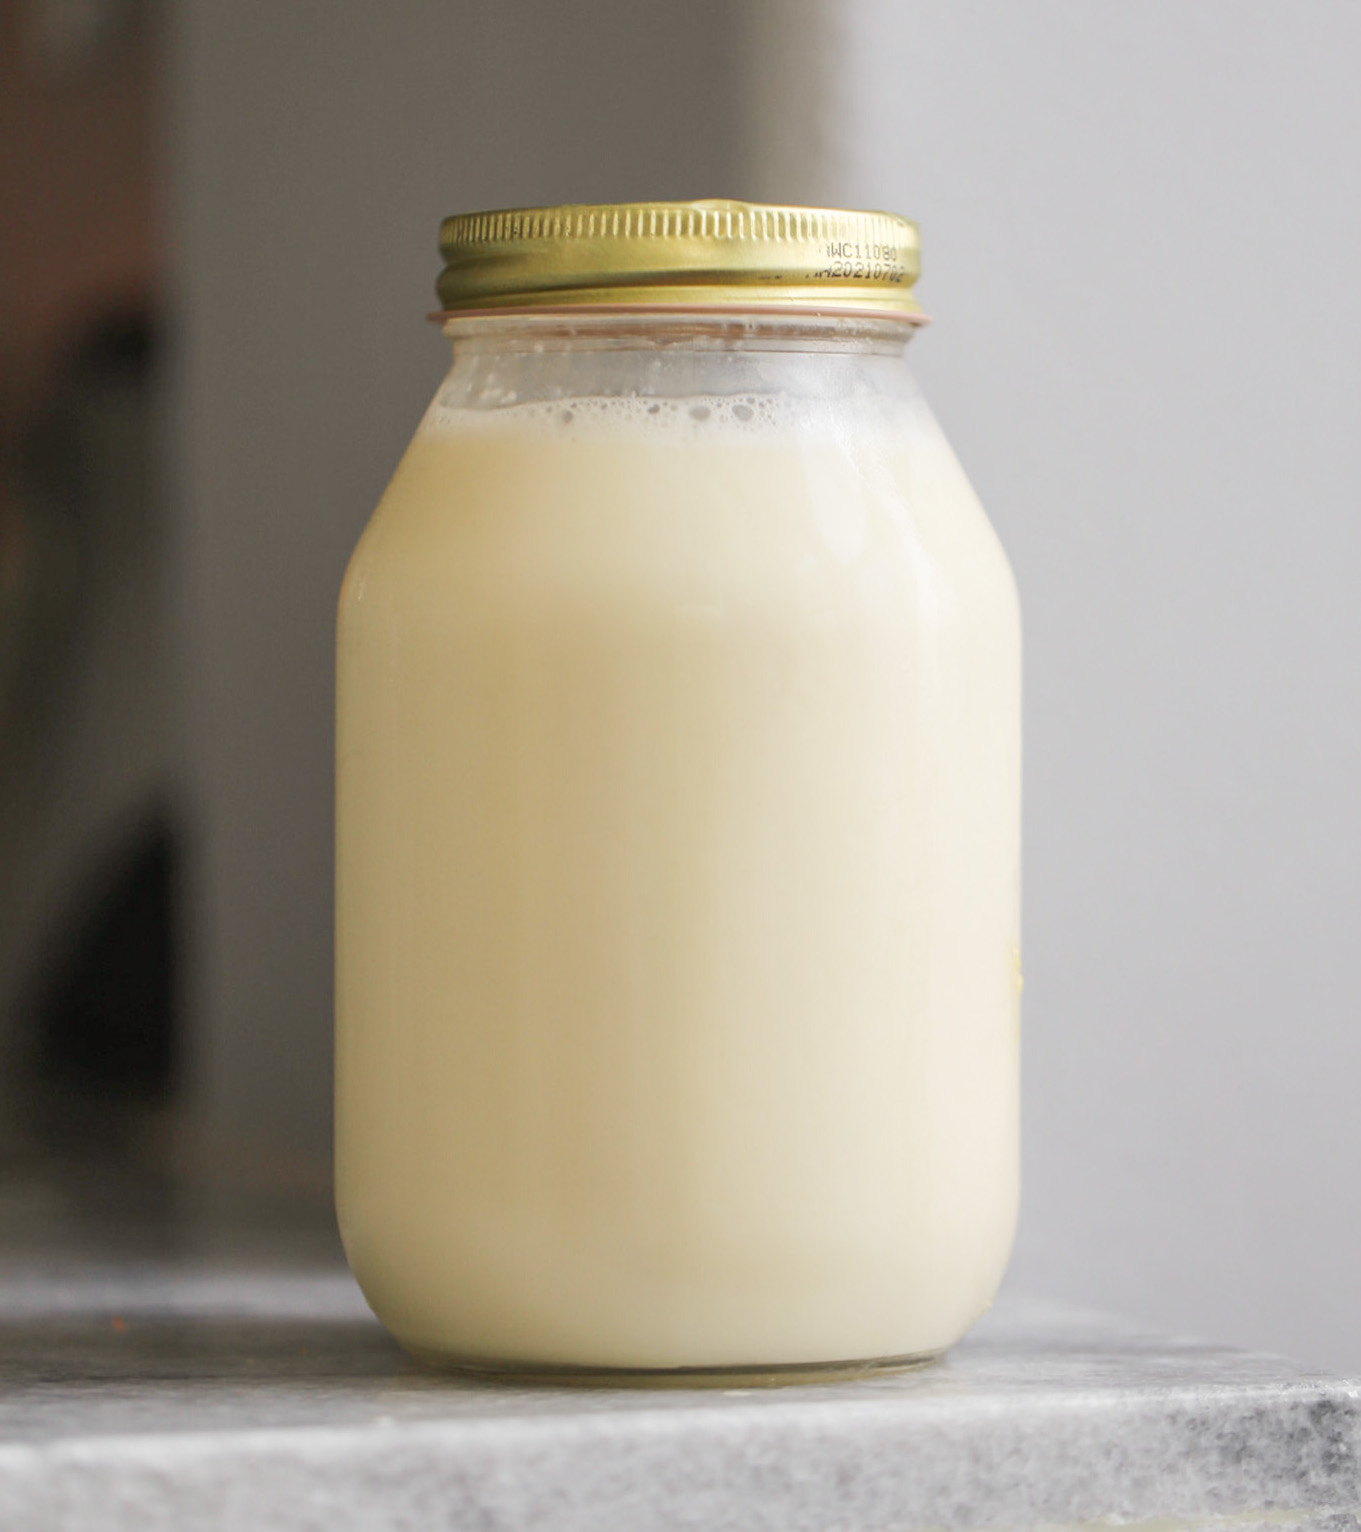
I also have my vegan non-dairy milk review here if you want to browse brands a bit.
2 - Use a Fridge Found Milk (Not Shelf Stable...)
Not exactly sure why, but there's something about the shelf stable brands of milk (even soy milk) that prevents easy foaming up. The shelf stable stuff feels flatter, kinda like flat soda versus fizzy soda! Not that soy milk is ever fizzy, but you get the idea...
Grab a box or bottle of soy milk from the fridge section of your grocery store. Or make some soy milk yourself and store it in the fridge.
3 - Use a Blender
My other must-do step for how to make vegan milk foam... use your blender! You don't even need anything fancy.
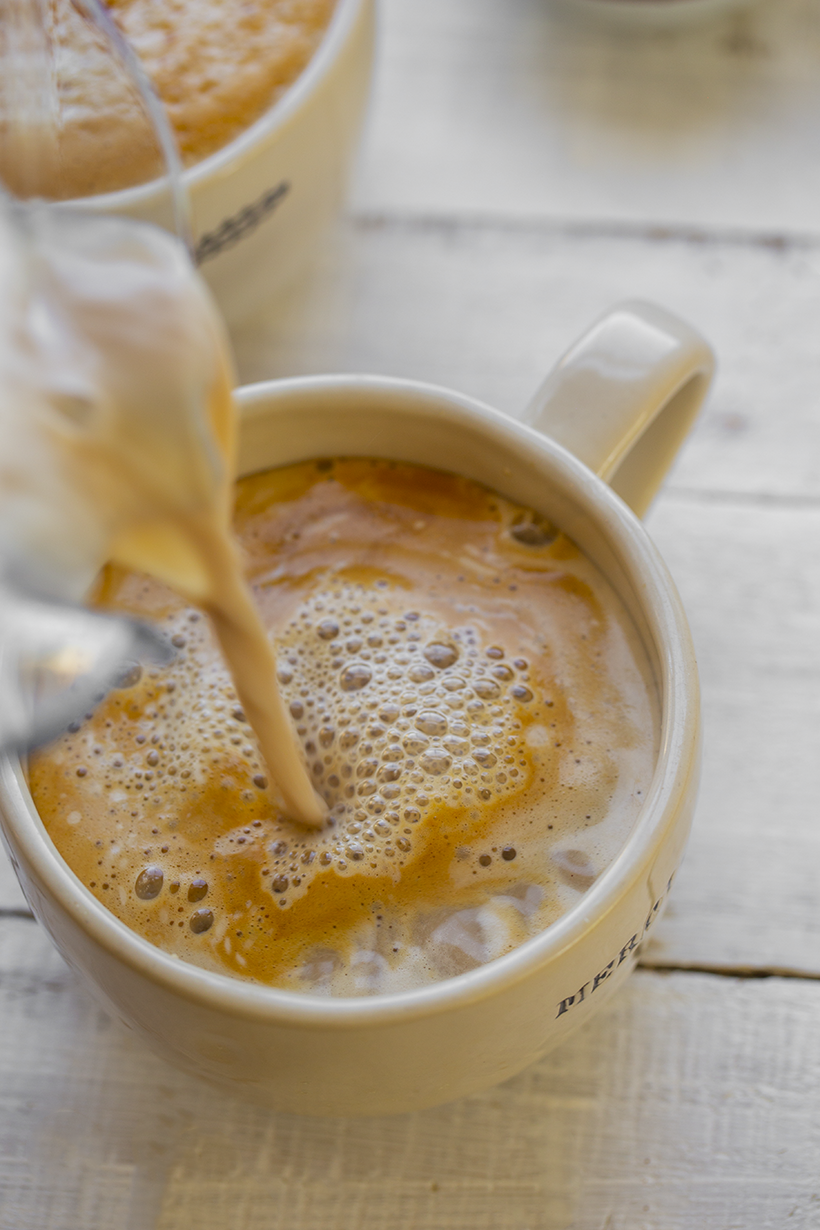
After warming up your milk, blend it on low in a blender for a minute or two. I also add my sweetener and a few pinches of cinnamon to this quick blend. After blending, let it sit for a minute. Foam will form in a thicker layer and rise to the top.
4 - Get the Temperature Right
This one isn't totally necessary. I have successfully foamed up super hot and warmish vegan milks. But if you are troubleshooting, make sure your milk is not too hot. Sometimes heat can prevent those fine little foam bubbles from forming.
And if you happen to re-heat a foamy latte in the microwave, you might notice how the foam disappears when heated!
5 - Warm it Up in the Microwave
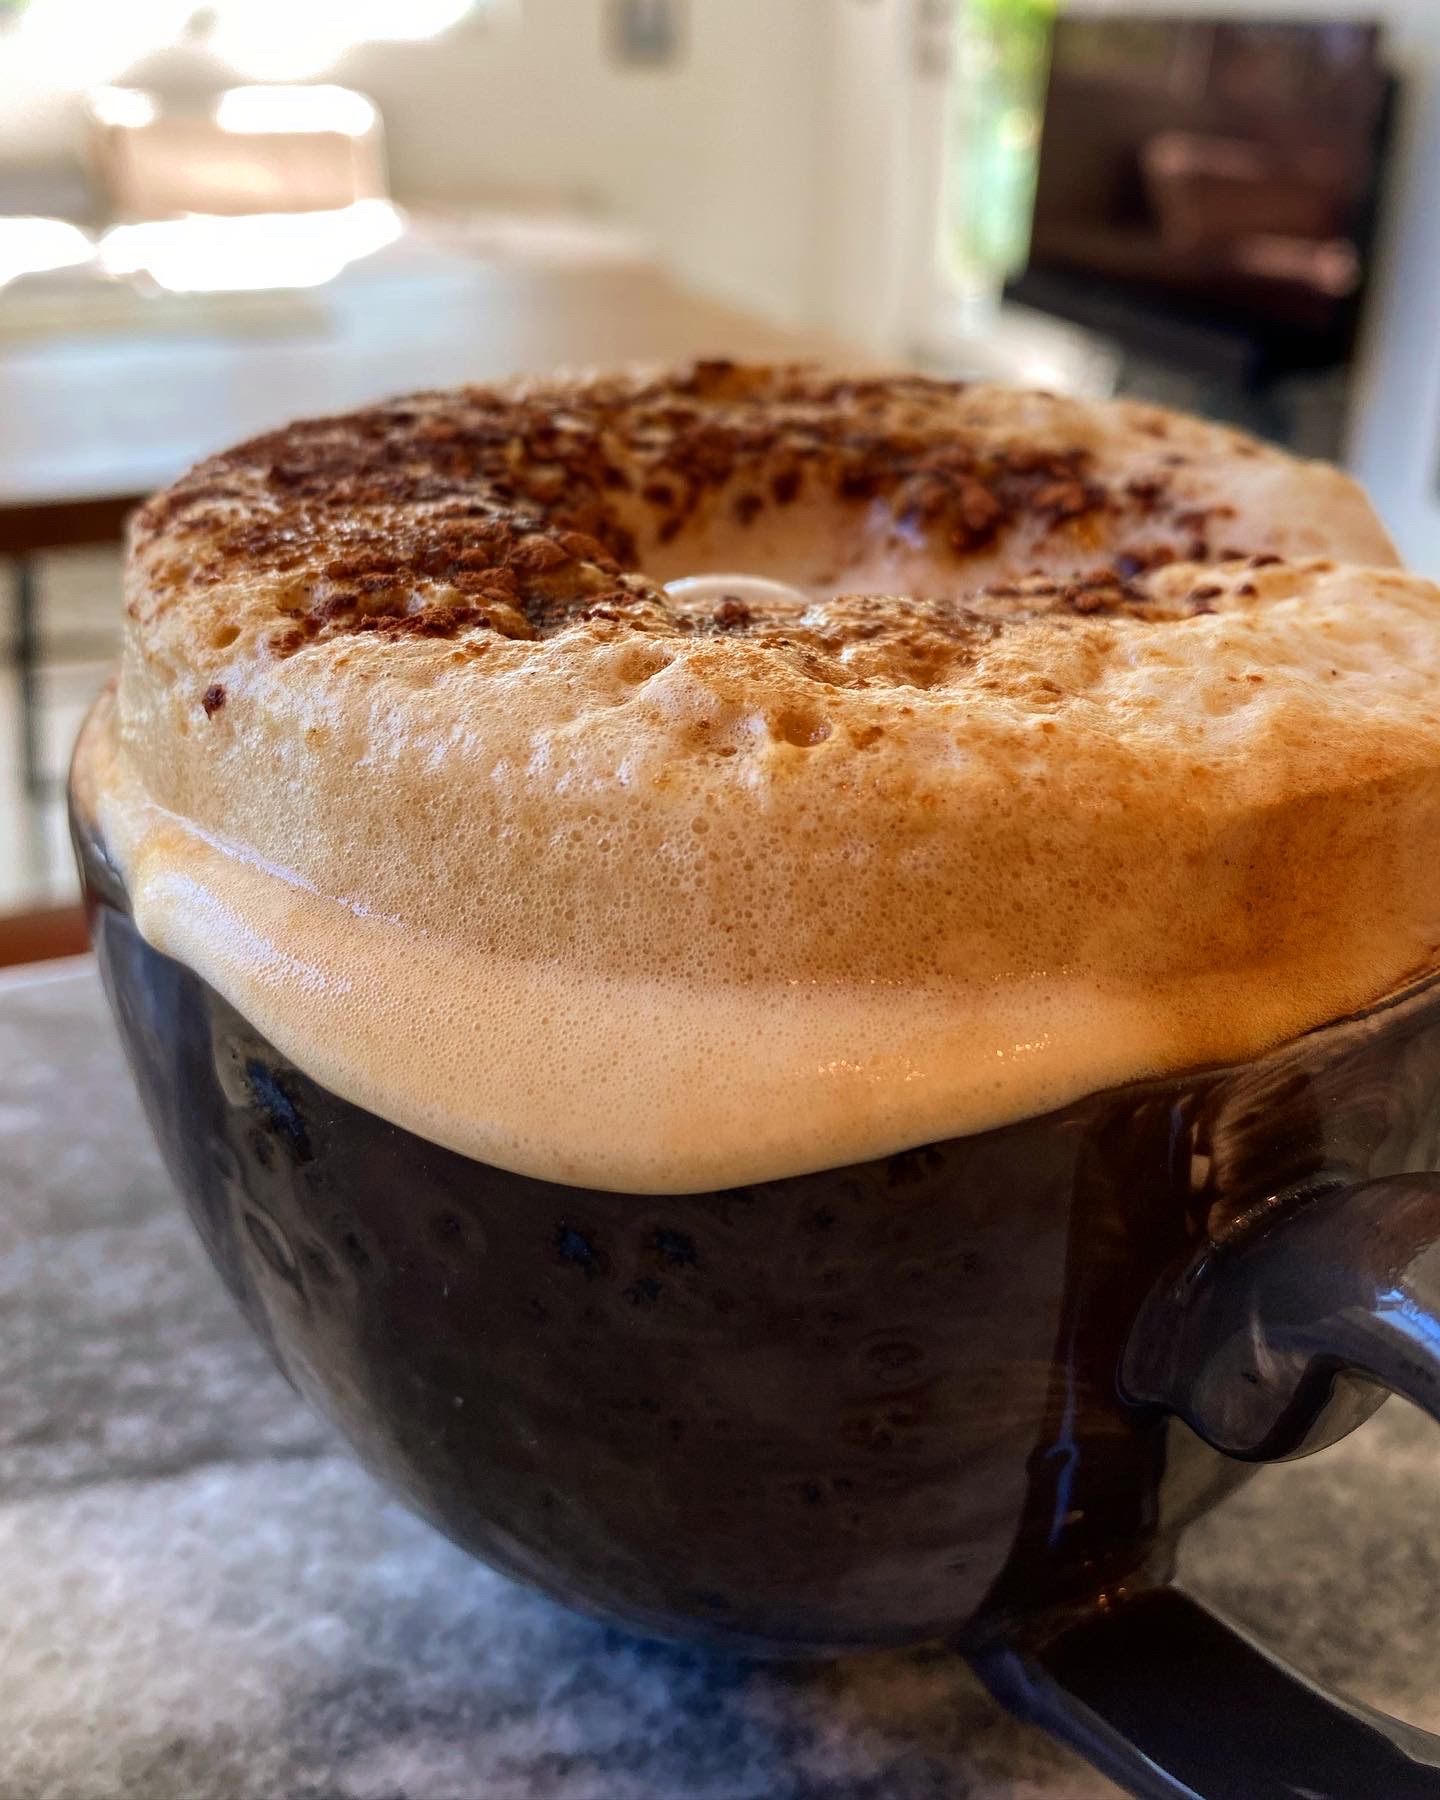
Speaking of reheating in the microwave.... IF you want to add a few millimeters of lift to your latte before serving, place the finished foamy product in the microwave for about 10-20 seconds. Keep an eye on it as the foam rises slowly with that dose of heat. This step is also totally optional, but a fun trick to have in your latte-making pocket.
And is you don't like microwaves, obviously skip this step.
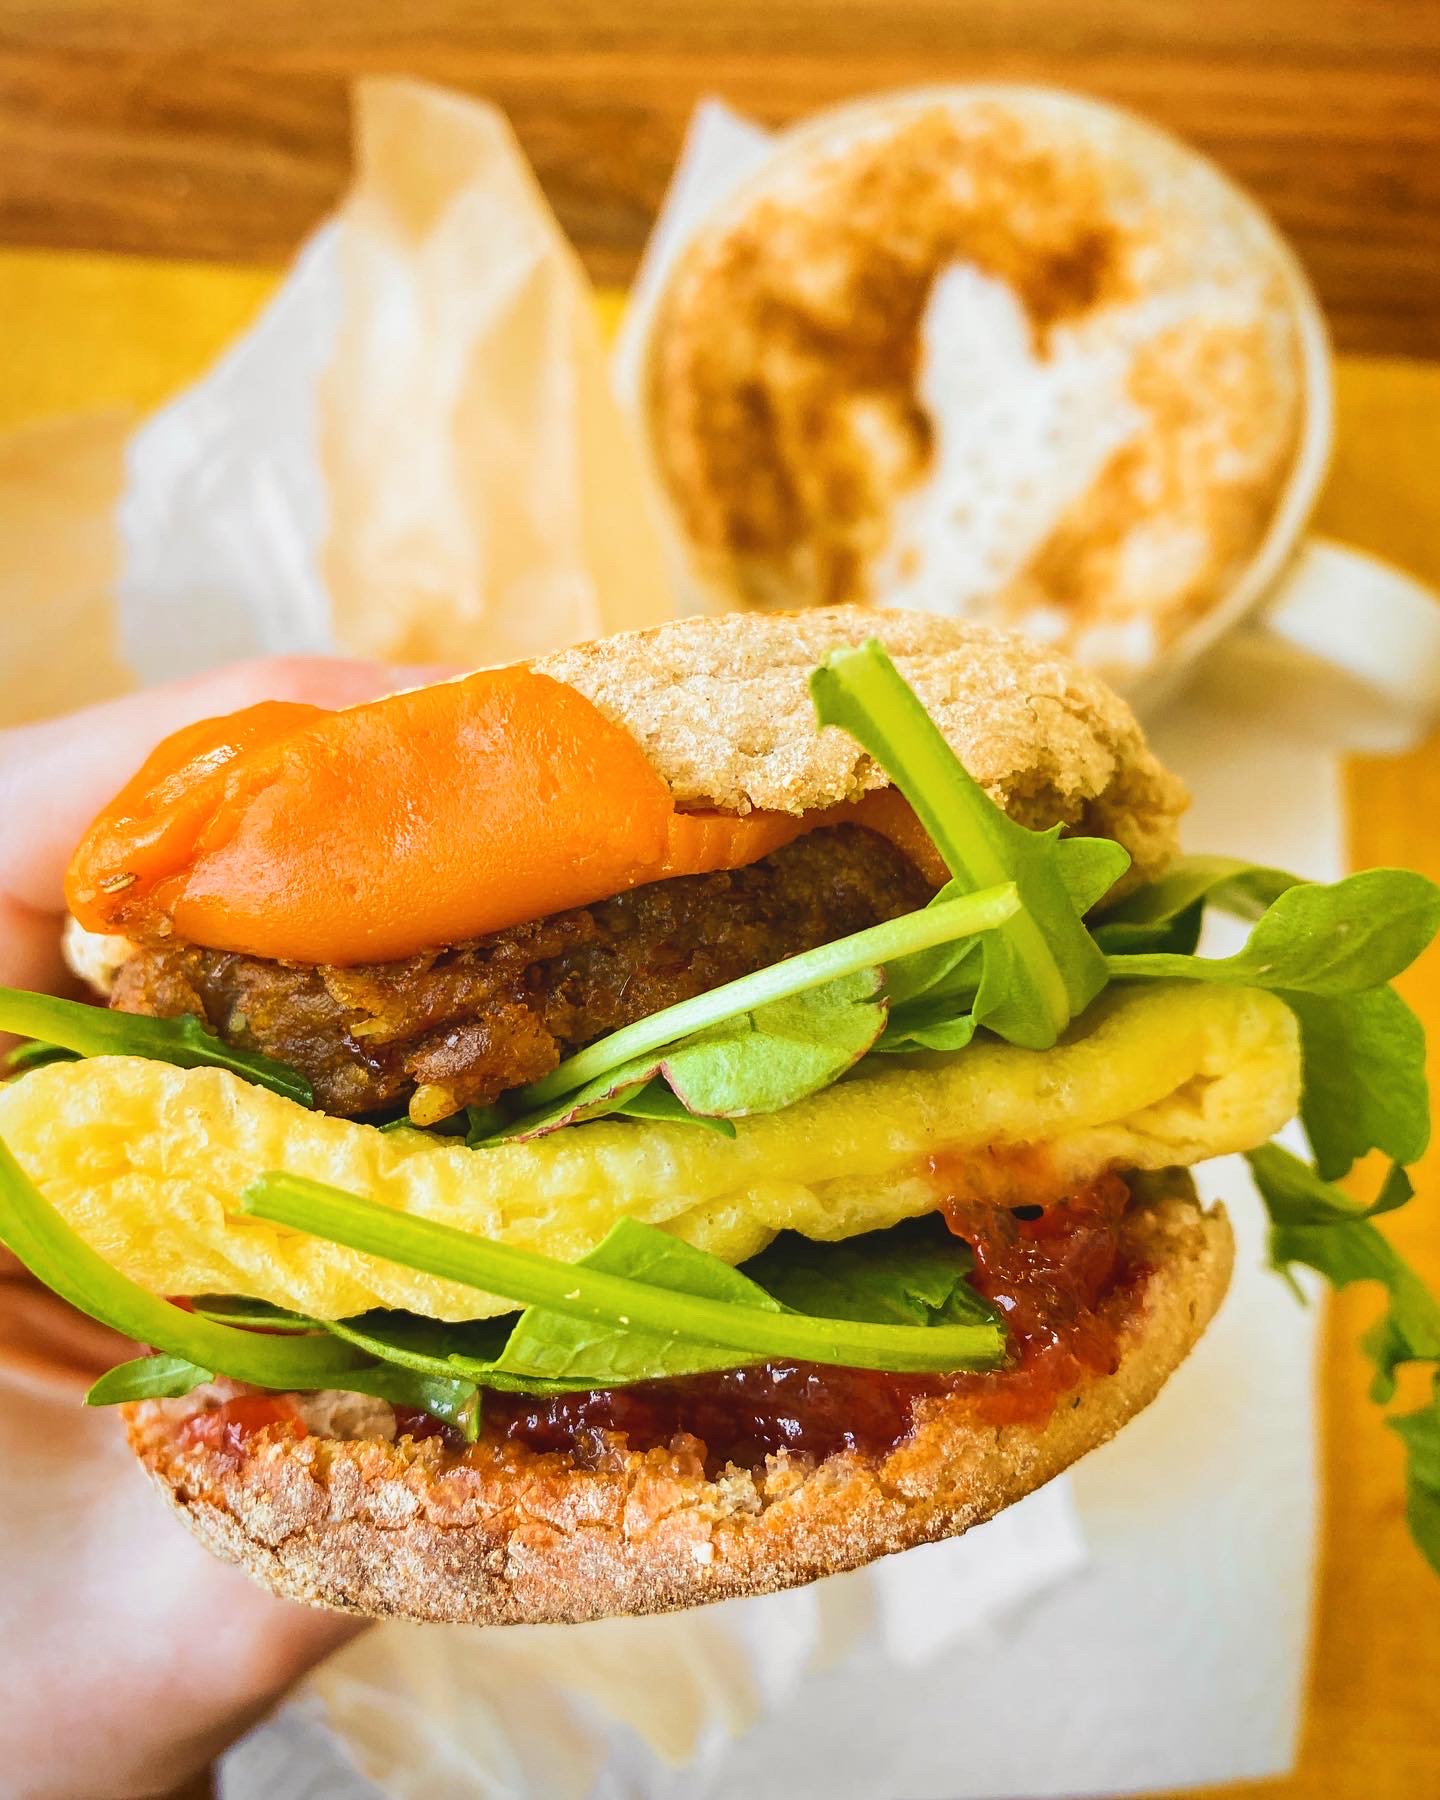
And don't forget some amazing vegan breakfast entrees to go with your latte!...
Get my vegan breakfast recipes here
Some vegan latte questions.......
Q: How do you warm vegan milk for the latte?
I usually use my microwave. But I have also used a small sauce pot on my stove many times. Both work! I like my lattes hot so I tend to really warm my milk to a hot temp, but again, sometimes vegan milk foam is easier with milk that isn't like boiling hot.
Q: How do you make your espresso or matcha shots or tea or coffee?
So as mentioned this vegan milk foam can be used for basically any latte. Coffee, espresso or non-coffee lattes! Get my Not Coffee Latte Recipes.
I use my Nespresso machine for espresso. And we use a french press for strong coffee very rarely. For matcha, I use my blender to make the water + matcha shots. All my matcha latte tips and recipe are here.
Q: I can't do it, I give up, ok?....
Keep at it!! It takes a bit of practice because your microwave/stove, amount of milk, technique, temps, sweeteners etc will vary...
Vegan Foamy Latte Wishes to Ya!
So those are my basic tips for how to make vegan milk foam. If I think of any others I will add them here. Ask any questions in the comments! I hope these tips help you create the most gorgeous light and frothy vegan milk foam!

How to Make Vegan Milk Foam
Ingredients
- 1 ¼ cups soy milk, or oat or pea
Instructions
- Choose soy milk. Soy milk works the best for vegan milk foam. Next best options, full-bodied oat or pea milk.
- Choose fridge-stable versions of soy milk instead of shelf stable.
- Warm up your milk in either the microwave or in a small soup pot on the stove.
- Milk temperature: Not too hot! Super hot milk is a bit trickier to foam up.
- After warm, pour the milk into a blender and blend for a minute or two. Add the sweetener and any spices (like cinnamon or vanilla) to this step. Turn off the blender and let the milk sit for a minute before using. Foam will rise to the top. (This last part is optional, but can help you see if your foam has formed!)
- Prepare your espresso or matcha or coffee or tea shot, in your empty mug while the blender works.
- Pour the foamy milk into the mug, top with some coconut sugar if desired and serve hot.
- Bonus fluffing step: heat the finished latte in a microwave for 10-20 seconds for extra fluff!
Equipment
- blender
- mug
nutrition estimate | per serving
