
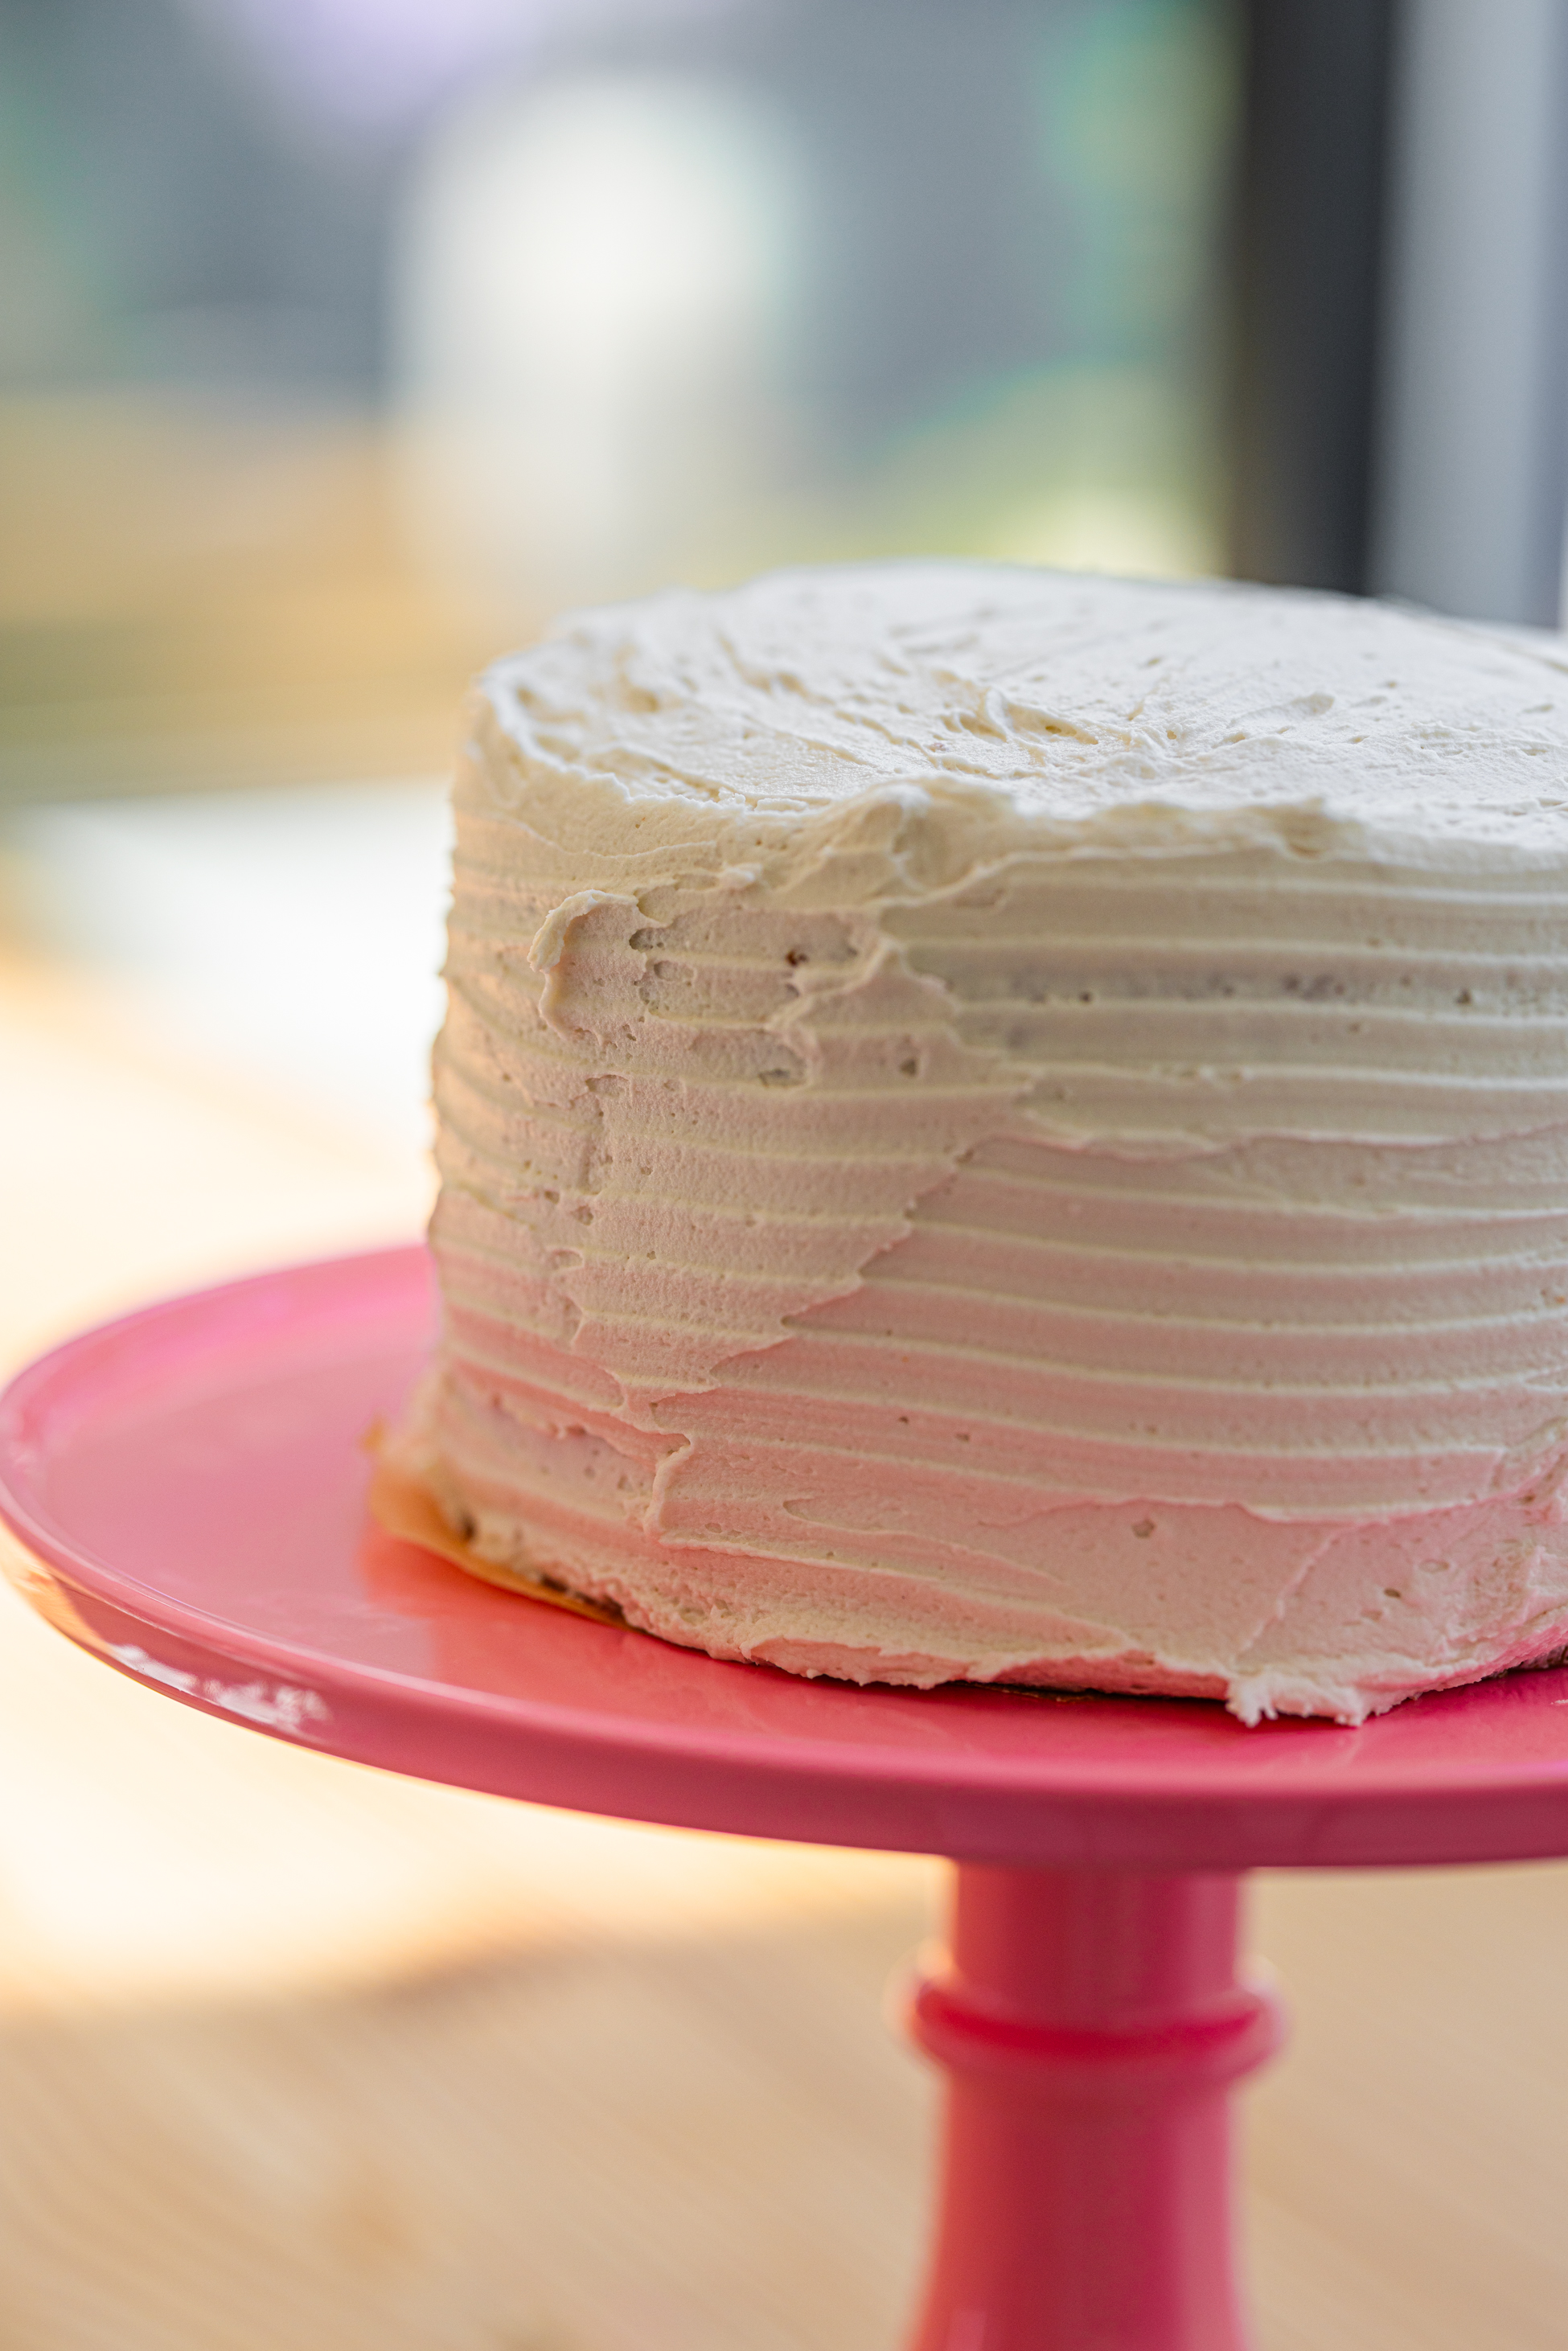
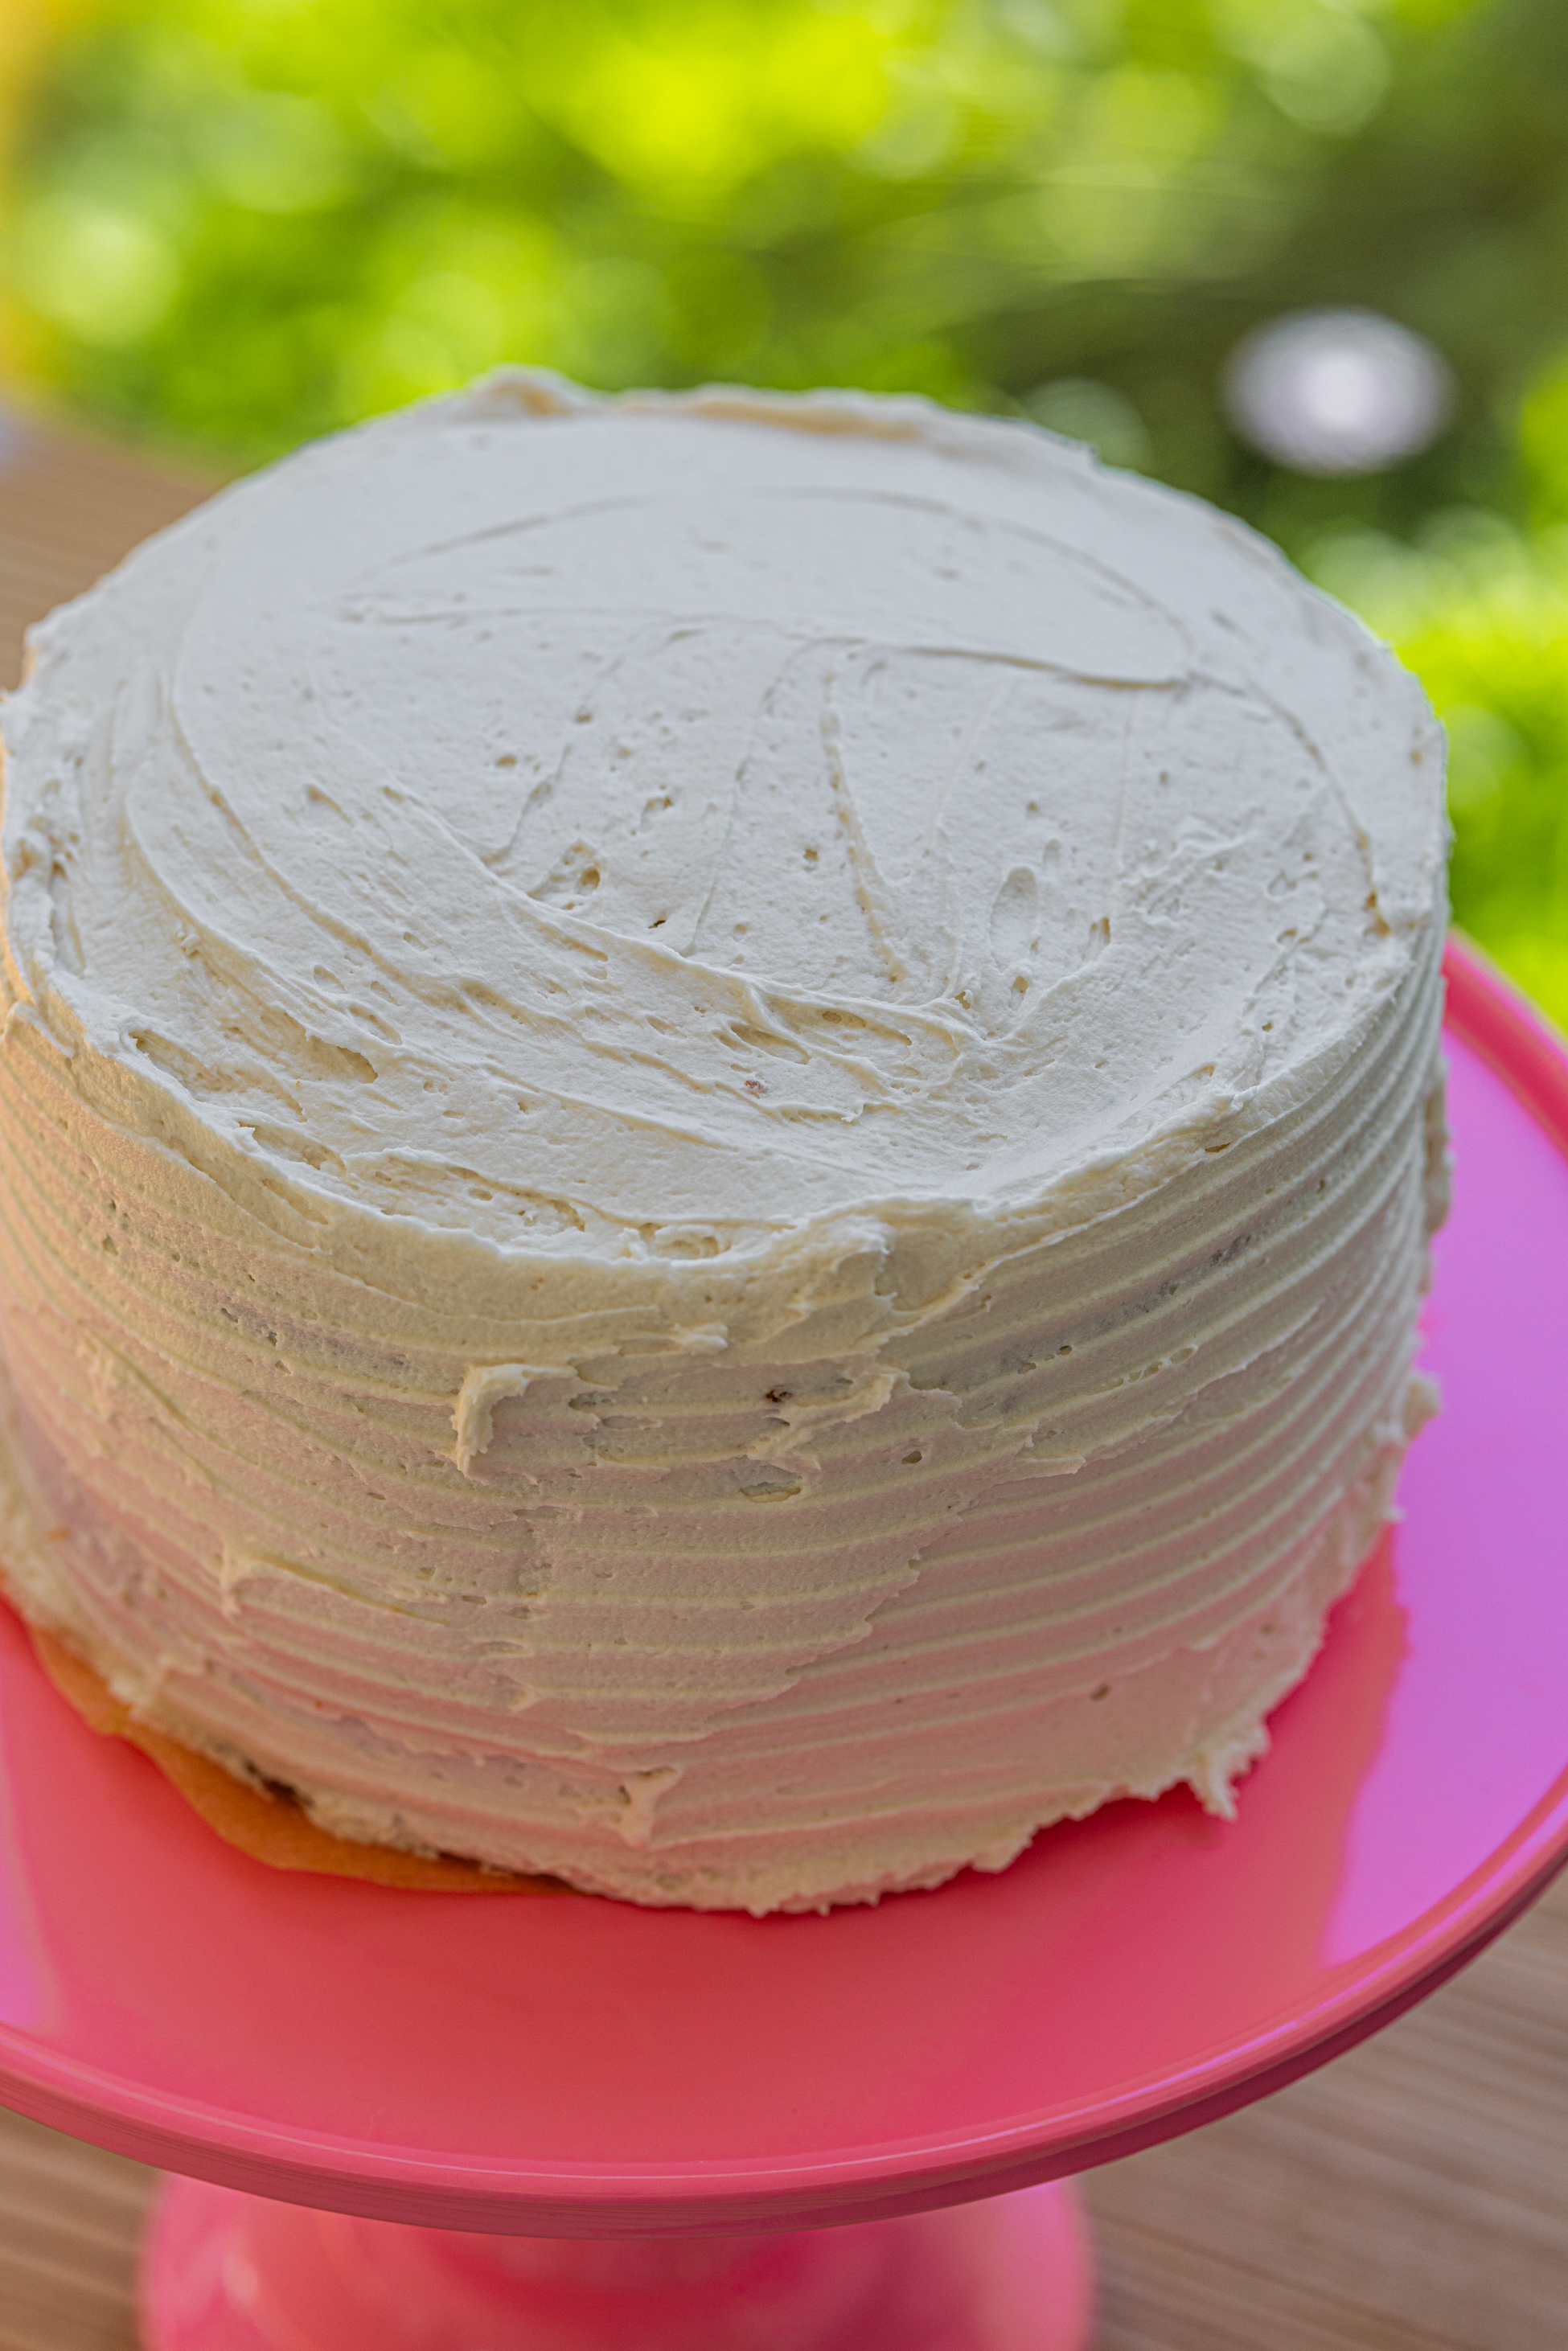
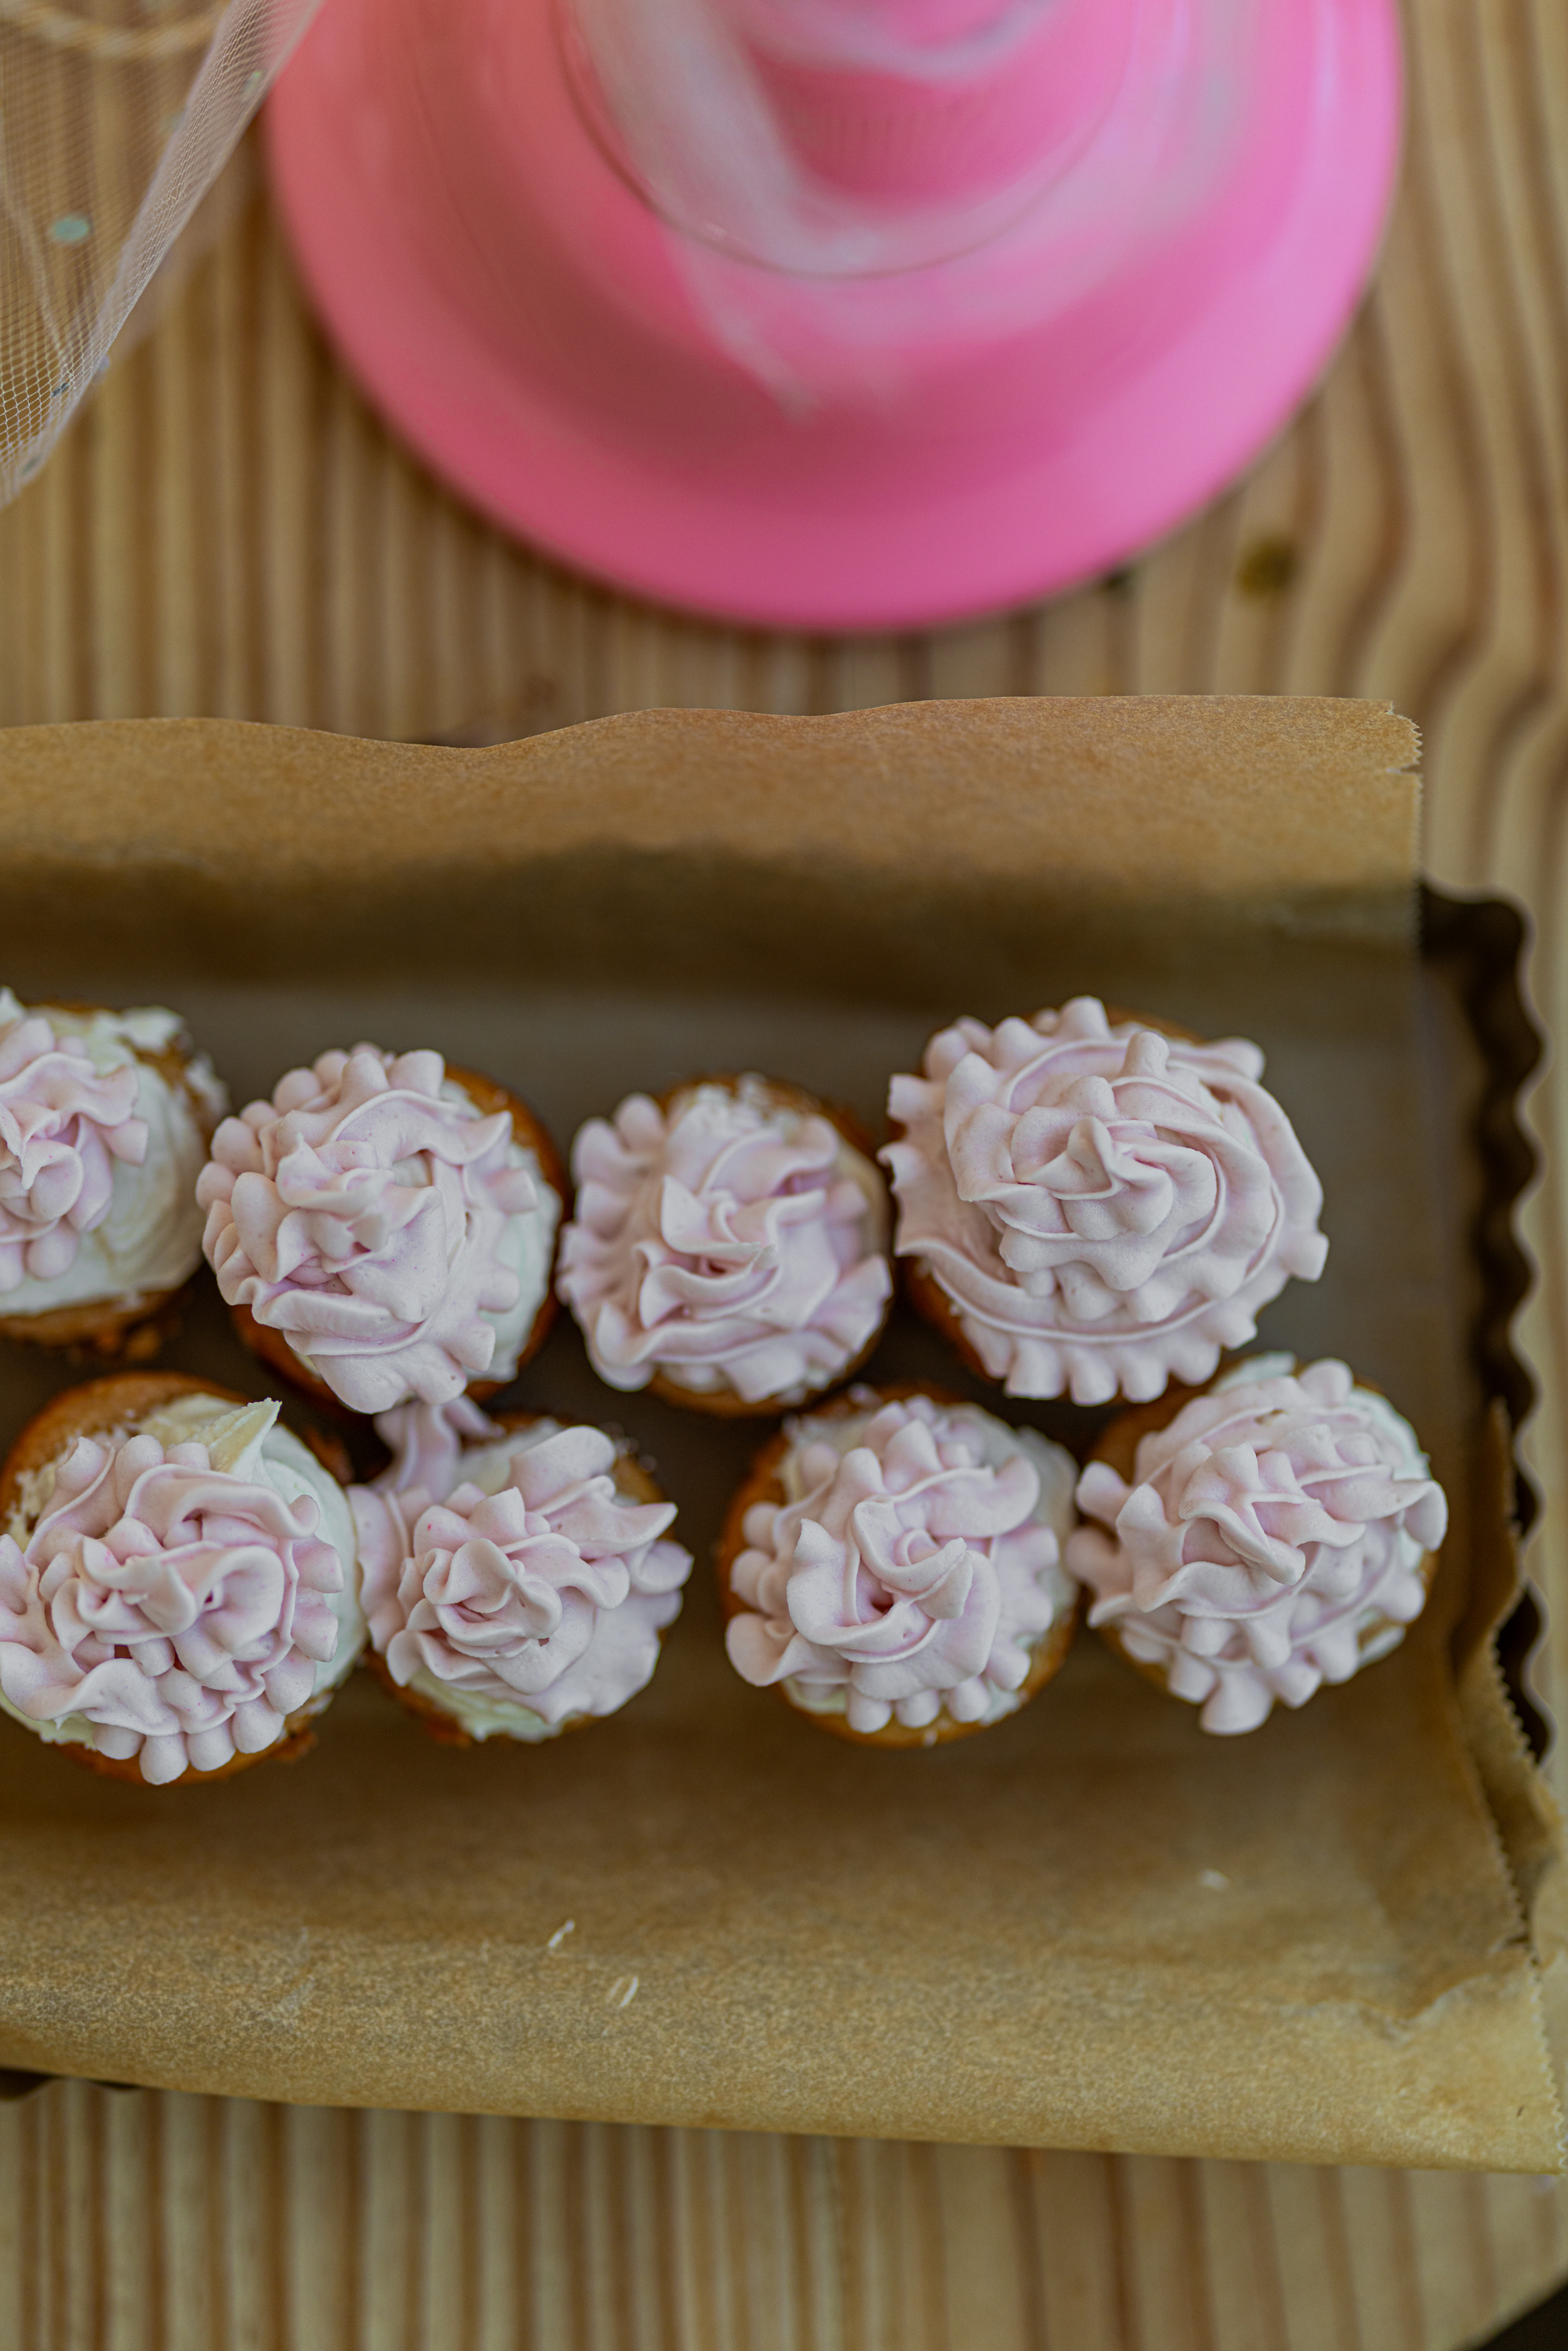
Today I am sharing my Vegan + Soy free birthday cake recipe. It is a Vegan Birthday Cake with Fluffy Vanilla Frosting. These also make great cupcakes too..
You guys know I don’t post as many recipes as I used to. But sometimes something gets me back into the kitchen and reminds me how much I love making a recipe, taking a few photos, and sharing it here. This cake was one of those things.
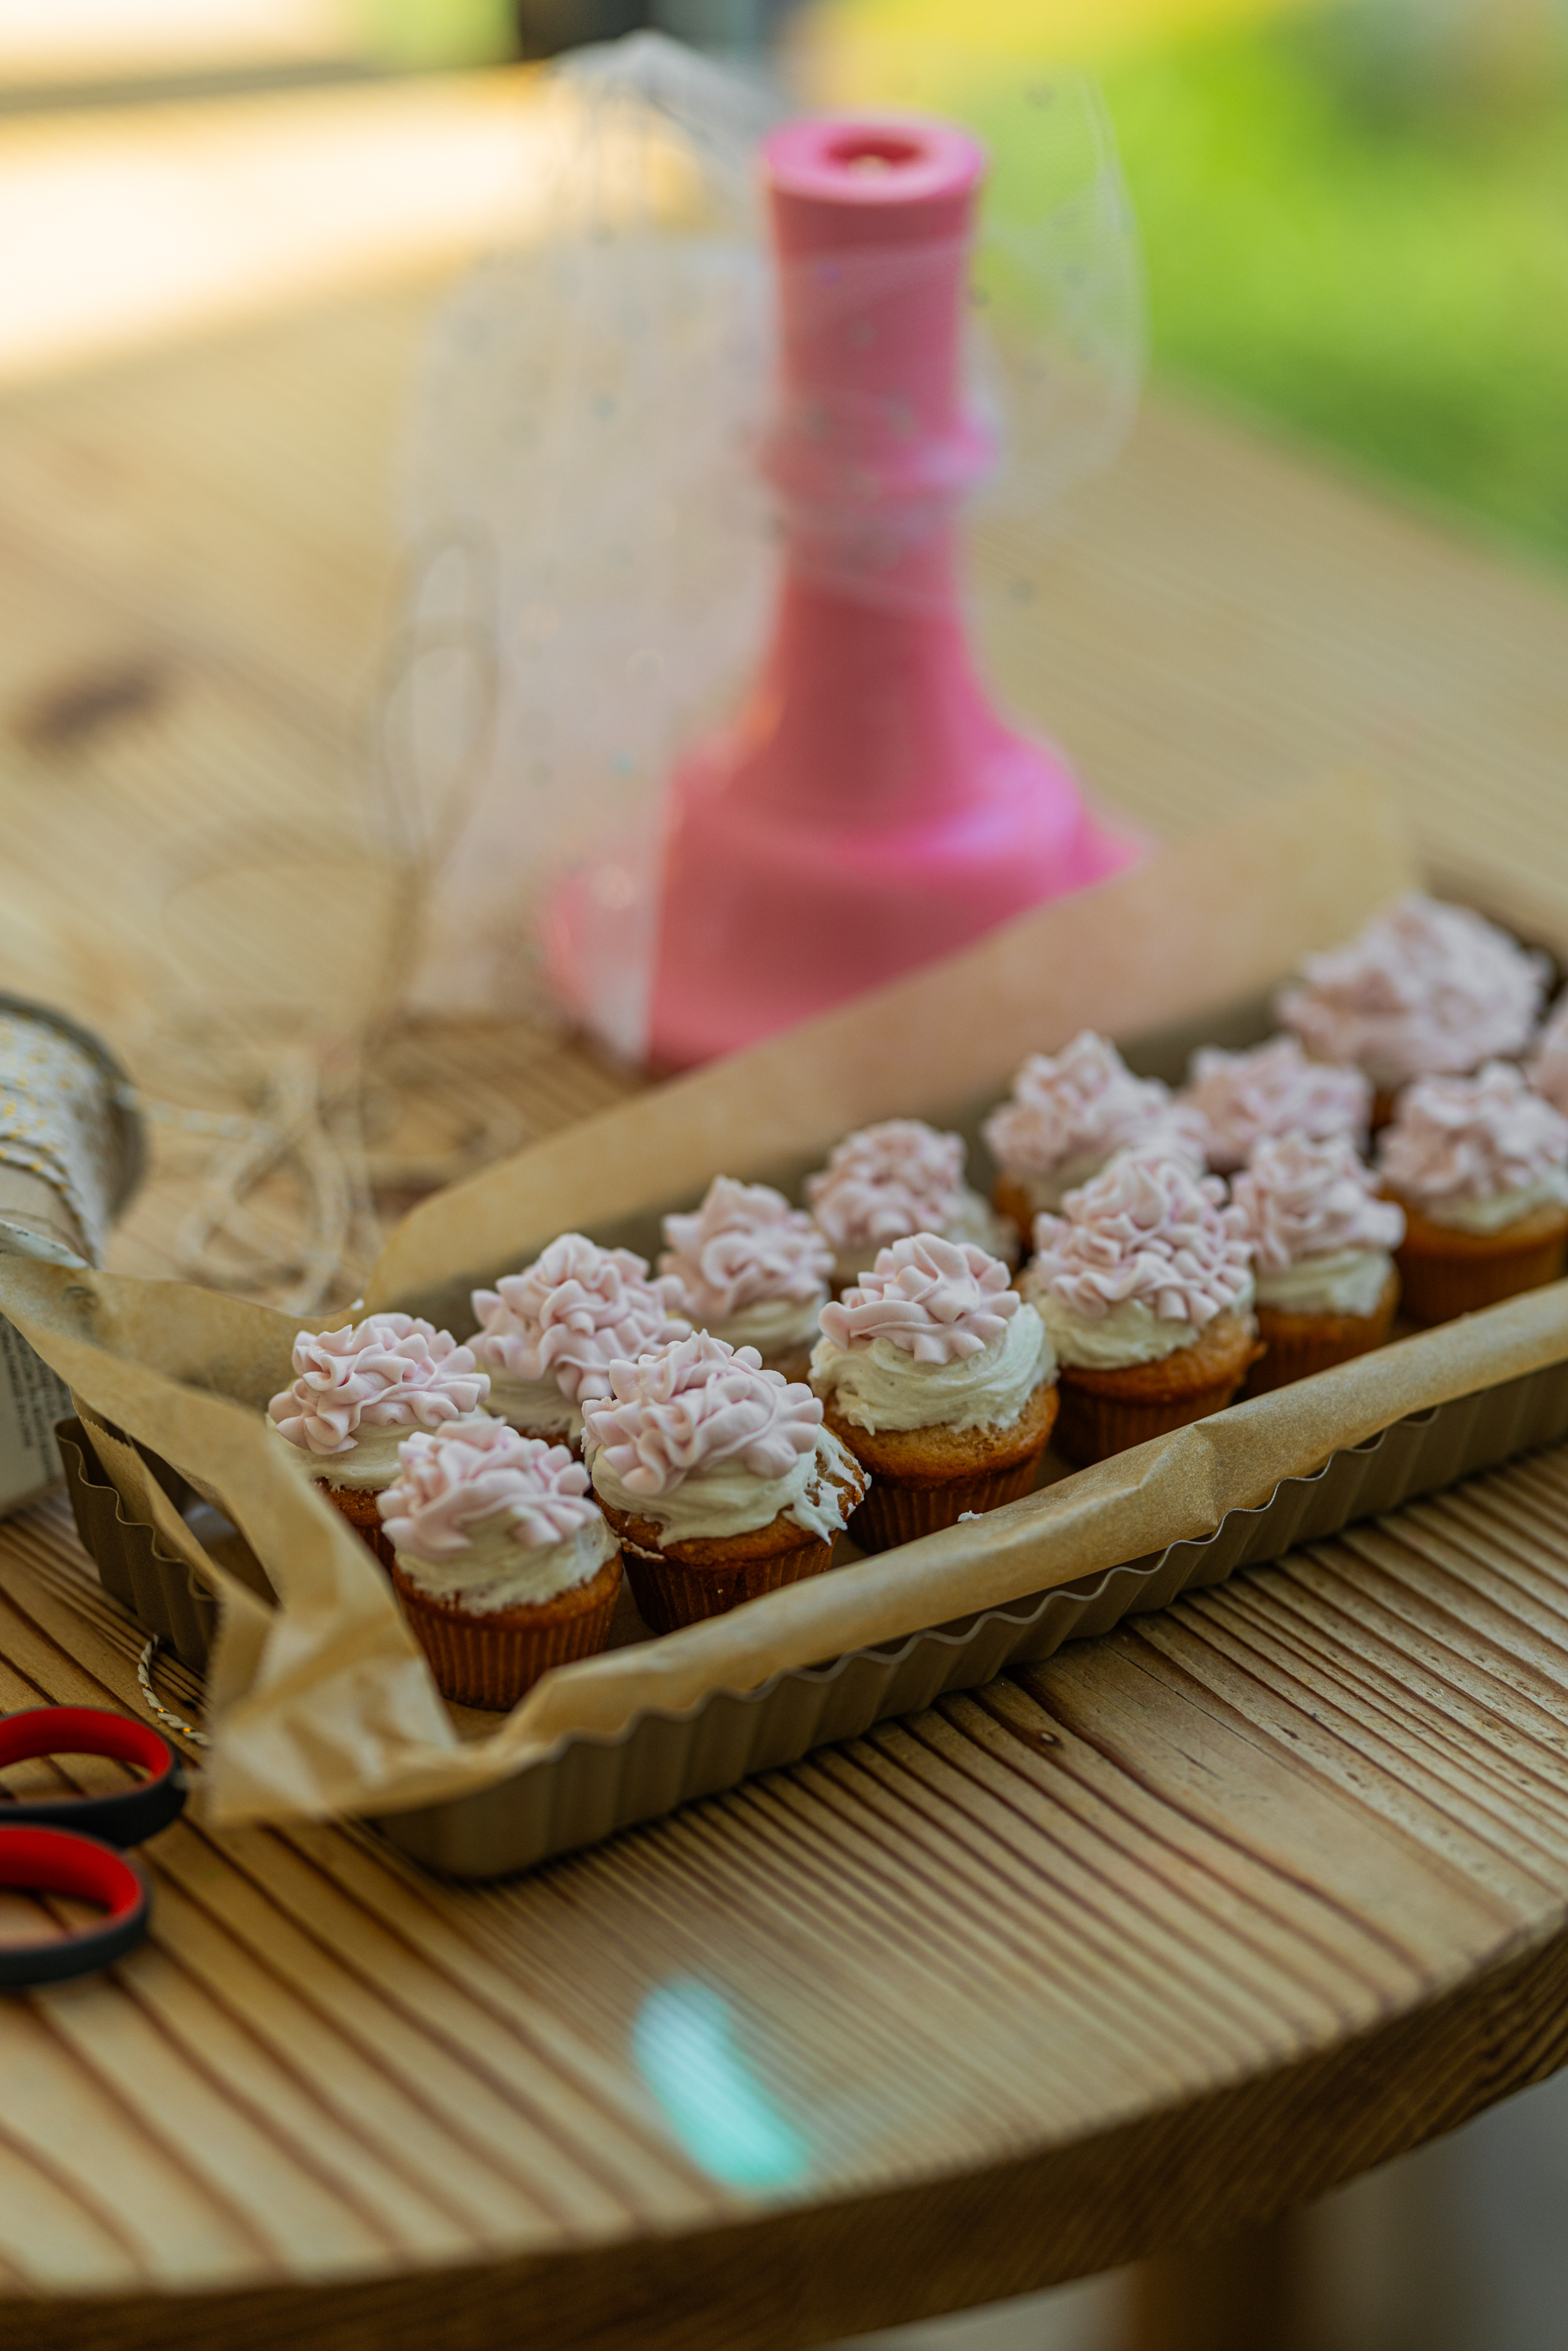
Bake a Cake
I hadn’t baked a cake in forever. I haven’t even baked one for my daughter’s birthday yet. I always order them! So when a friend asked if I could make a cake for her daughter’s first birthday, I had this little moment of, “Oh yeah. I know how to do this.”
And honestly? My daughter was probably more excited than I was. Her excitement was a big part of what got me excited, too.
There was a reason I got the cake-baking assignment: the birthday girl’s food allergies meant the cake needed to be vegan, with no soy ingredients either. If you don’t bake this way regularly, that can sound like a pretty challenging cake. But I already had a familiar recipe in mind.
The funny part is that this was a cake I’ve made about a million times. I just needed a few small swaps. We made a vanilla version and then a strawberry version, and the cake baked up beautifully, fluffy, light, and very much birthday-cake material.
Did I photograph every variation? Of course not. I didn’t even get a photo of the strawberry one. I have a few basic photos and a renewed interest in baking cakes. I’ll take it.
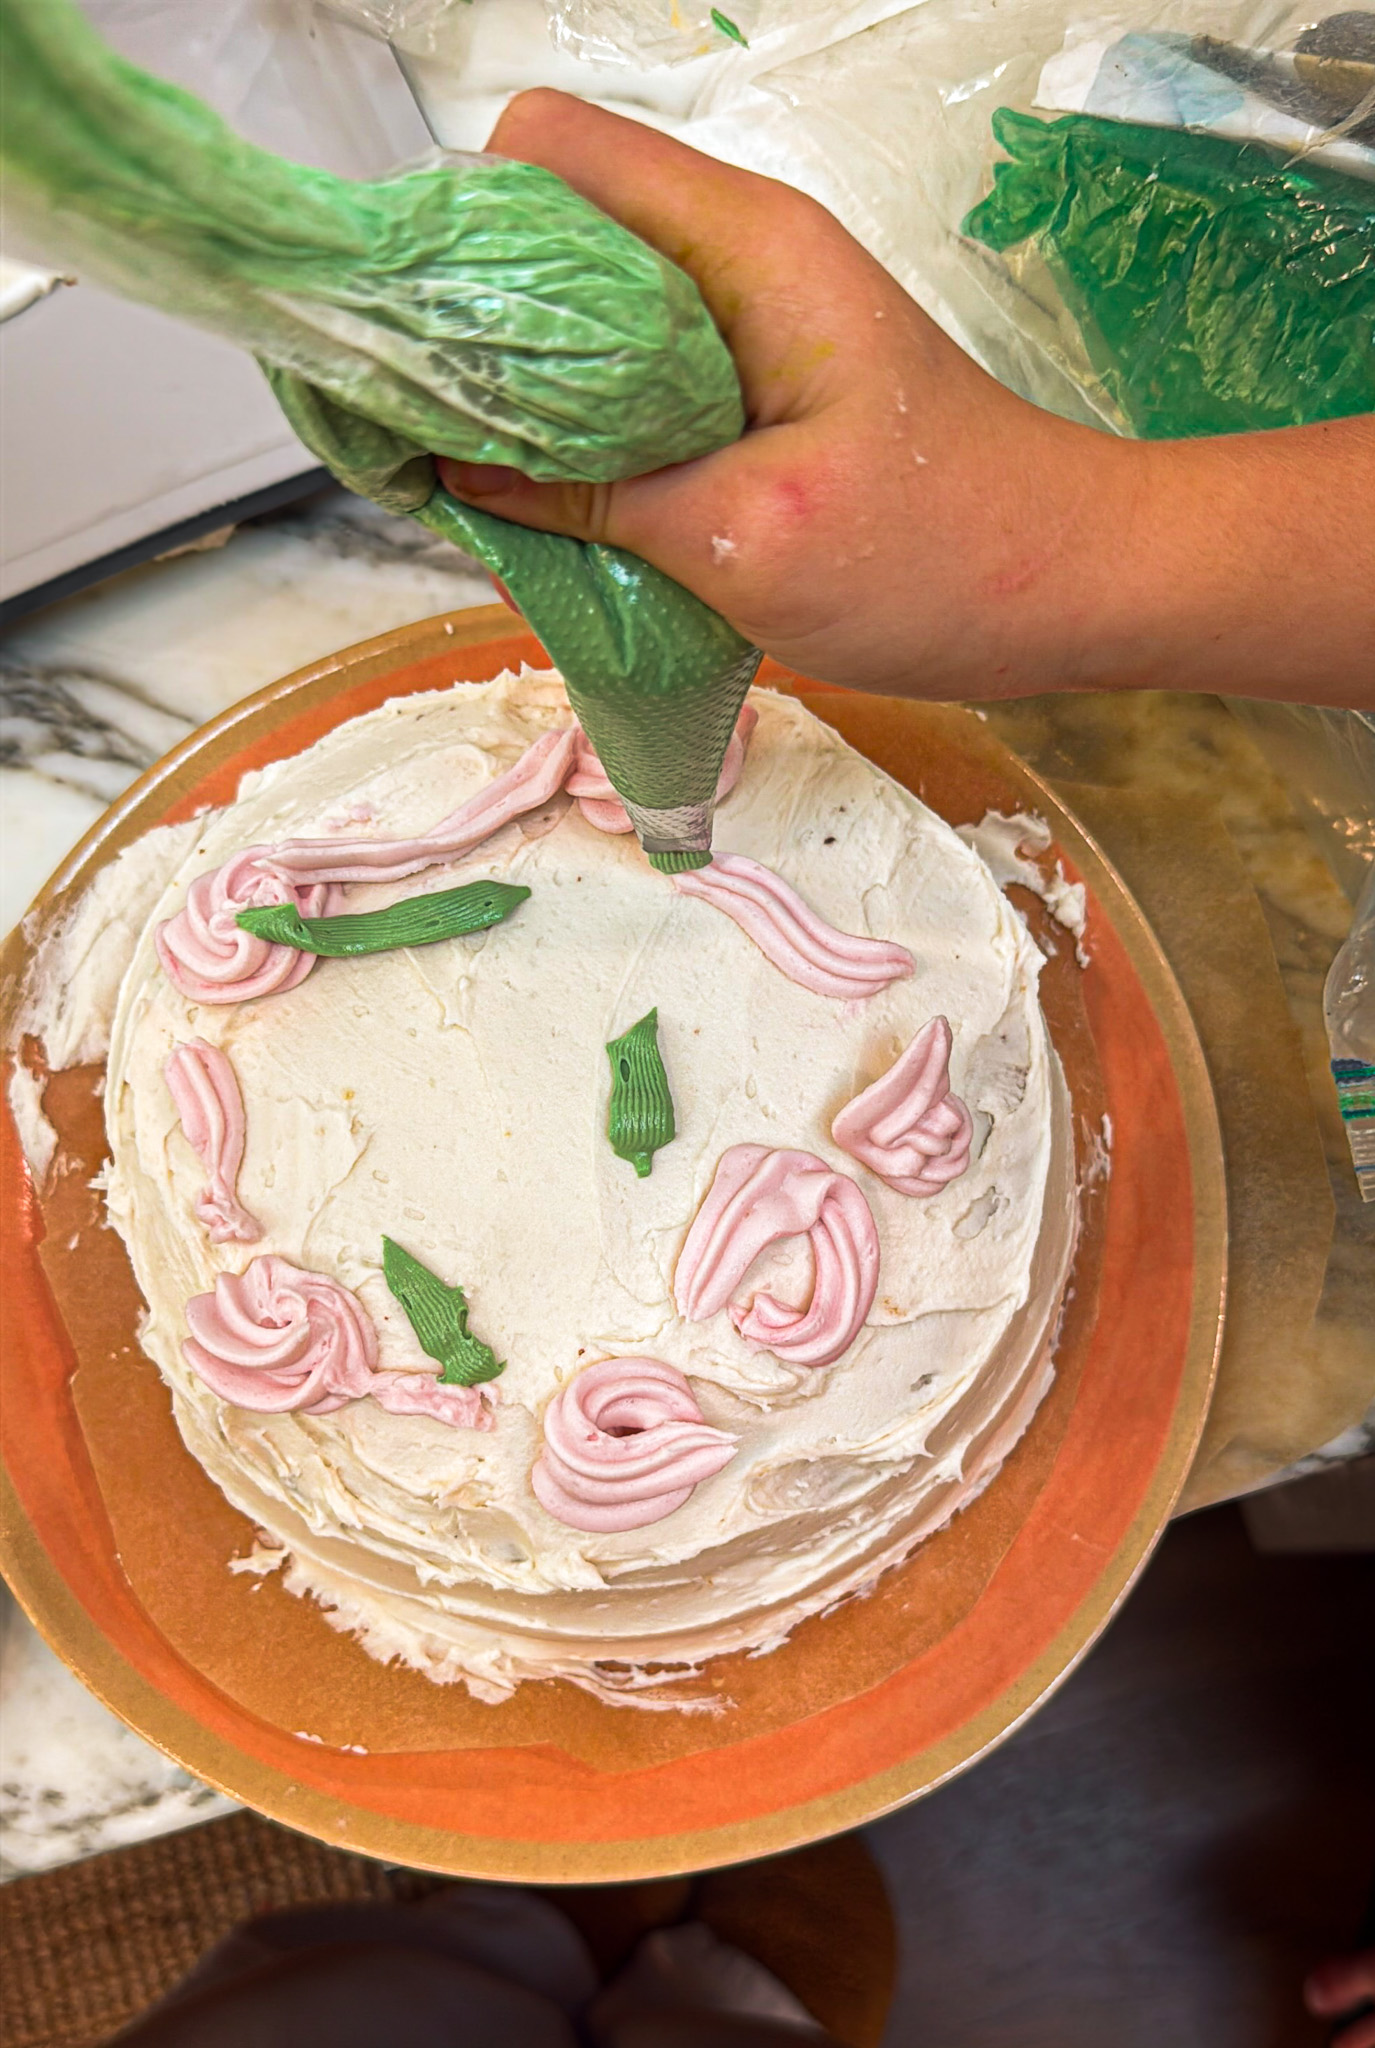
KID-version
The vegan + soy-free swaps I used
For the cake, I used oat milk and a little lemon juice. I love oat milk here because it’s creamy and mild enough to let the vanilla shine. The richness varies by brand, so I look for a creamier variety when I’m baking.
Then there’s the question I always get about vegan baking: what replaces the eggs?
Some of my favorites, depending on the recipe, are silken tofu, a flax egg, and liquid JUST Egg. Flax eggs are an easy option for many cookies. Silken tofu has its place, too, but it was off the table for this cake because of the soy restriction.
For this batch, I used liquid JUST Egg. Yes, it means buying another product, and it isn’t cheap. But I really liked what it did for the texture of this cake. These egg replacements aren’t automatically interchangeable in every recipe; JUST Egg is the one I used here.
Or try DIY-ing a just egg style product using mung beans. Link by veggie fun kitchen.
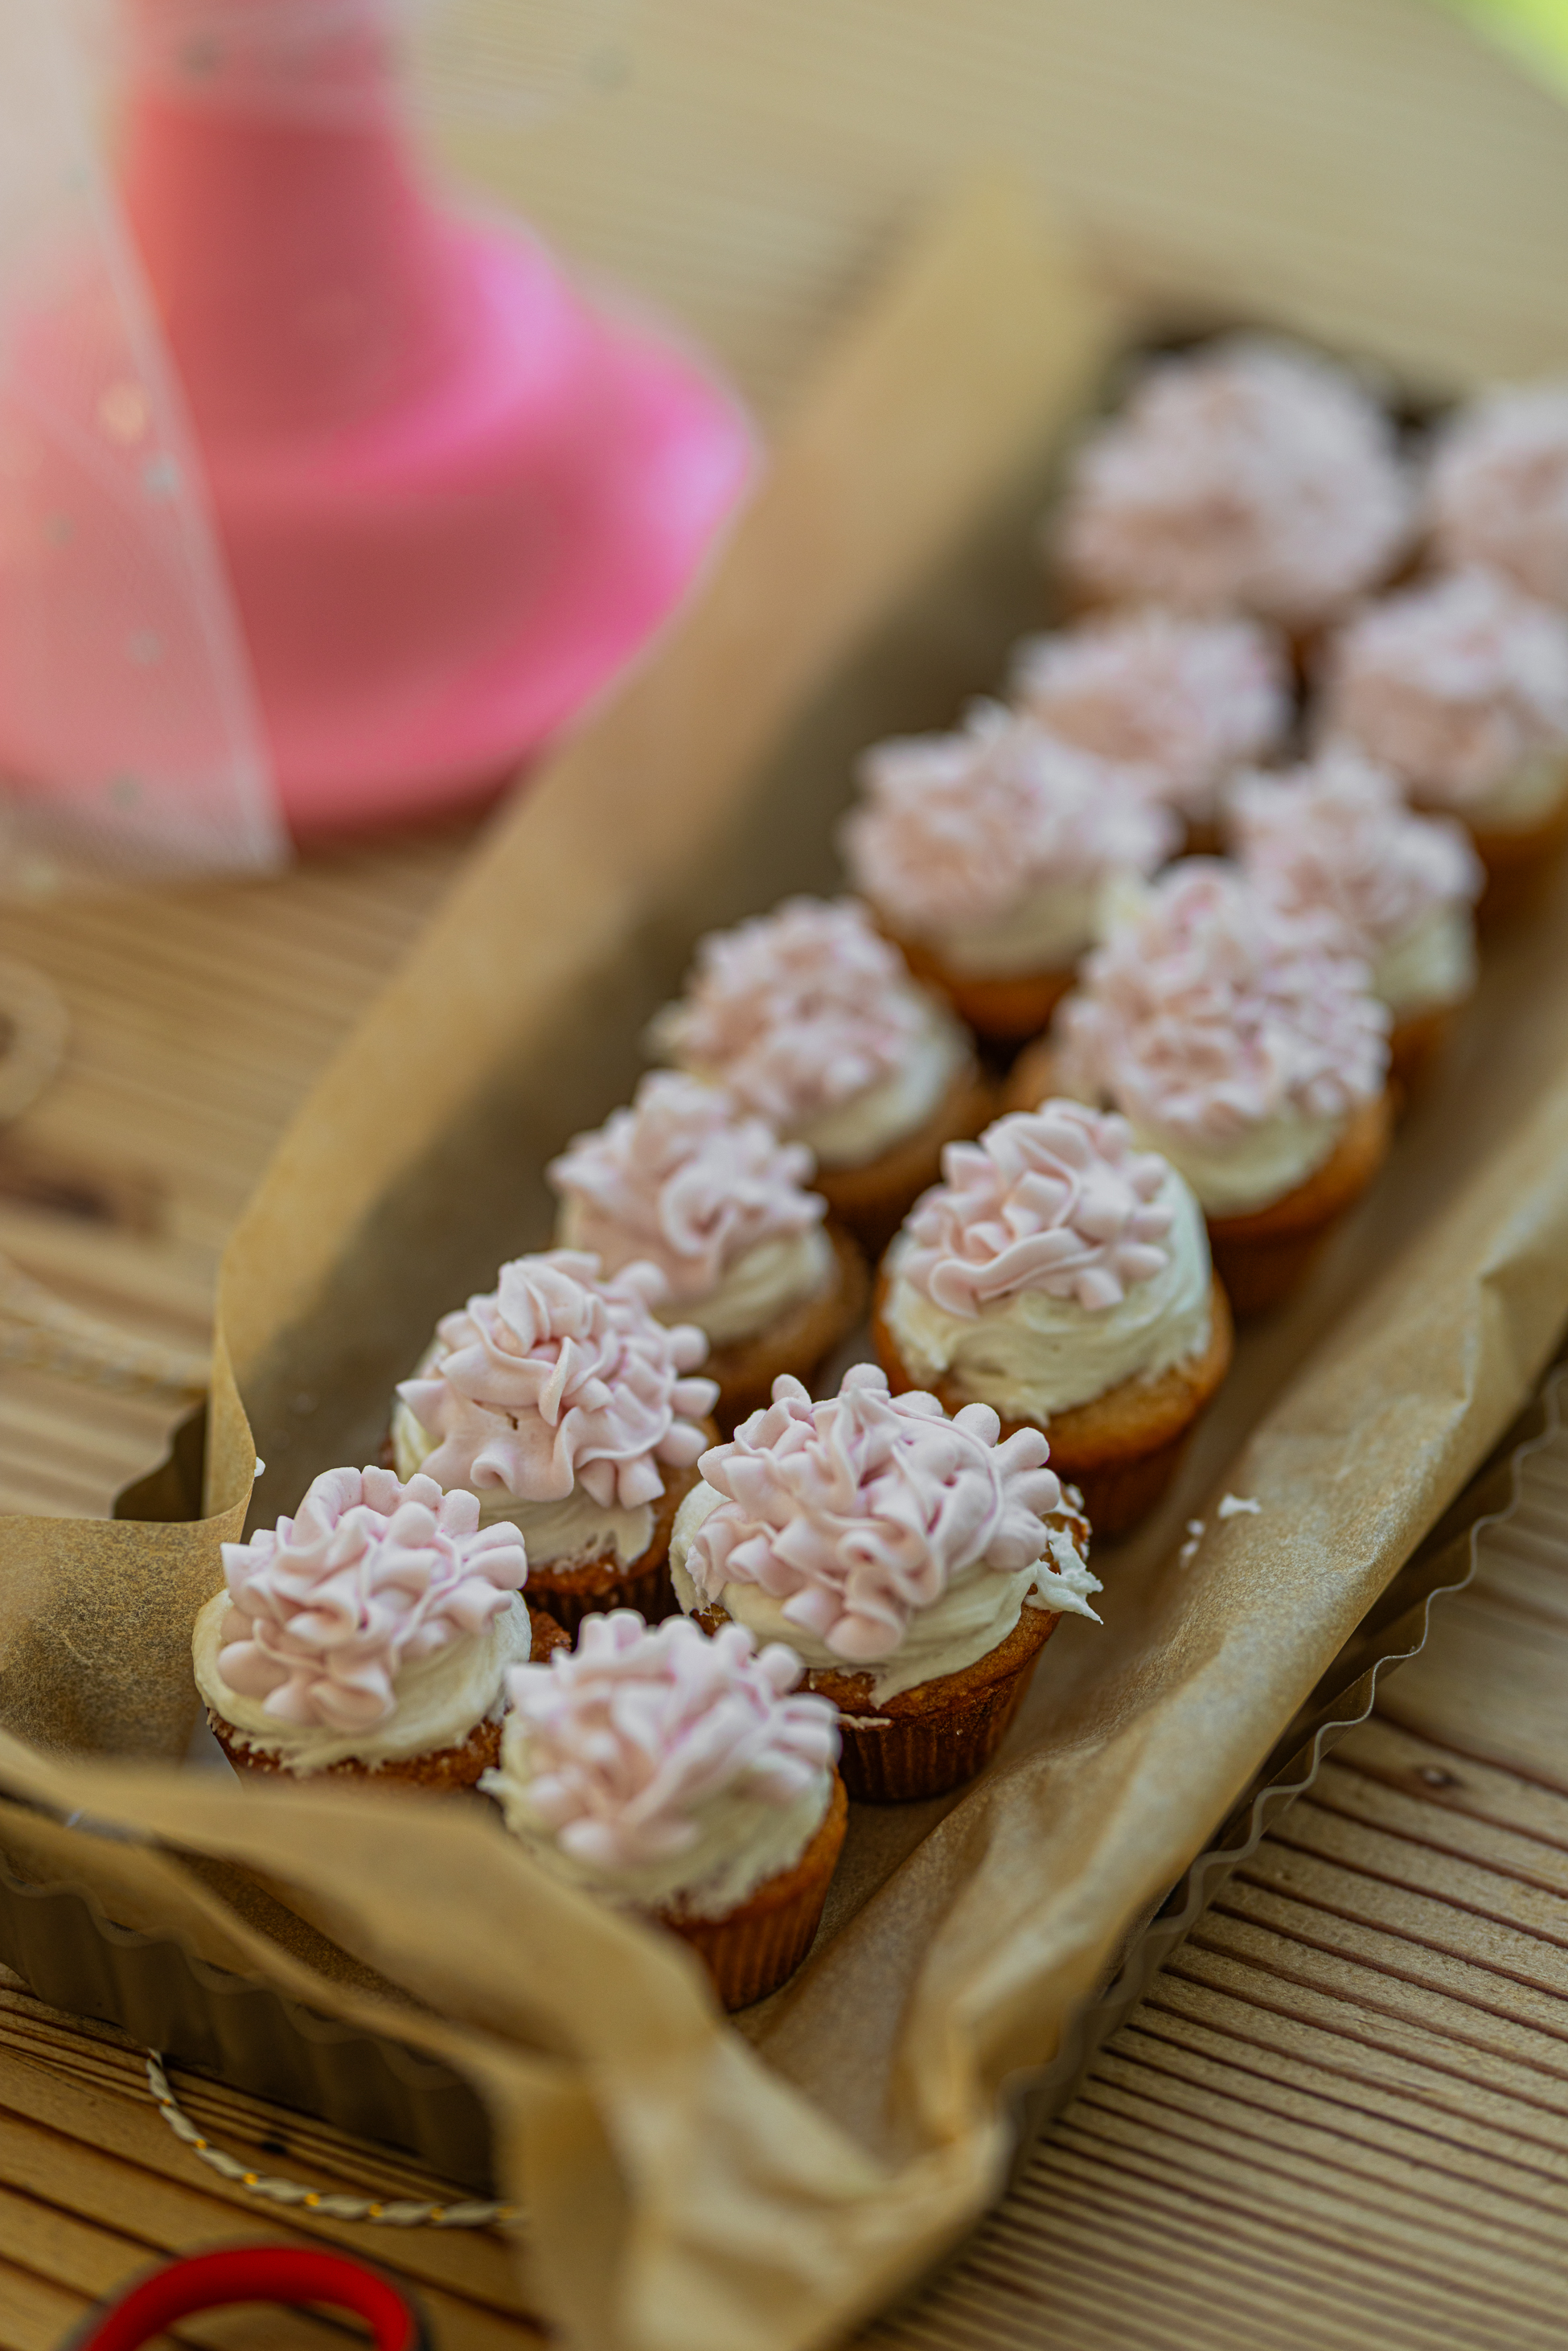
My very forgiving vanilla frosting
The frosting is shortening-based. I know. “Vegetable shortening frosting” doesn’t sound especially dreamy. But stay with me, because it’s delicious.
The two main ingredients are vegetable shortening and confectioners’ sugar, with a little vanilla extract and oat milk to bring everything together. I used Spectrum shortening for this batch.
What I love most is how forgiving it is. It whips up fluffy, spreads easily, and, in my experience, is less fussy to work with than butter-based or cream cheese frosting.
You can make it the night before and refrigerate it in a covered container. When you’re ready to decorate, let it soften enough to whip, then put it back in the stand mixer and fluff it up again. Don’t try to beat a rock-hard block of cold frosting into submission. Give it a little time.
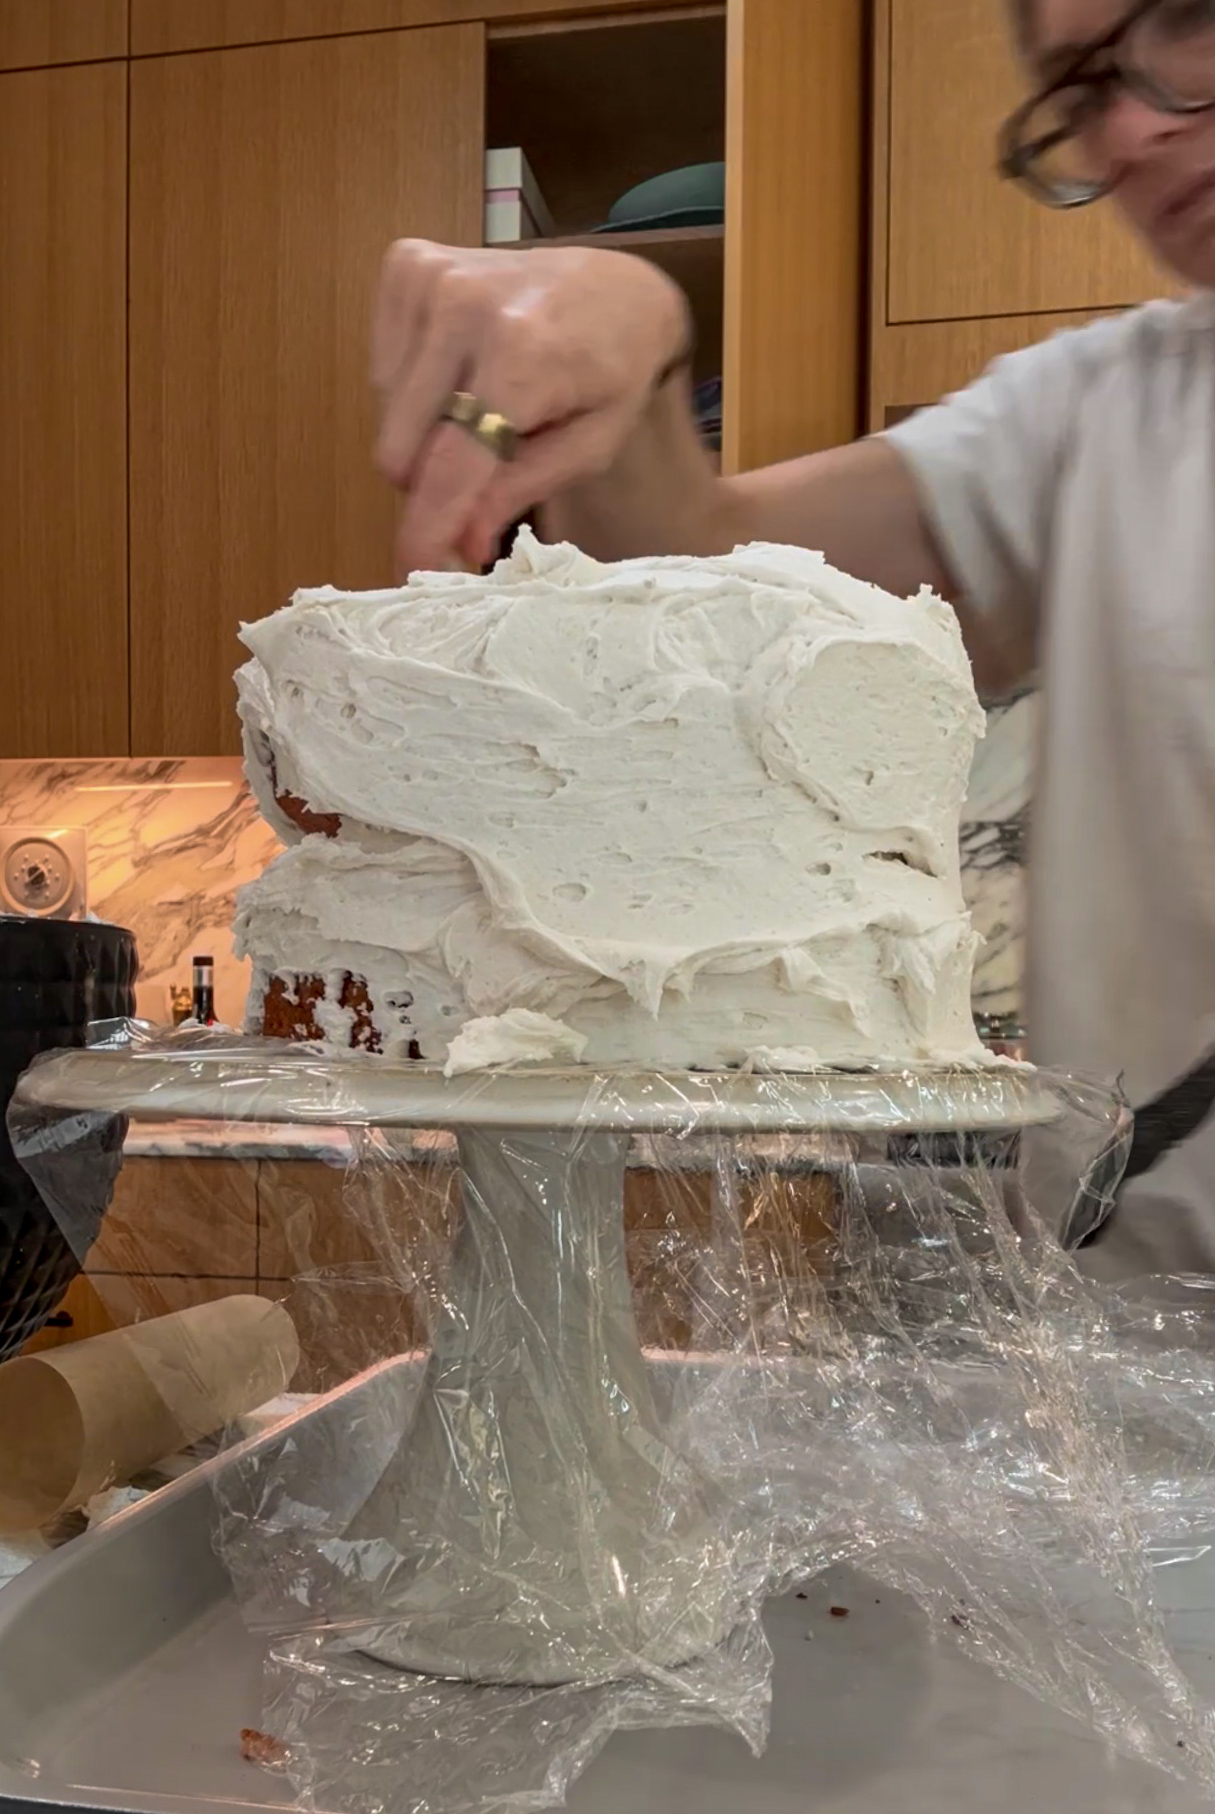
For color, add a few drops of vegan food coloring, a little at a time, until you get the shade you want.
A quick allergy note: vegan doesn’t automatically mean soy-free or suitable for every food allergy. Check the exact labels on your egg replacer, shortening, oat milk, food coloring, and decorations. If you’re baking for someone else’s child, confirm the ingredients and kitchen cross-contact precautions with their parent first.
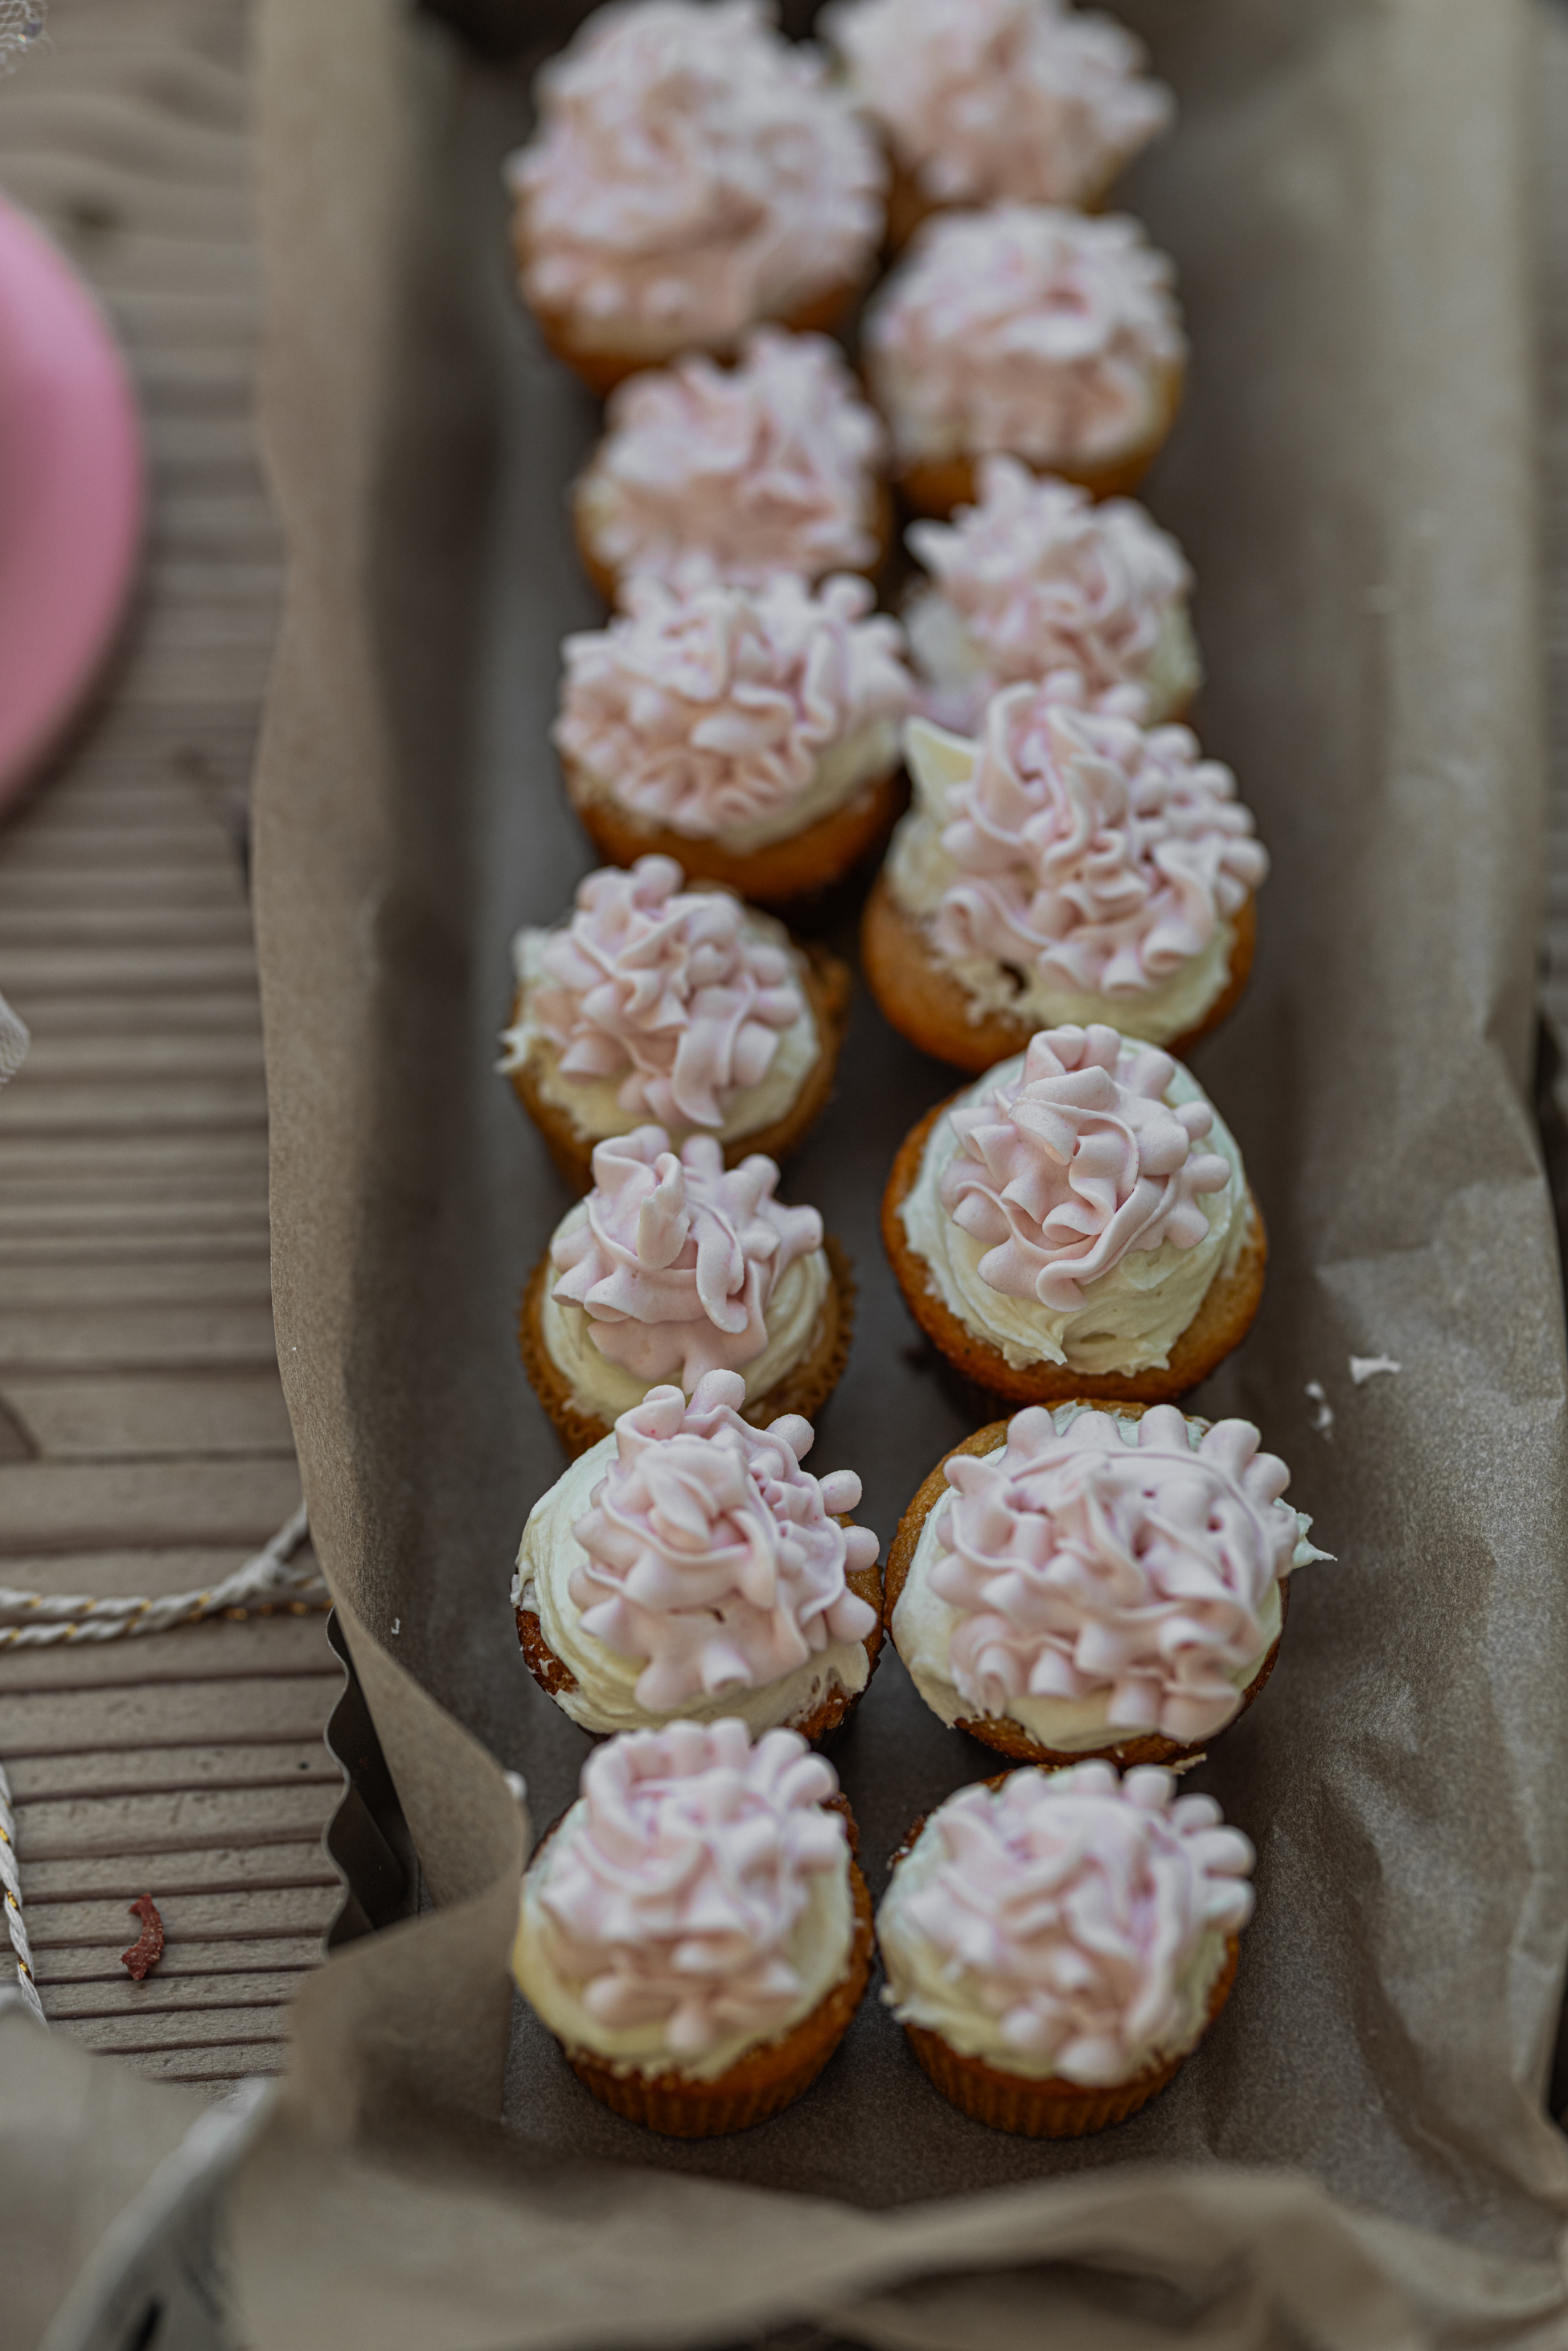
A few cake baking tips
Grease those pans. For smaller layer cakes, I like springform pans because they make getting the cakes out so much easier. I use a little oil and a dusting of flour. I’ve had enough cakes stick to know that this step is worth doing carefully.
Mix the dry ingredients evenly. Whisk the flour, salt, and baking powder together before adding them to the wet ingredients. That helps distribute the baking powder throughout the batter. Once everything is combined, mix just until smooth, without overbeating, and get the batter into the oven promptly.
Watch the cake, not just the clock. My cakes baked at 350°F for roughly 25–30 minutes, but the timing depends on the size of your pans and how deep the batter is. Look for lightly golden edges and a center that springs back gently. A toothpick should come out without wet batter.
Give yourself time to chill the layers
If I can offer one piece of advice that makes the whole process easier, it’s this: bake your cake ahead of time.
The day before is great. The morning of can work, too, as long as you leave plenty of time for cooling. Let the layers cool completely, then wrap them and chill them in the fridge before you stack and frost.
Please don’t frost a warm cake. The frosting can soften, slide around, and turn the whole thing into a situation.
Think of that cake scene in Sleeping Beauty. I have questions about whether the fairies properly chilled their layers.
Cold cake layers are simply easier to handle. You’ve already done the baking. Give yourself this one little advantage.
A few tools and a grocery reality check
An offset spatula makes frosting a cake so much easier. A rotating cake stand—a cake turntable—is helpful, too, especially when you’re smoothing the sides. But a regular cake stand or sturdy plate is absolutely fine. You don’t need an entire cake-decorating setup to make something lovely.
The most annoying part of baking right now might honestly be buying the ingredients. The grocery total adds up fast.
If you bake often, compare unit prices on larger bags of flour and sugar and bigger bottles of oil. Costco can be worth a look. Store the dry ingredients in airtight containers, and only buy quantities you’ll actually use while they’re fresh. A giant bag of sugar makes more sense when there are more cakes in your future.
Apparently I want to bake cakes again
That was my favorite part of this whole thing. Sometimes you only need to do something once to remember how much you enjoy it—and that it doesn’t have to be as complicated as you’ve made it in your head.
I’d love to play around more with decorating. Frosting roses? Absolutely no idea what I’m doing. But my daughter and I adore Is It Cake?, so naturally part of me thinks we should attempt some wildly ambitious cake disguised as an everyday object.
First, I need to figure out where people even buy fondant.
For now, fluffy layers and a generous swirl of vanilla frosting feel like a pretty good place to start.
Happy cake baking!
Vegan + Soy Free Birthday Cake
Ingredients
WET
- ½ cup sunflower oil
- 2 teaspoon vanilla extract
- 1 ⅓ cup sugar
- ½ cup JUST EGG
- 1 cup oat milk, full fat, unflavored
- 2 tablespoon lemon juice
DRY
- 2 ¼ cup AP flour
- ½ teaspoon salt
- 3 teaspoon baking powder
FROSTING
- 1 cup vegetable shortening - spectrum
- 4 cups powdered sugar
- 2-4 tablespoon oat milk
- ½ teaspoon vanilla extract
- ⅛ teaspoon salt, optional
Instructions
- Preheat oven to 350 degrees.
- Grease your baking pans, two round tins 6-8 inches. Smaller pans will produce thicker cakes. I grease with a bit of oil and a pinch of flour Parchment sheets can help line the bottoms of pans.
- Add all the wet ingredients to a large mixing bowl. Mix a bit.
- Add in the dry ingredients. Mix until smooth and fluffy.
- Pour batter into baking tins.
- Bake at 350 for 22-30 minutes, depending on pan size. My 7 inch pans did about 27 minutes.
- Remove cakes and allow them to completely cool. A few hours or overnight. If making the day before, wrap slightly cooled cakes in plastic wrap and place in fridge until morning.
- Frosting can be made ahead of time and re-whipped, or made same day. The main rule is to only whip when the frosting or shortening is about room temperature. That ensures a fluffy easy whip. Add shortening, vanilla and oat milk to mixing bowl. Whip with a whipping attachment. Then add in the sugar and whip from low to high until fluffy. A few minutes should be good.
- Frost your cake in layers. Use the flat side or the cake on the top and bottom for an even frost on top. Keep cake at room temperature for a few hours, if serving right away. Or place in fridge to chill. Just allow the frosting time to soften before serving.
Equipment
- 2 cake tins 7 inch
- mixer or kitchen-aid
nutrition estimate | per serving


Leave a Reply