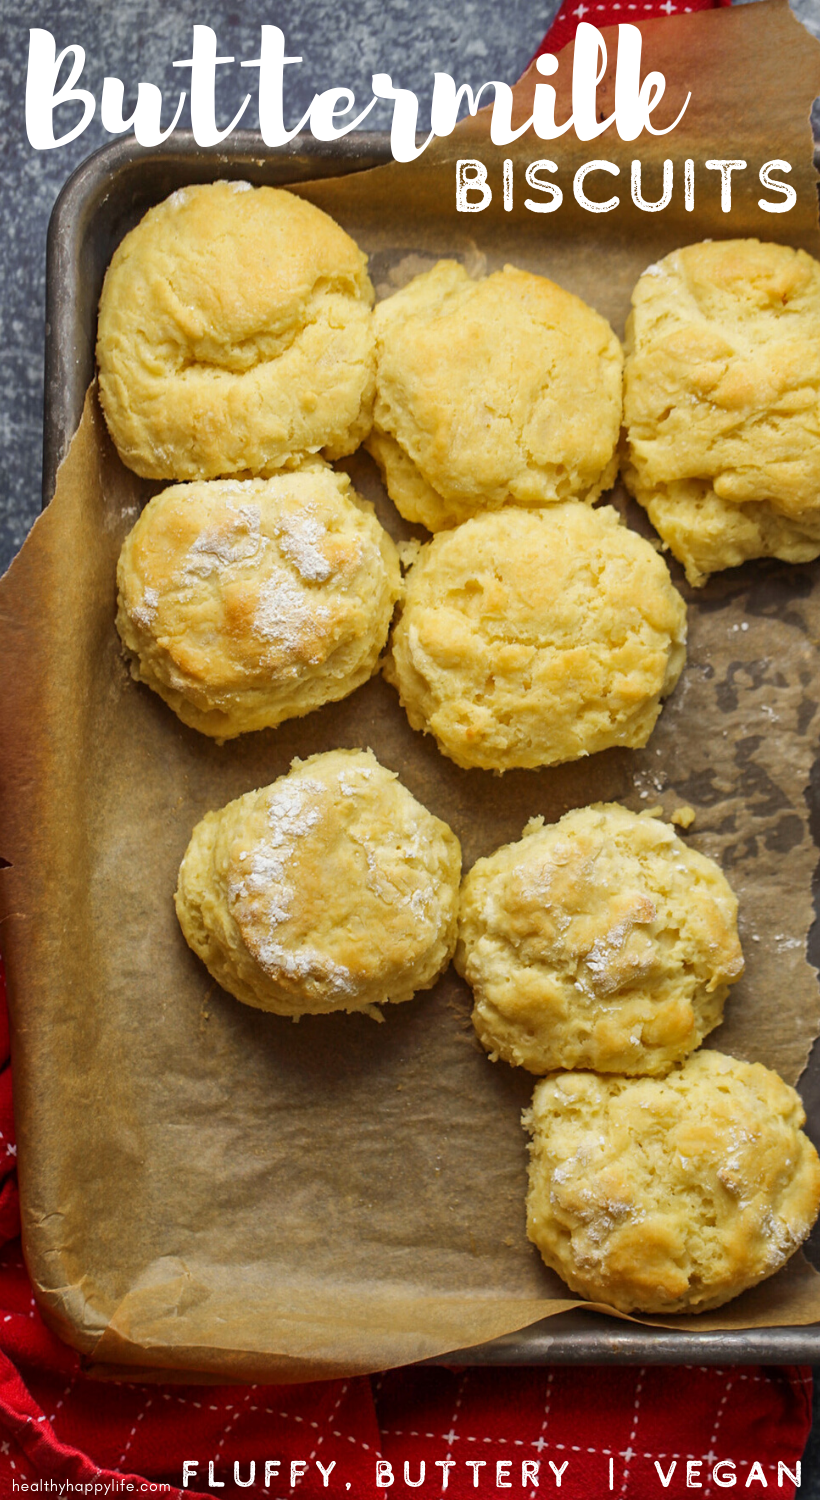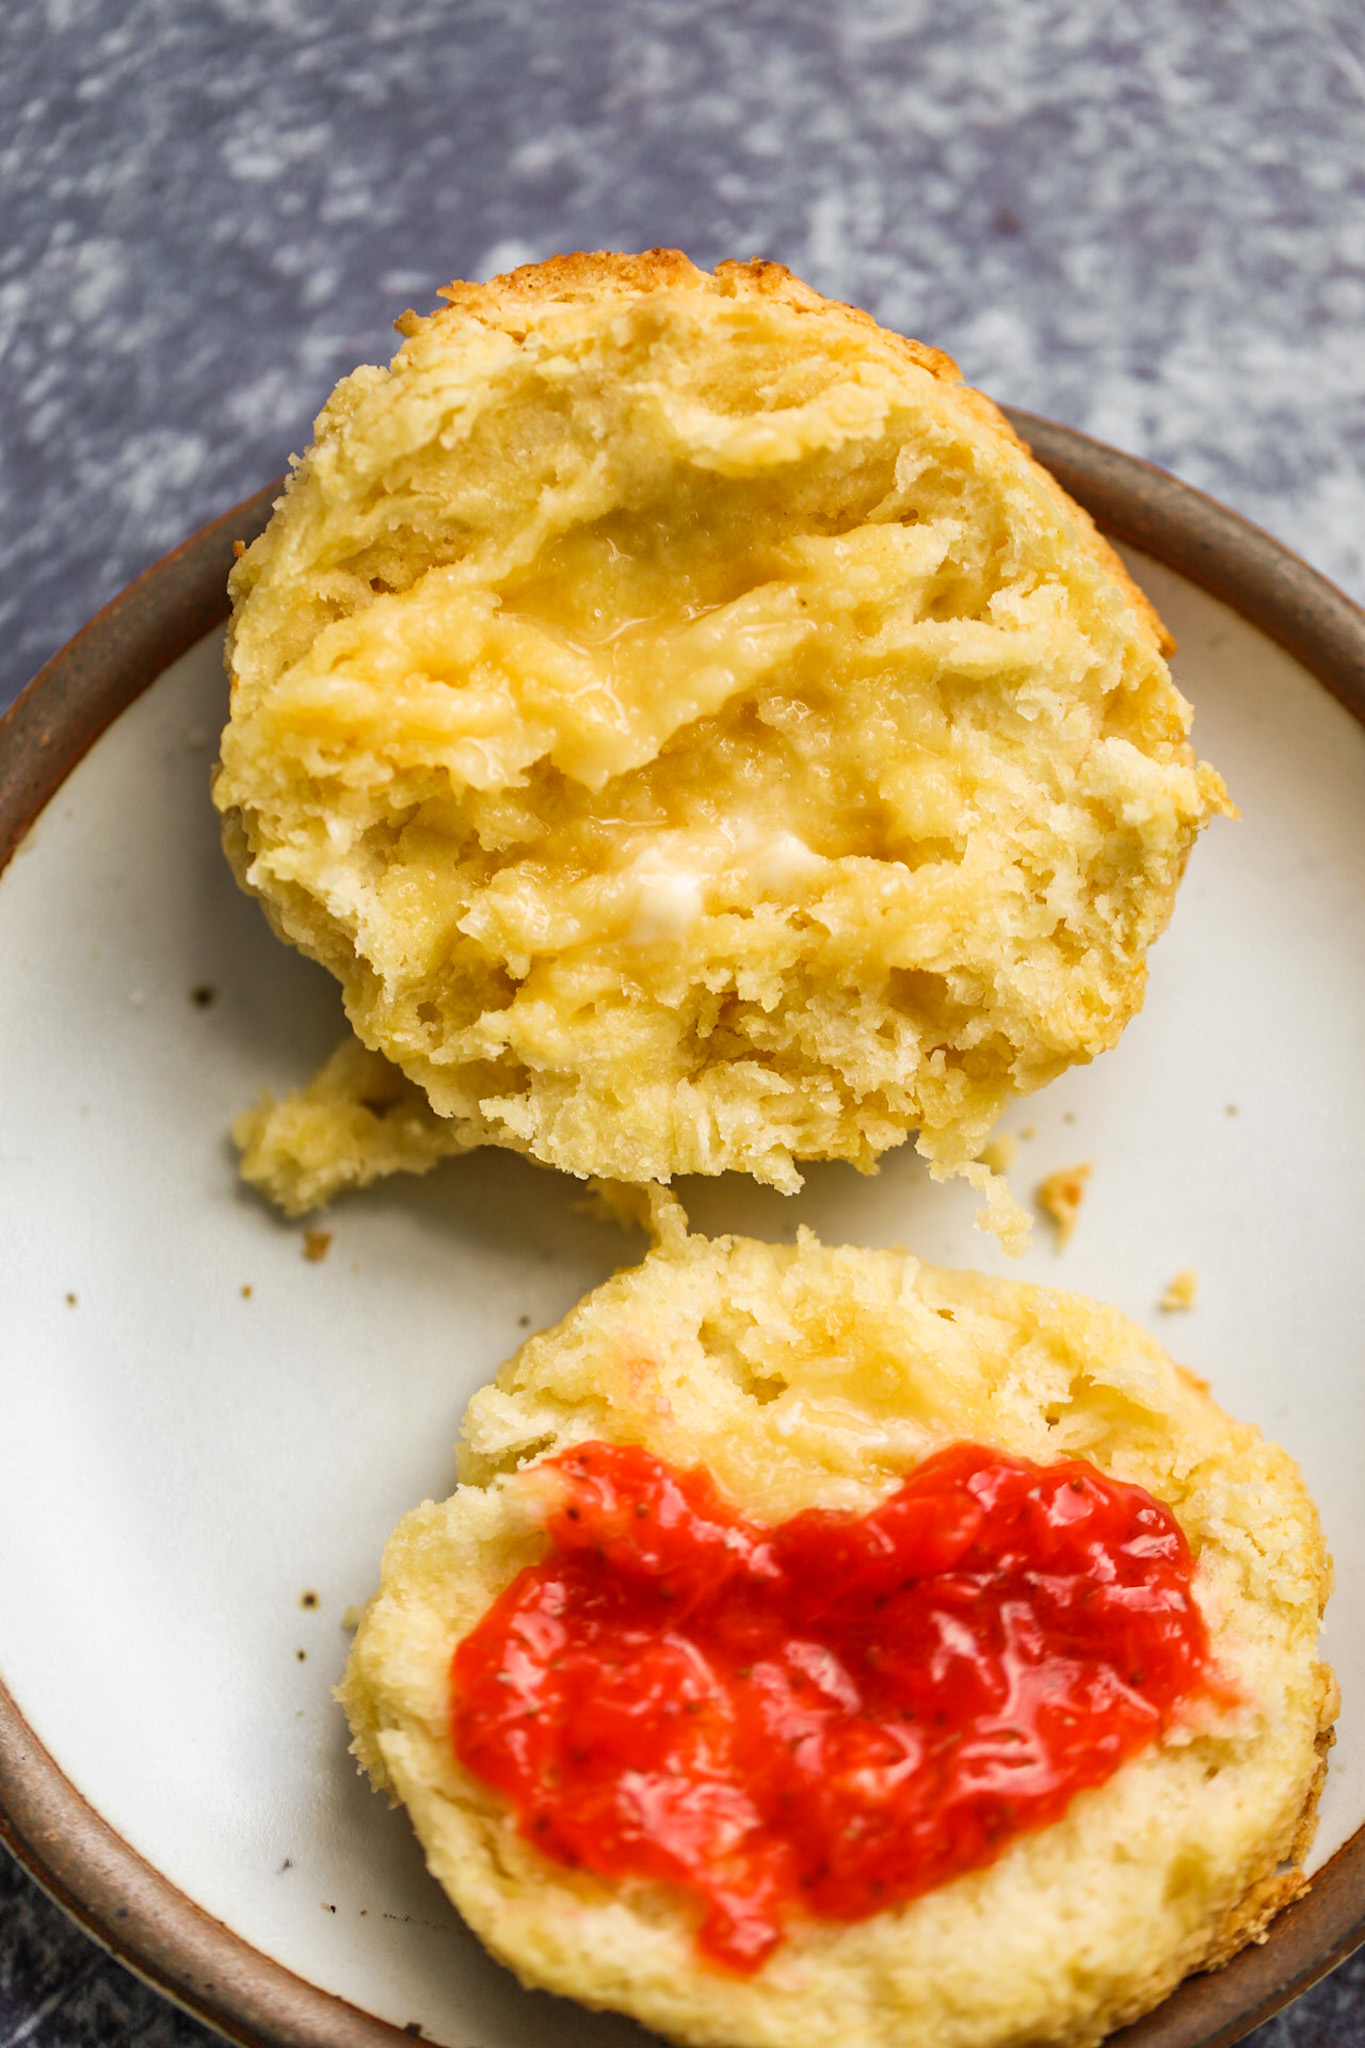
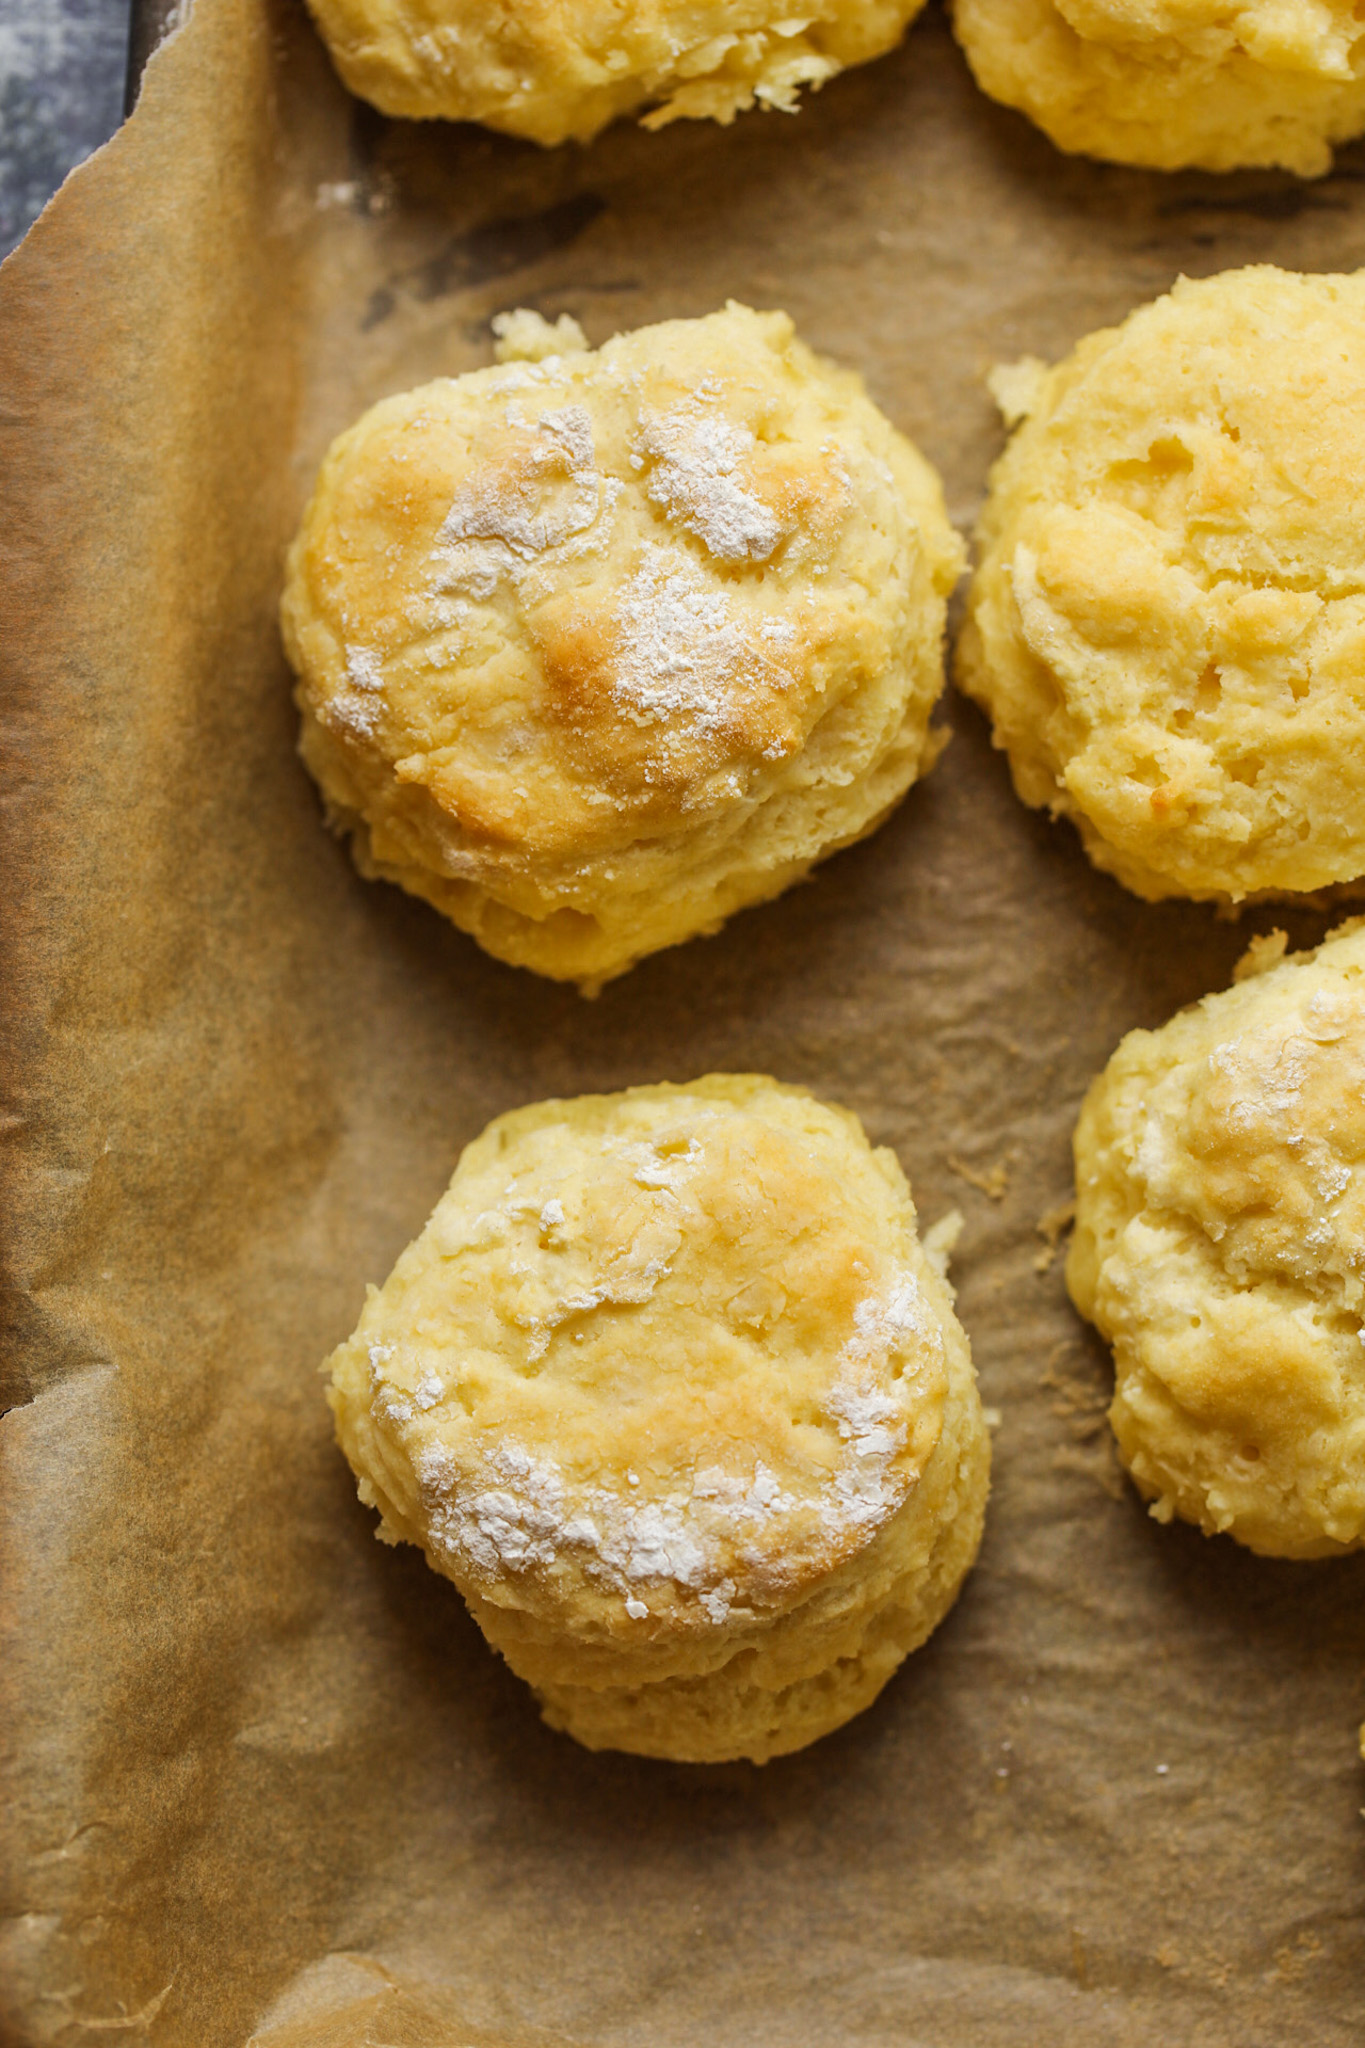
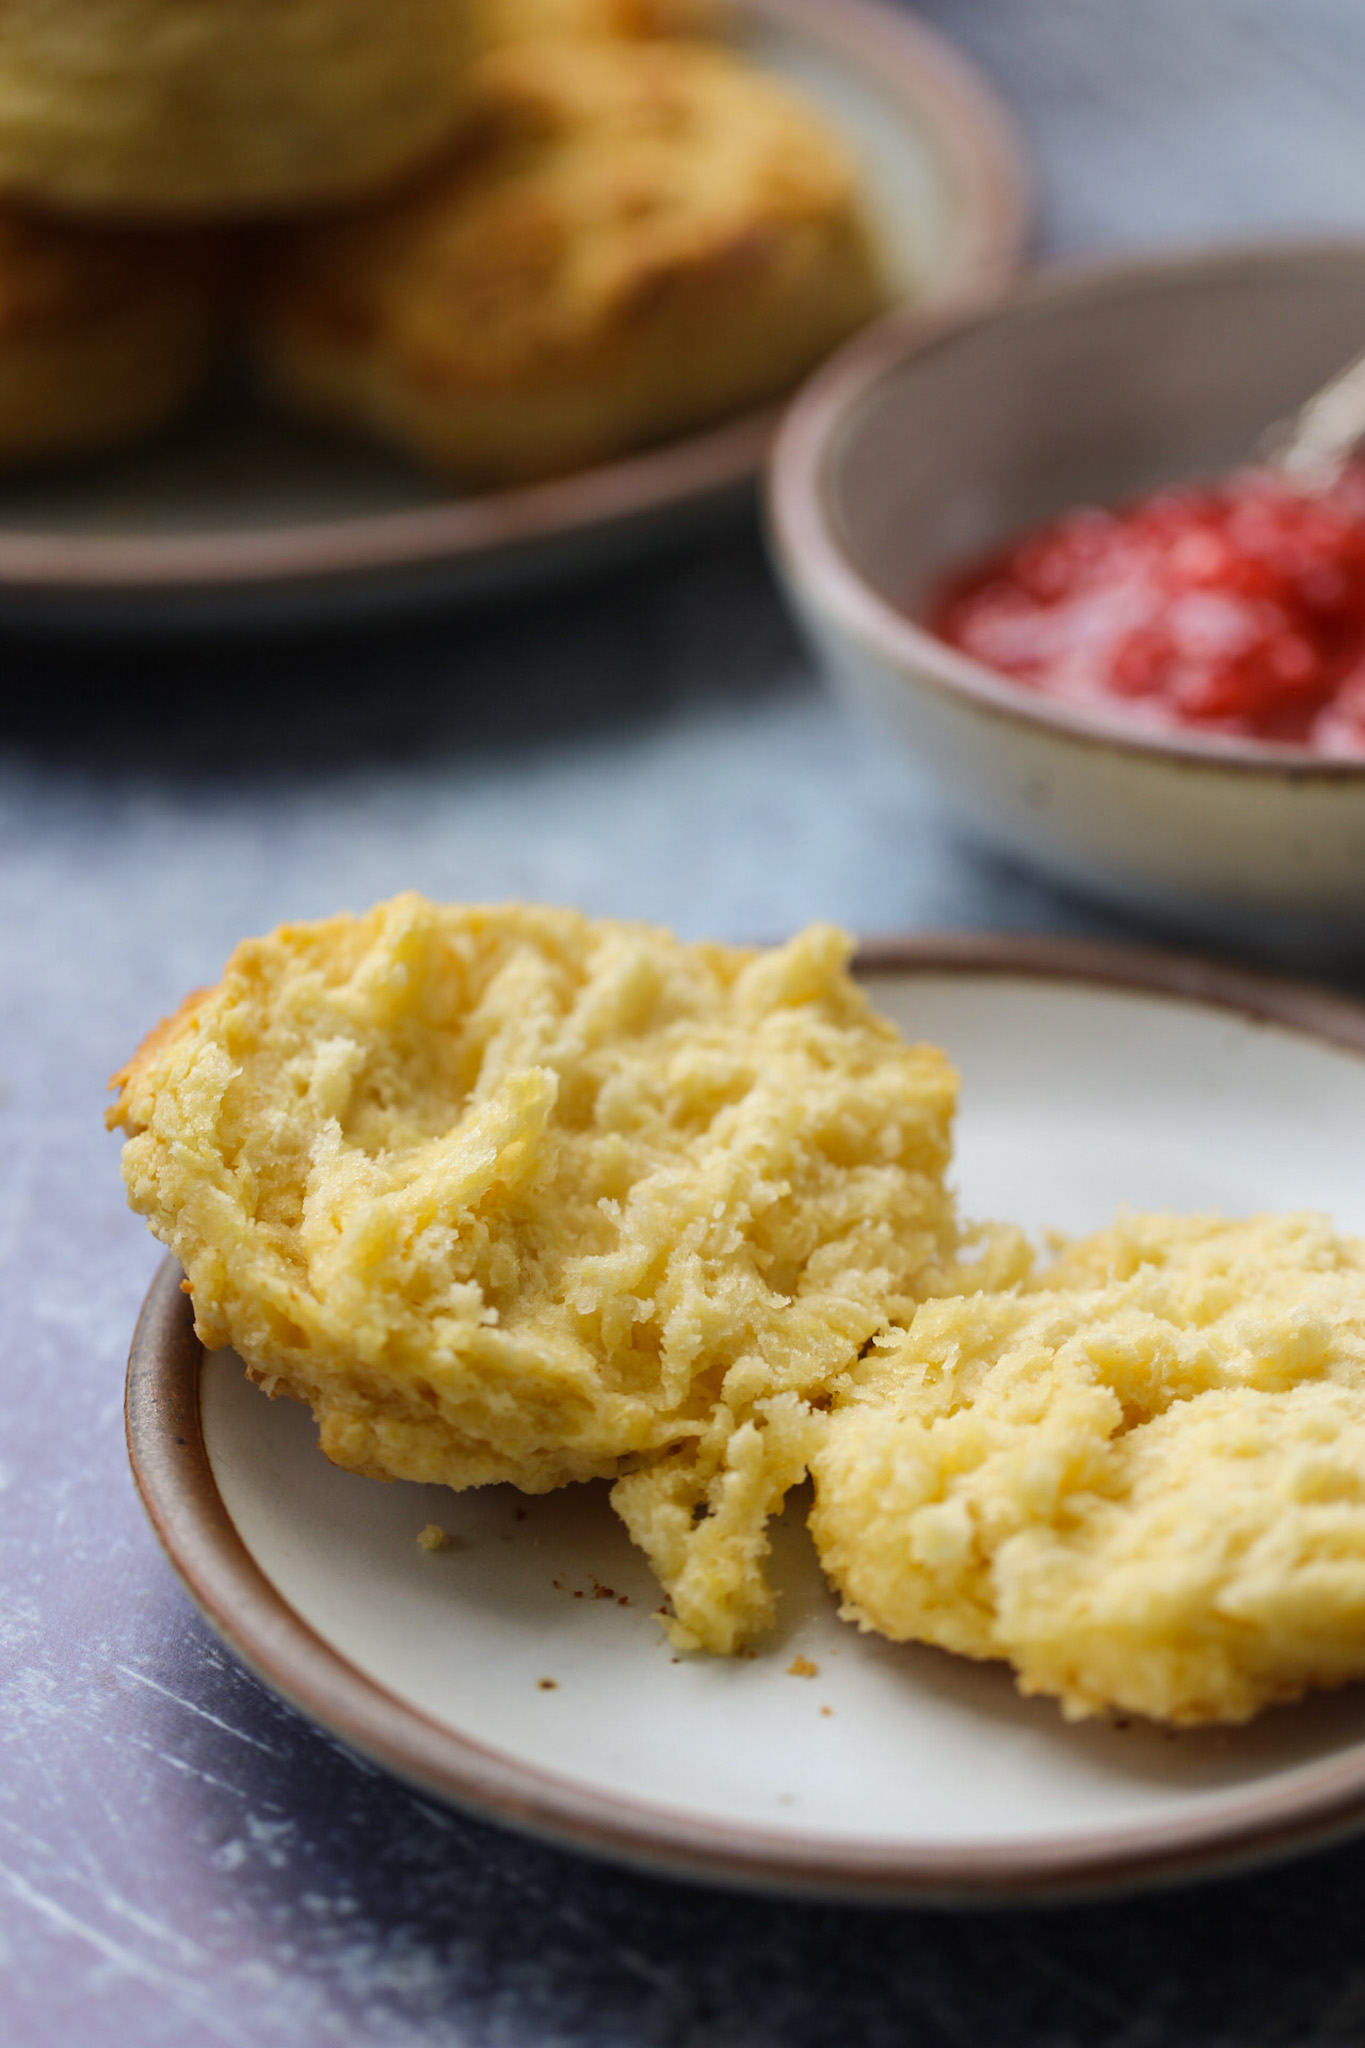
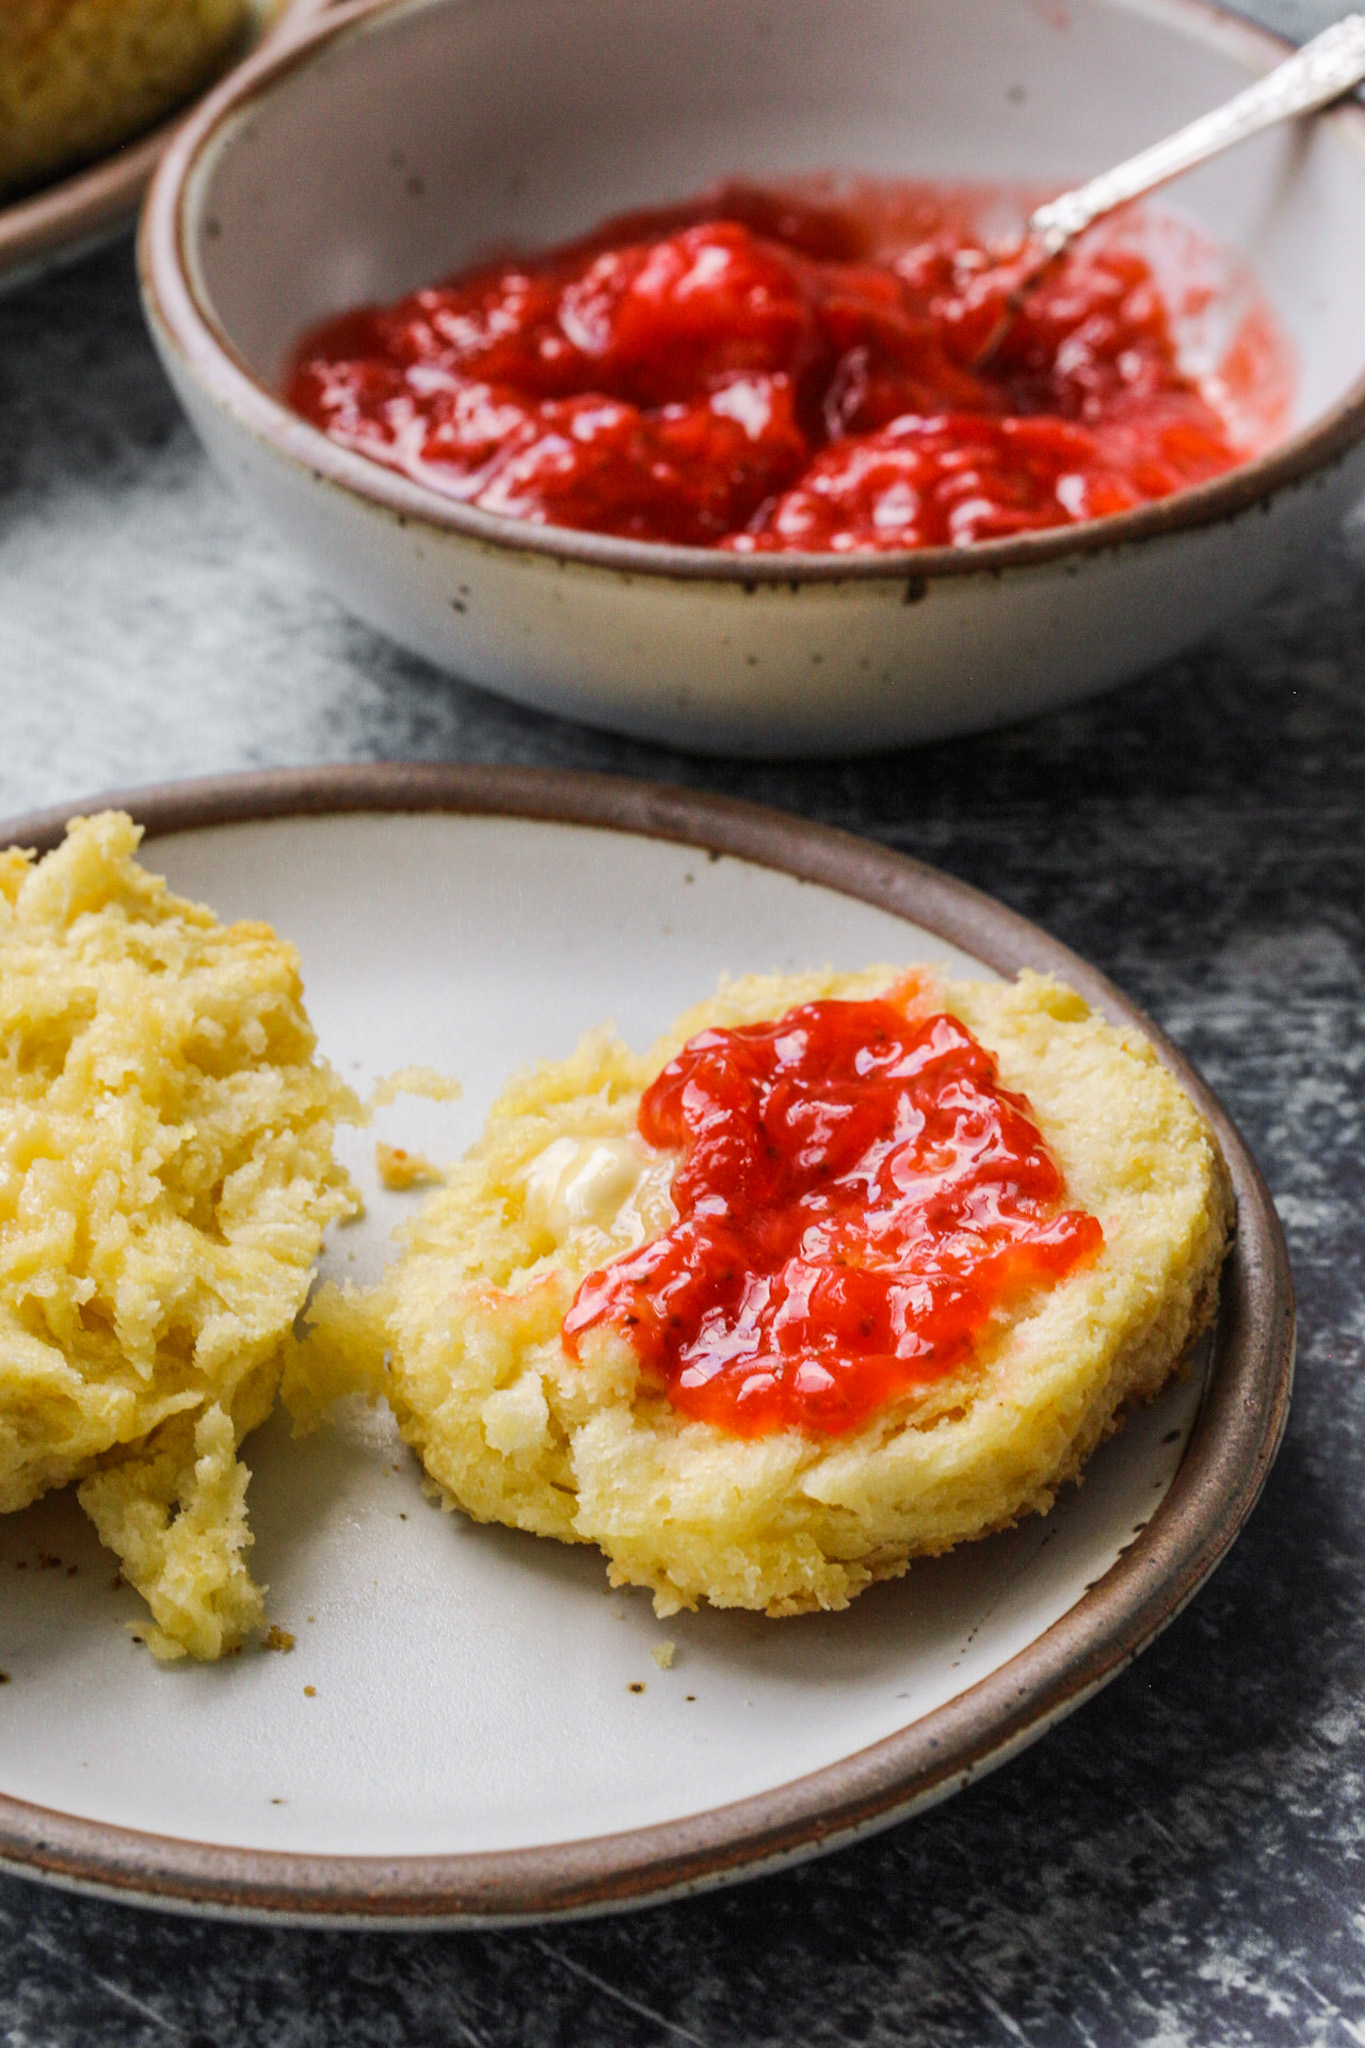
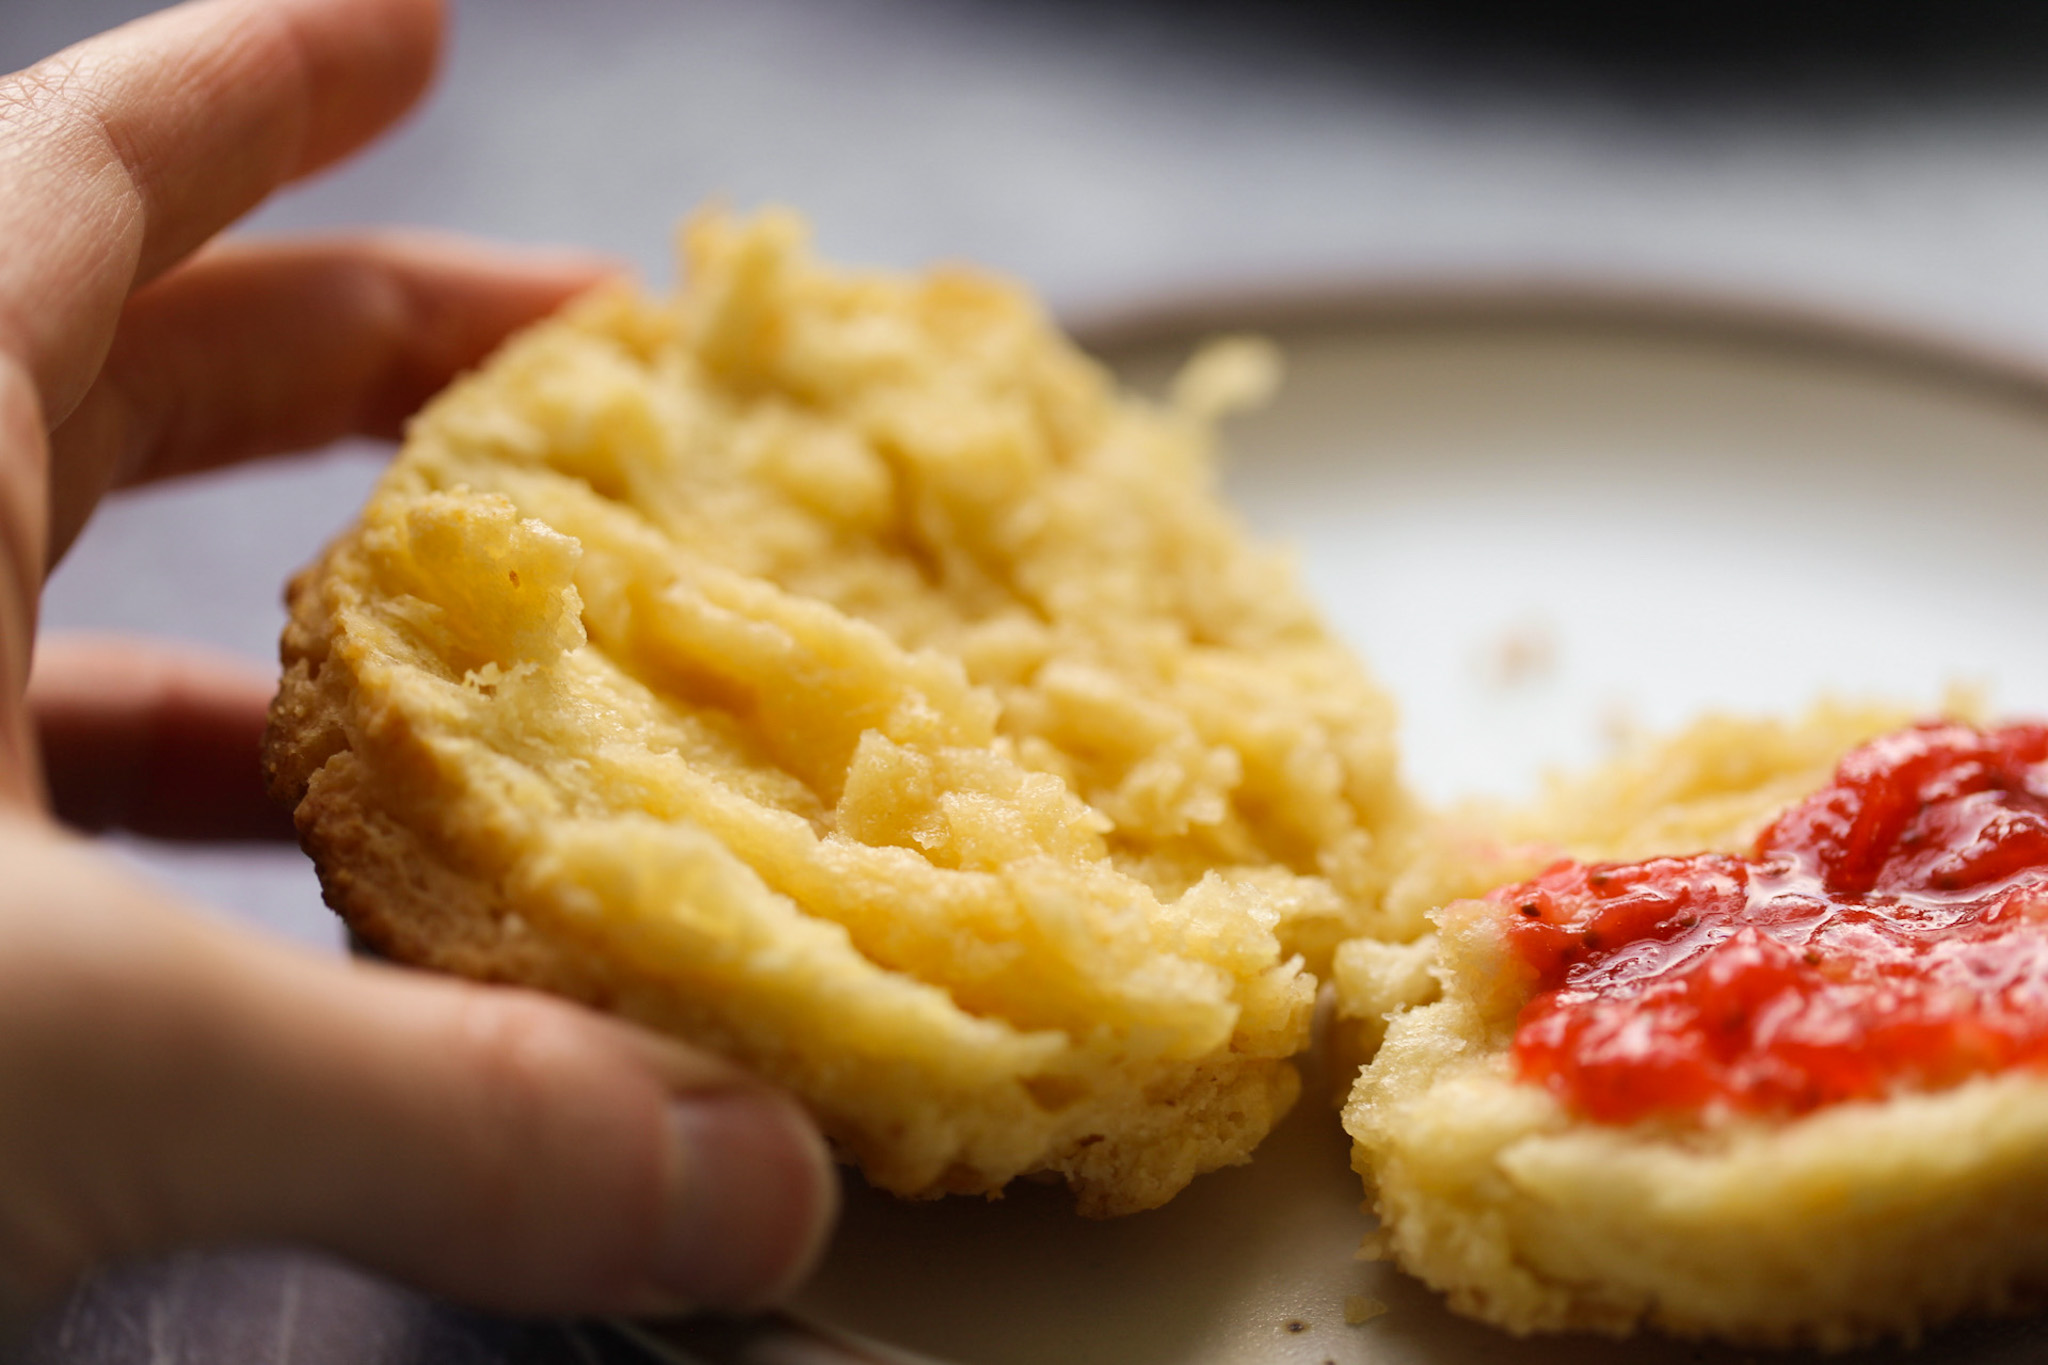
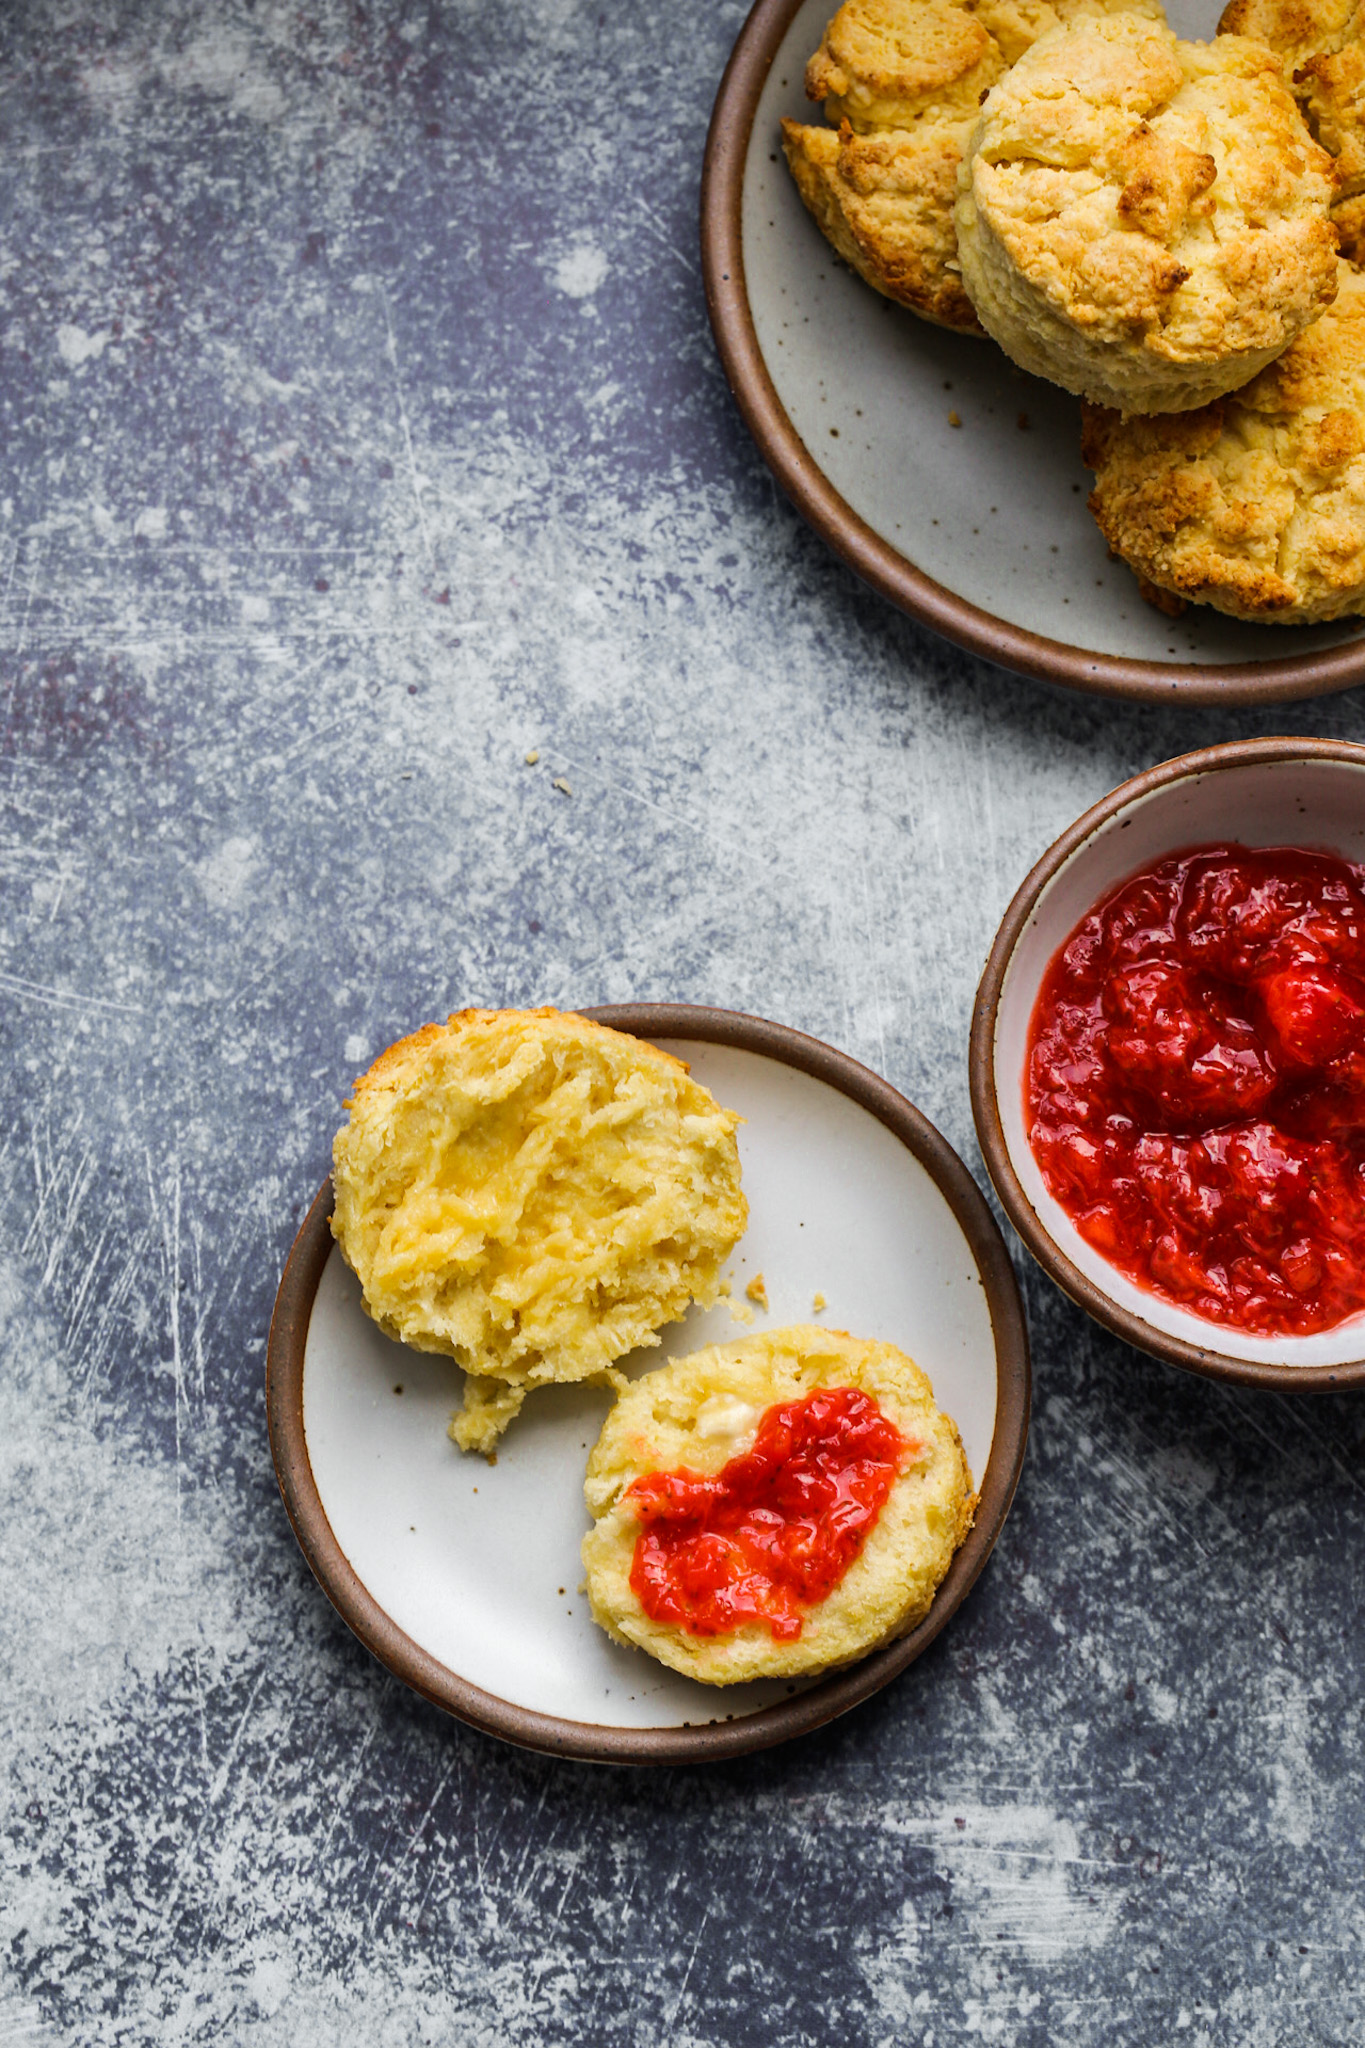
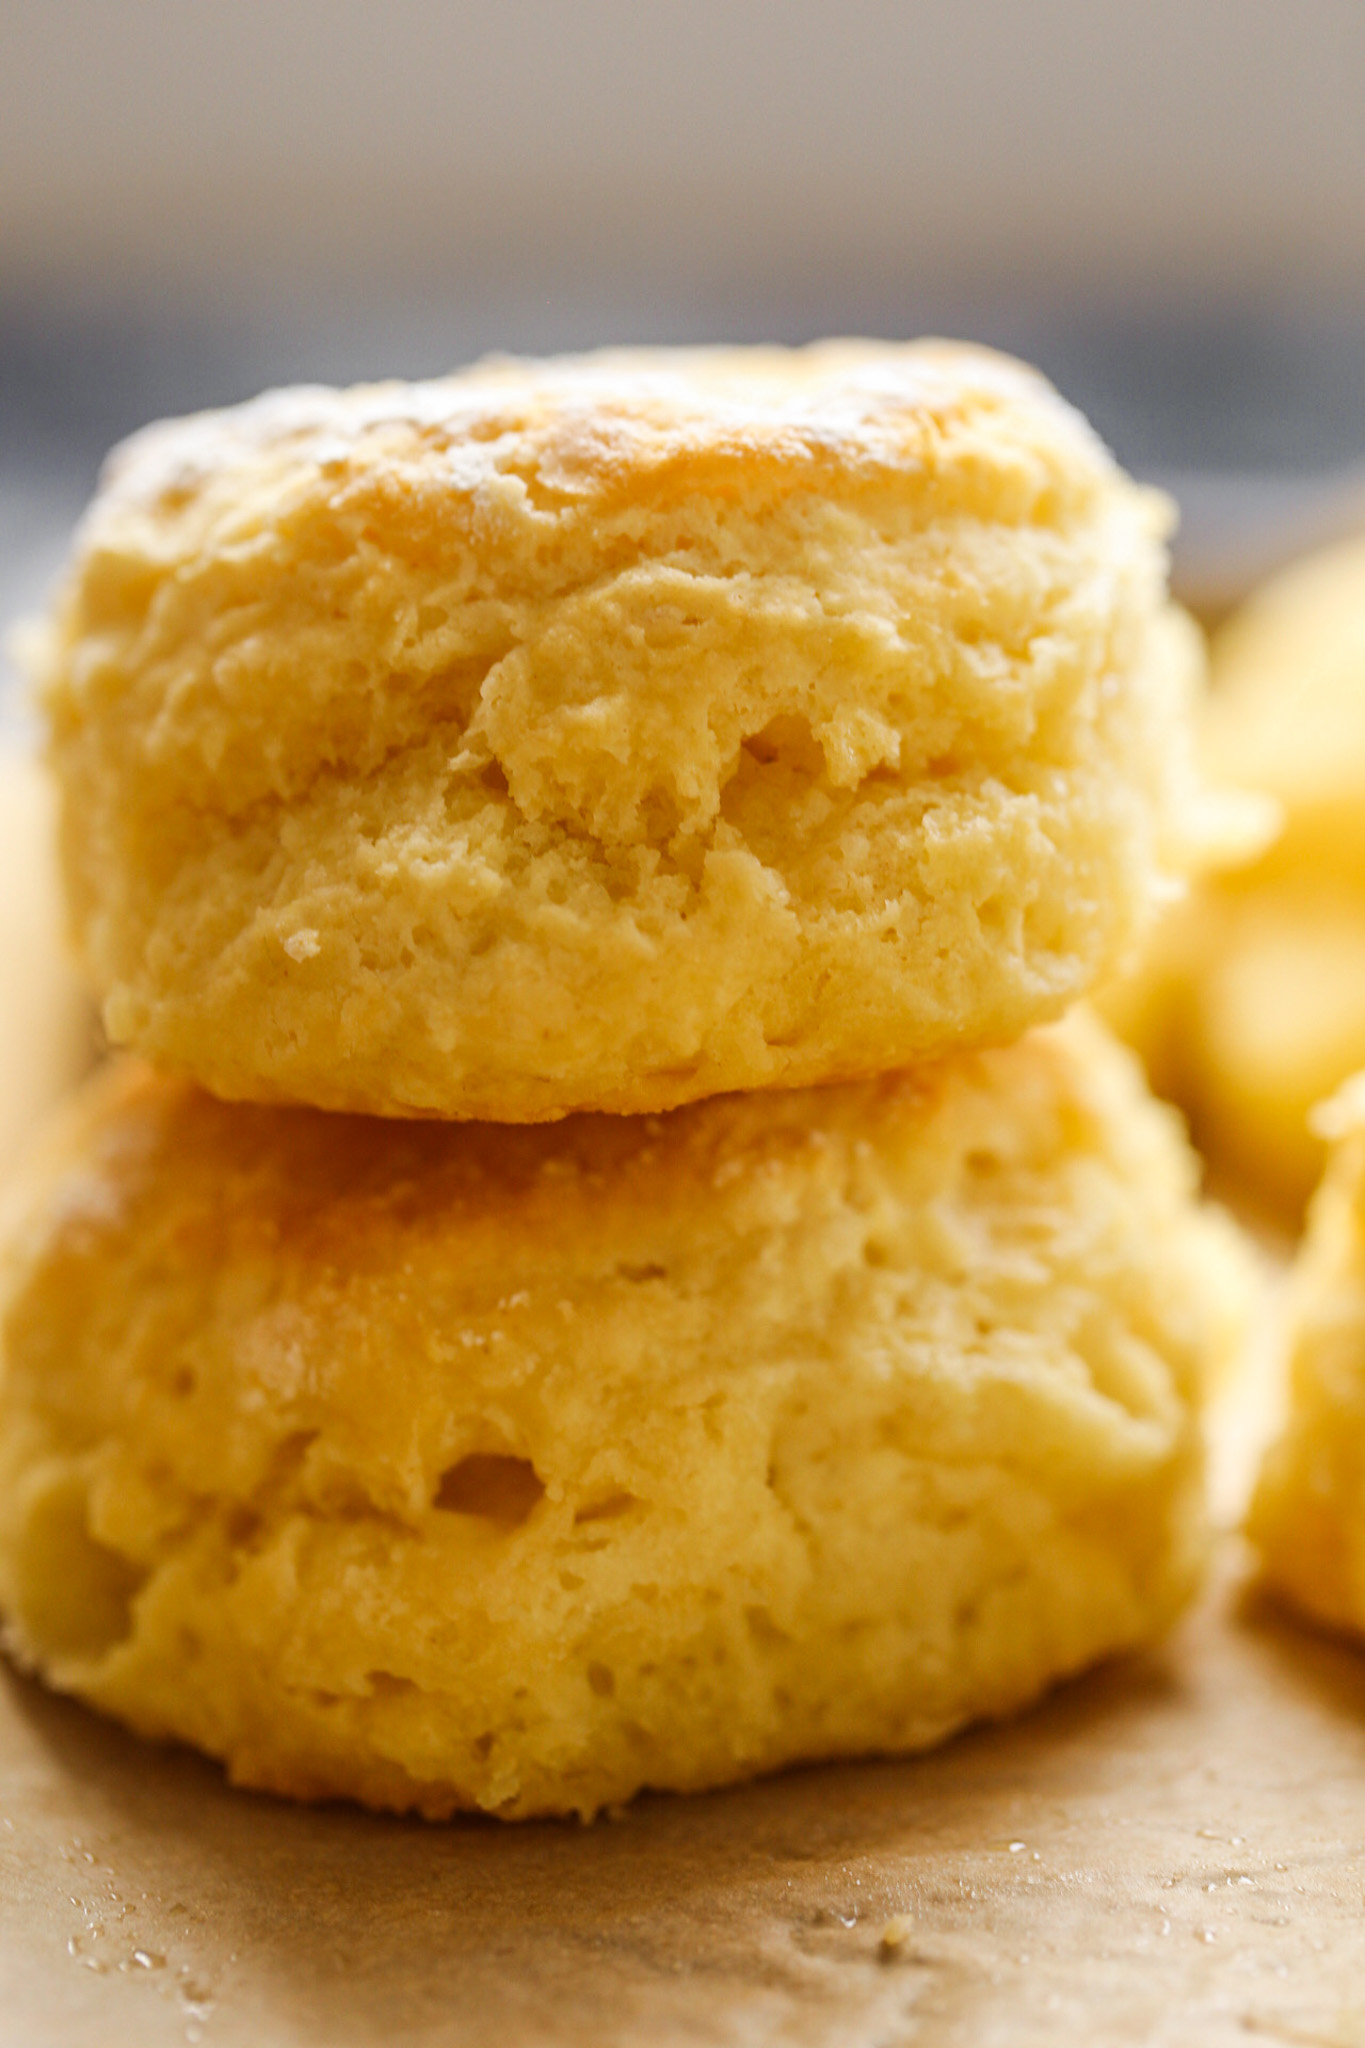
I have been making a lot of biscuits lately and finally nailed down my personal favorite recipe. This recipe for Vegan Buttermilk Biscuits creates a fluffy, buttery biscuit with a flaky interior and lightly browned edges and top. Served warm from the oven with a pat of buttery spread and homemade jam, these biscuits are comfort food heaven. Whip them up in about twenty minutes!
Biscuit Memories
I have always been a biscuit lover. Let's go way back to the late 80's when dining at KFC was indeed a thing in our household. I would always dart right to the biscuits. I later remember my friends and I ball-girling one summer at a local tennis tournament and the sponsored meal of the day was KFC. We skipped the chicken and side dishes and snapped up more than our fair share of those biscuits. Extra honey packets.
I didn't grow up in the south, where biscuits are more a way of life rather than a yummy carb-filled side dish, but I do remember tasting a few exceptionally amazing biscuits in my childhood.
Another random biscuit memory. My sister and I were on our first solo trip to Disneyland. I must have been 17 and she was 19. by the end of a long day at the park, we sat down to watch Fantasmic. We were starving, but didn't want to spend like $40 or so on a real dinner. So I popped over to a nearby restaurant and saw biscuits on the menu. They were only like two bucks or something. Bargain! I snapped up a few servings, found some butter and honey packets and dinner was done. Ha.
See? I have a thing for biscuits. Vegan buttermilk biscuits, today...
Biscuit Recipes
In more recent years, here on the blog, I have played around with sweet potato biscuits (I can't wait to update that recipe soon!) and biscuit topping on my favorite creamy cashew veggie pot pie. And some popeye biscuits too. But until this post, I never really dove into researching all the in's and out's of creating the perfect biscuits. The perfect vegan buttermilk biscuit!
The Best Flour for Biscuits
Biscuit flour has a bit of a cult following. A bit of googling and you will find a brand called "White Lily." White Lily has a reputation for being the 'only' way to make true southern biscuits. So obviously, I hopped on Amazon and ordered some White Lily self-rising flour. I chose the unbleached variety. Self-rising flour really just means that the baking powder, baking soda and salt is already in the flour, so you don't need to add those extra steps.
I go more into the differences in flour varieties for biscuits in this post. So for now, I will just say this. to make amazing vegan buttermilk biscuits, you do not need to use White Lily. But it definitely helps to use a fine variety of flour - such as Bob's Red Mill unbleached white fine pastry flour - the brand I use and have tested this recipe with. You absolutely still get that fluffiness, but spoiler alert, in my preference, I actually prefer Bob's to White Lily. My husband preferred White Lily - so taste preferences may shift.
8 Biscuit Making Tips
There are a few key tips for these biscuits. I learned most of these tips from a lot of internet research, and a few from my own common sense and baking preferences...
- Use a Tall Biscuit Cutter - You could get away with a basic circle cookie cutter, but my preference for "sky high" biscuits is to find a tall biscuit cutter. I went to two baking stores before I found one that worked for me. I found mine at Williams & Sonoma. But this one from Amazon looks quite similar - and a tiny bit less expensive too. I like tall cutter so that you can stack the dough as high as you want.
- Use COLD Vegan Butter - Cold butter is a must! You do not want it melting before you start folding your dough together. Cold, cut in butter created that buttery, flaky texture we all crave.
- Use a Pastry Cutter for Ease in Adding Butter - A pastry/dough cutter makes biscuit making so much easier than cutting the butter separately and adding it to the flour. The pastry blender cuts the flour and butter together in just a few minutes with minimal butter melting. OXO sells one on Amazon.
- Don't Twist Your Biscuit Cutter on the Way Up - When cutting out your biscuits into rounds try to simply press down and lift up. Twisting can seal off the edges, missing out on those flaky, fluffy layers. don't have a biscuit cutter? You can cut square biscuits with a butter knife - or try using a round glass.
- Don't Overwork Your Dough - Huge mistake I used to make when making biscuits. I would knead the dough before bringing everything together for cutting. Kneading the dough not only melts the butter from handling, but it activates more gluten which you don't want for biscuits. This isn't bread. You do not want chewy biscuits. For vegan buttermilk biscuits you want buttery, flaky, fluffy. I really try to lightly stir my dough in my mixing bowl, then plop it onto my floured work surface, fold the dough over just a few times, gently press down and cut. No "kneading" in this process.
- Vegan Butter vs. Shortening - There is both vegan butter and vegan shortening these days. Using butter absolutely creates a buttery flavor. If you don't like an overly buttery flavor, I would experiment with using half butter and half shortening. Or all shortening, if you prefer. It really comes down to your taste preferences.
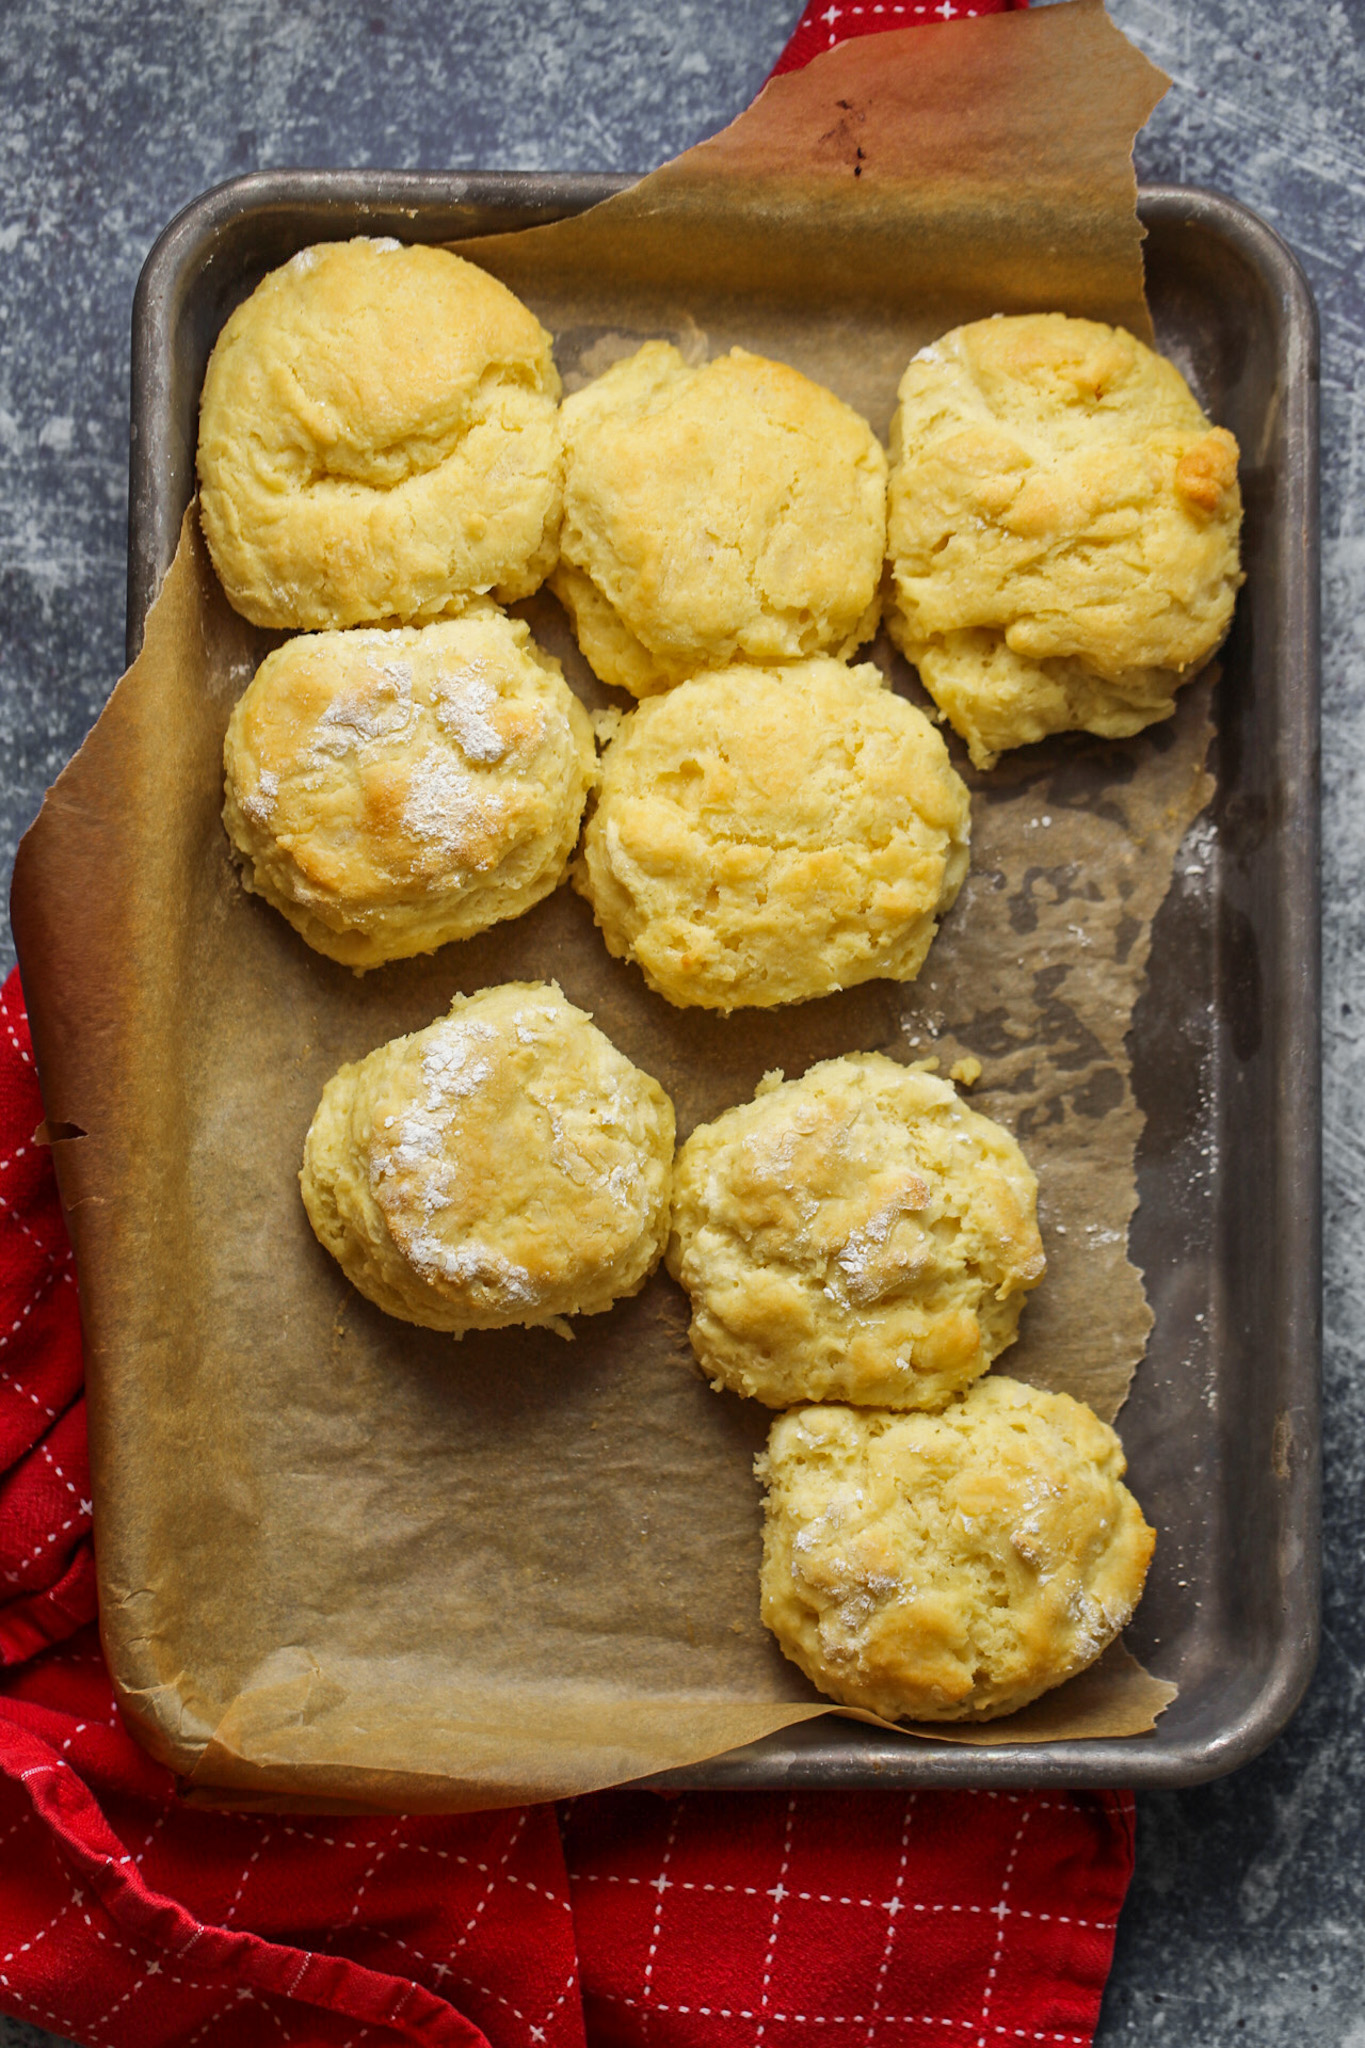
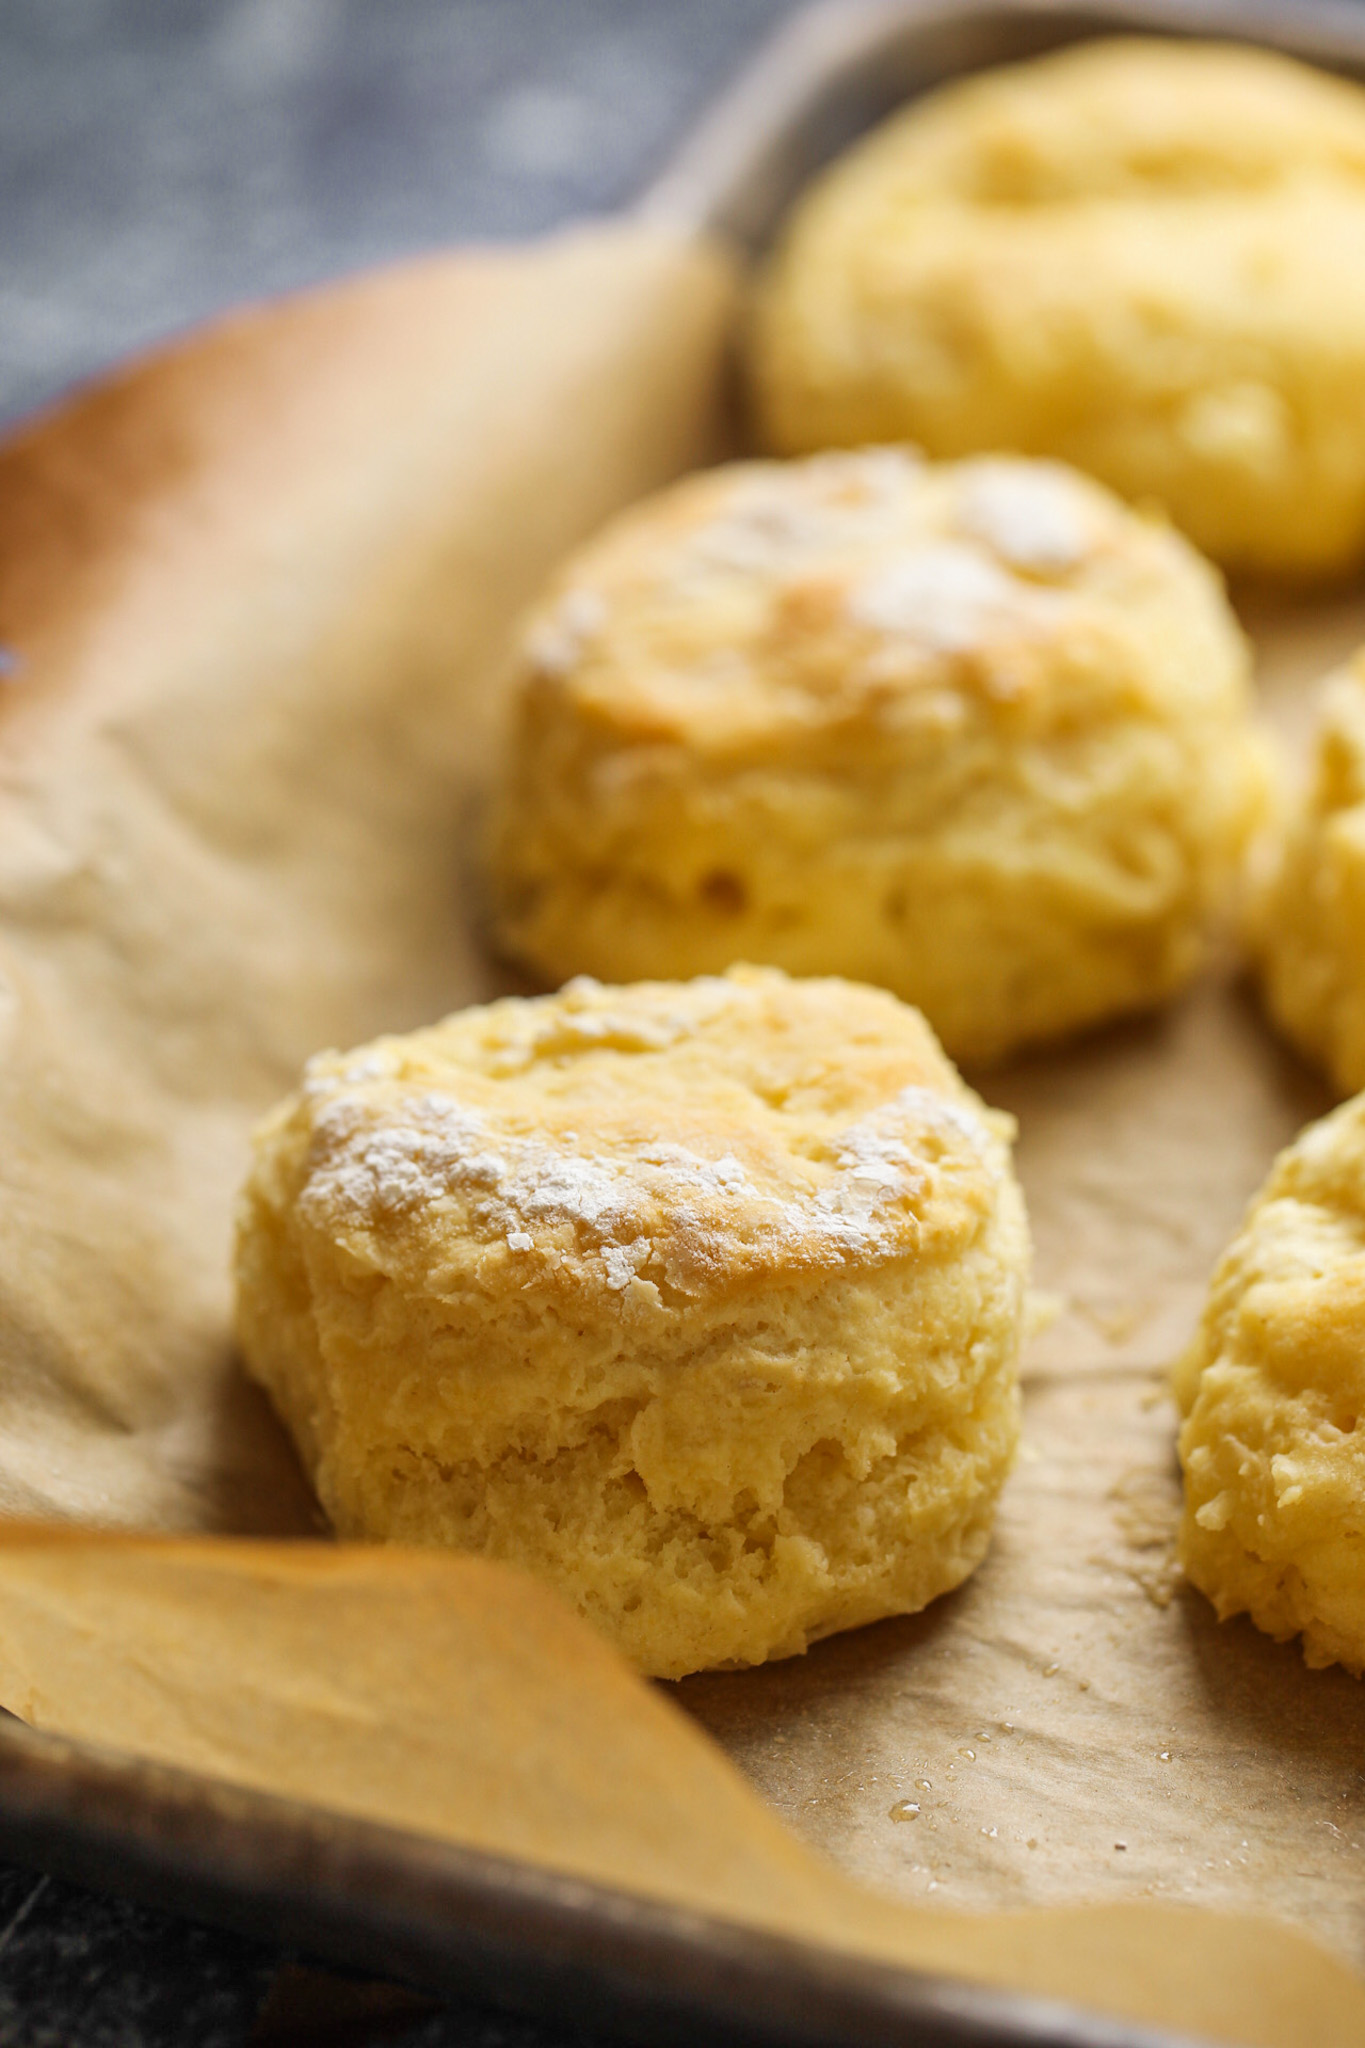
- Don't Overbake.... Unless you like that sort of thing.. - Biscuits bake in about 10-15 minutes, easily. My first batch, I kept them in for about 18 minutes because I was afraid of wimpy, undercooked biscuit dough, but I found the edges to be just a tad bit over-browned and crispy. My next few batches the tops were prefect. Just lightly golden, fluffy through the center. BUT, I actually kinda like crispy edges on biscuits, so if I'm making these just for me, I will slightly overcook them. But figure out what you like for your own perfect baking time.
- Bake Touching - One more thing. When adding your biscuits to your baking sheet, don't use spacing. Allow them to gently touch. This helps them rise.
My Perfect Vegan Buttermilk Biscuits
I served these with some homemade strawberry jam. Then later, I used them to make vegan sausage and cheese breakfast biscuits. And of course these biscuits would go so well with mushroom gravy, or served with just about any soup recipe. I adore having this new easy baked good in my baking arsenal. Nothing is more impressive than being able to whip up homemade buttermilk biscuits in under twenty minutes.
I hope you enjoy these fluffy little things!
Vegan Buttermilk Biscuits
Ingredients
- 6 tablespoon vegan butter, cold
- 1 cup soy milk, unsweetened, cold - just under one cup measured
- 2 tablespoon lemon juice
- 1 teaspoon salt
- 1 tablespoon baking powder
- 2 cups pastry flour, unbleached
Also
- flour for work surface
- 1 tablespoon vegan butter, melted - optional for brushing tops
Instructions
- Preheat oven to 450 degrees and line a baking sheet with parchment paper.
- Measure out just under one cup of soy milk. To be exact, ¾ cups plus 3 Tbsp. Then briskly stir the 2 tablespoon lemon juice into the milk. Set this mixture aside for a few minutes to allow it to thicken.
- While the 'buttermilk' thickens, add the flour, salt, baking soda and baking powder to a large mixing bowl. Stir to combine.
- Remove the vegan butter from the fridge - so that it is as cold as can be - and measure out six tablespoons. Plop the vegan butter into the mixing bowl. Using your pastry cutter, cut the butter into the flour. You want tiny bits so that the flour is lumpy and the butter combined into the mix. You don't want to overwork the butter to melt it - just cut briskly to get it into little chilled bits. This flour mixture will be lumpy from the butter.
- Give your vegan buttermilk a brisk stir. Measure out one cup and pour into the center of the flour bowl. Using a large spoon - I like to use a wooden spoon - gently stir to combine the liquid and the flour. Fold just until you have a nice lumpy, wet dough and there is no more dry flour to be seen.
- Sprinkle a generous amount of flour on your work surface. Then plop the dough on top. Sprinkle a light dusting of flour over the dough. Pat down the dough to about ½ inch thick, then fold the dough over a few time and pat down again - to about ½ - 1 inch - depending on how tall you want your biscuits. Note: Thicker biscuits will yield a smaller quantity.
- Cut your biscuits out with a 2" biscuit cutter. Cut by pushing down and pulling straight up - no twisting. transfer biscuit to baking sheet. Repeat until all the dough is used up. You will need to reform the dough a few times before using all of it. Optional: Melt the additional tablespoon of butter and brush tops of biscuits with it, using a pastry brush. Warning, this really bumps up the "buttery" flavor so use with caution! I actually don't prefer the extra butter tops, but it does create a smoother top with nice browning too. Tip: Try doing half and half your first batch and see what you prefer.
- Place the biscuits in the 450 degree oven. Bake for 10-15 minutes - depending on size and how browned you like the edges. As soon as you see slight browning on the edge the biscuits are done. Add a few minutes if you like slightly crispy tops and bottoms. Or remove promptly for softer edges.
- Serve right away or store in the fridge, in a sealed bag or container, for up to two days. For longer storage, store in the freezer.
Equipment
- biscuit cutter
- pastry/dough cutter
- mixing bowl
- baking sheet
Notes
nutrition estimate | per serving
disclosure: this post contains Amazon affiliate links
