
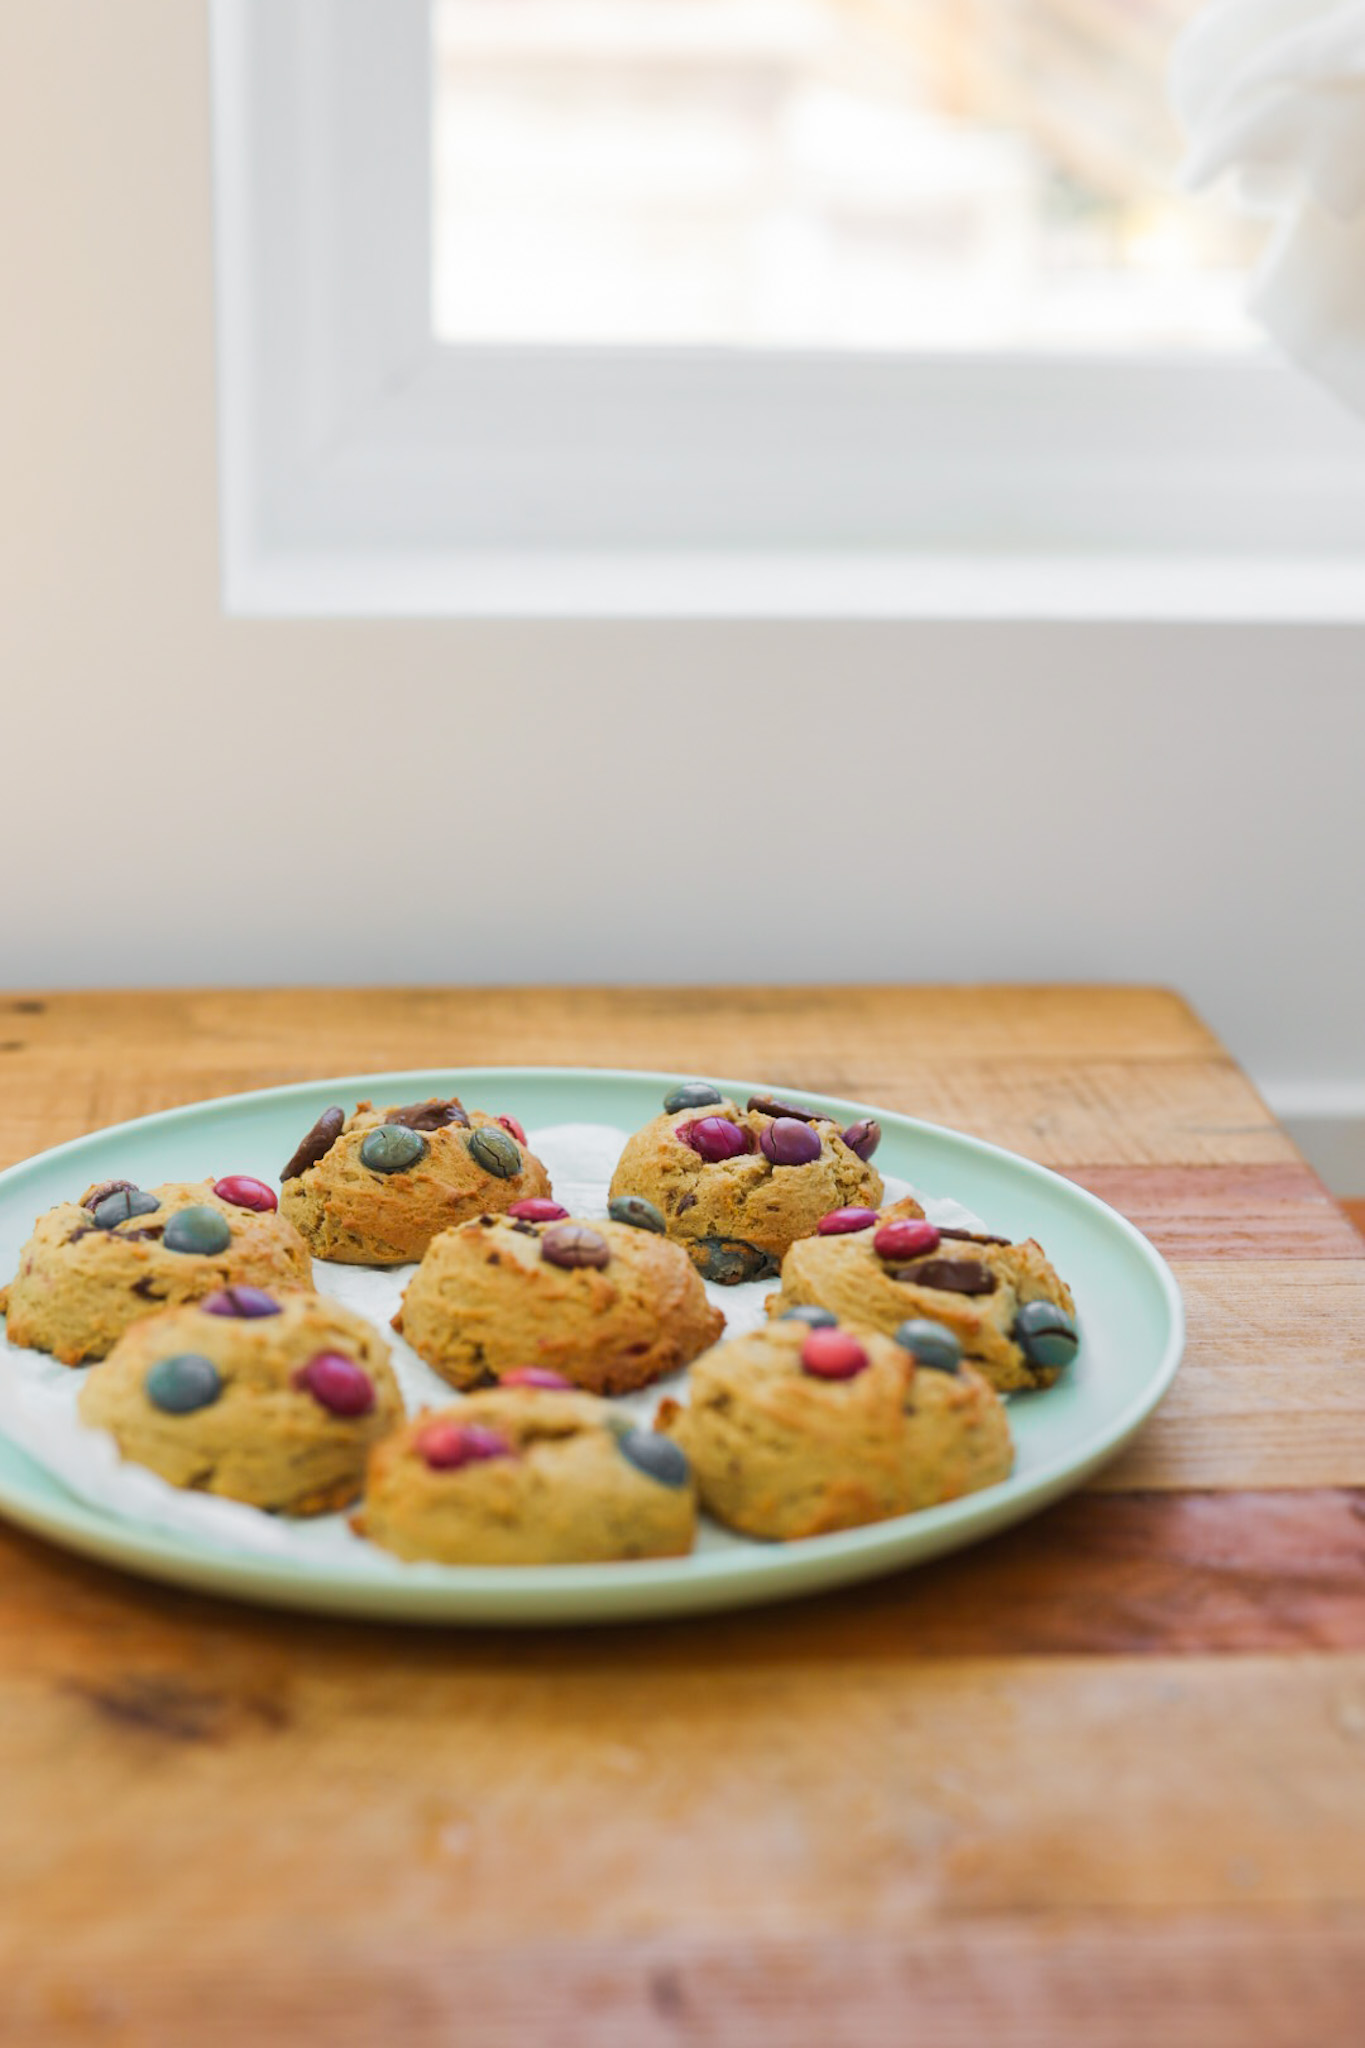
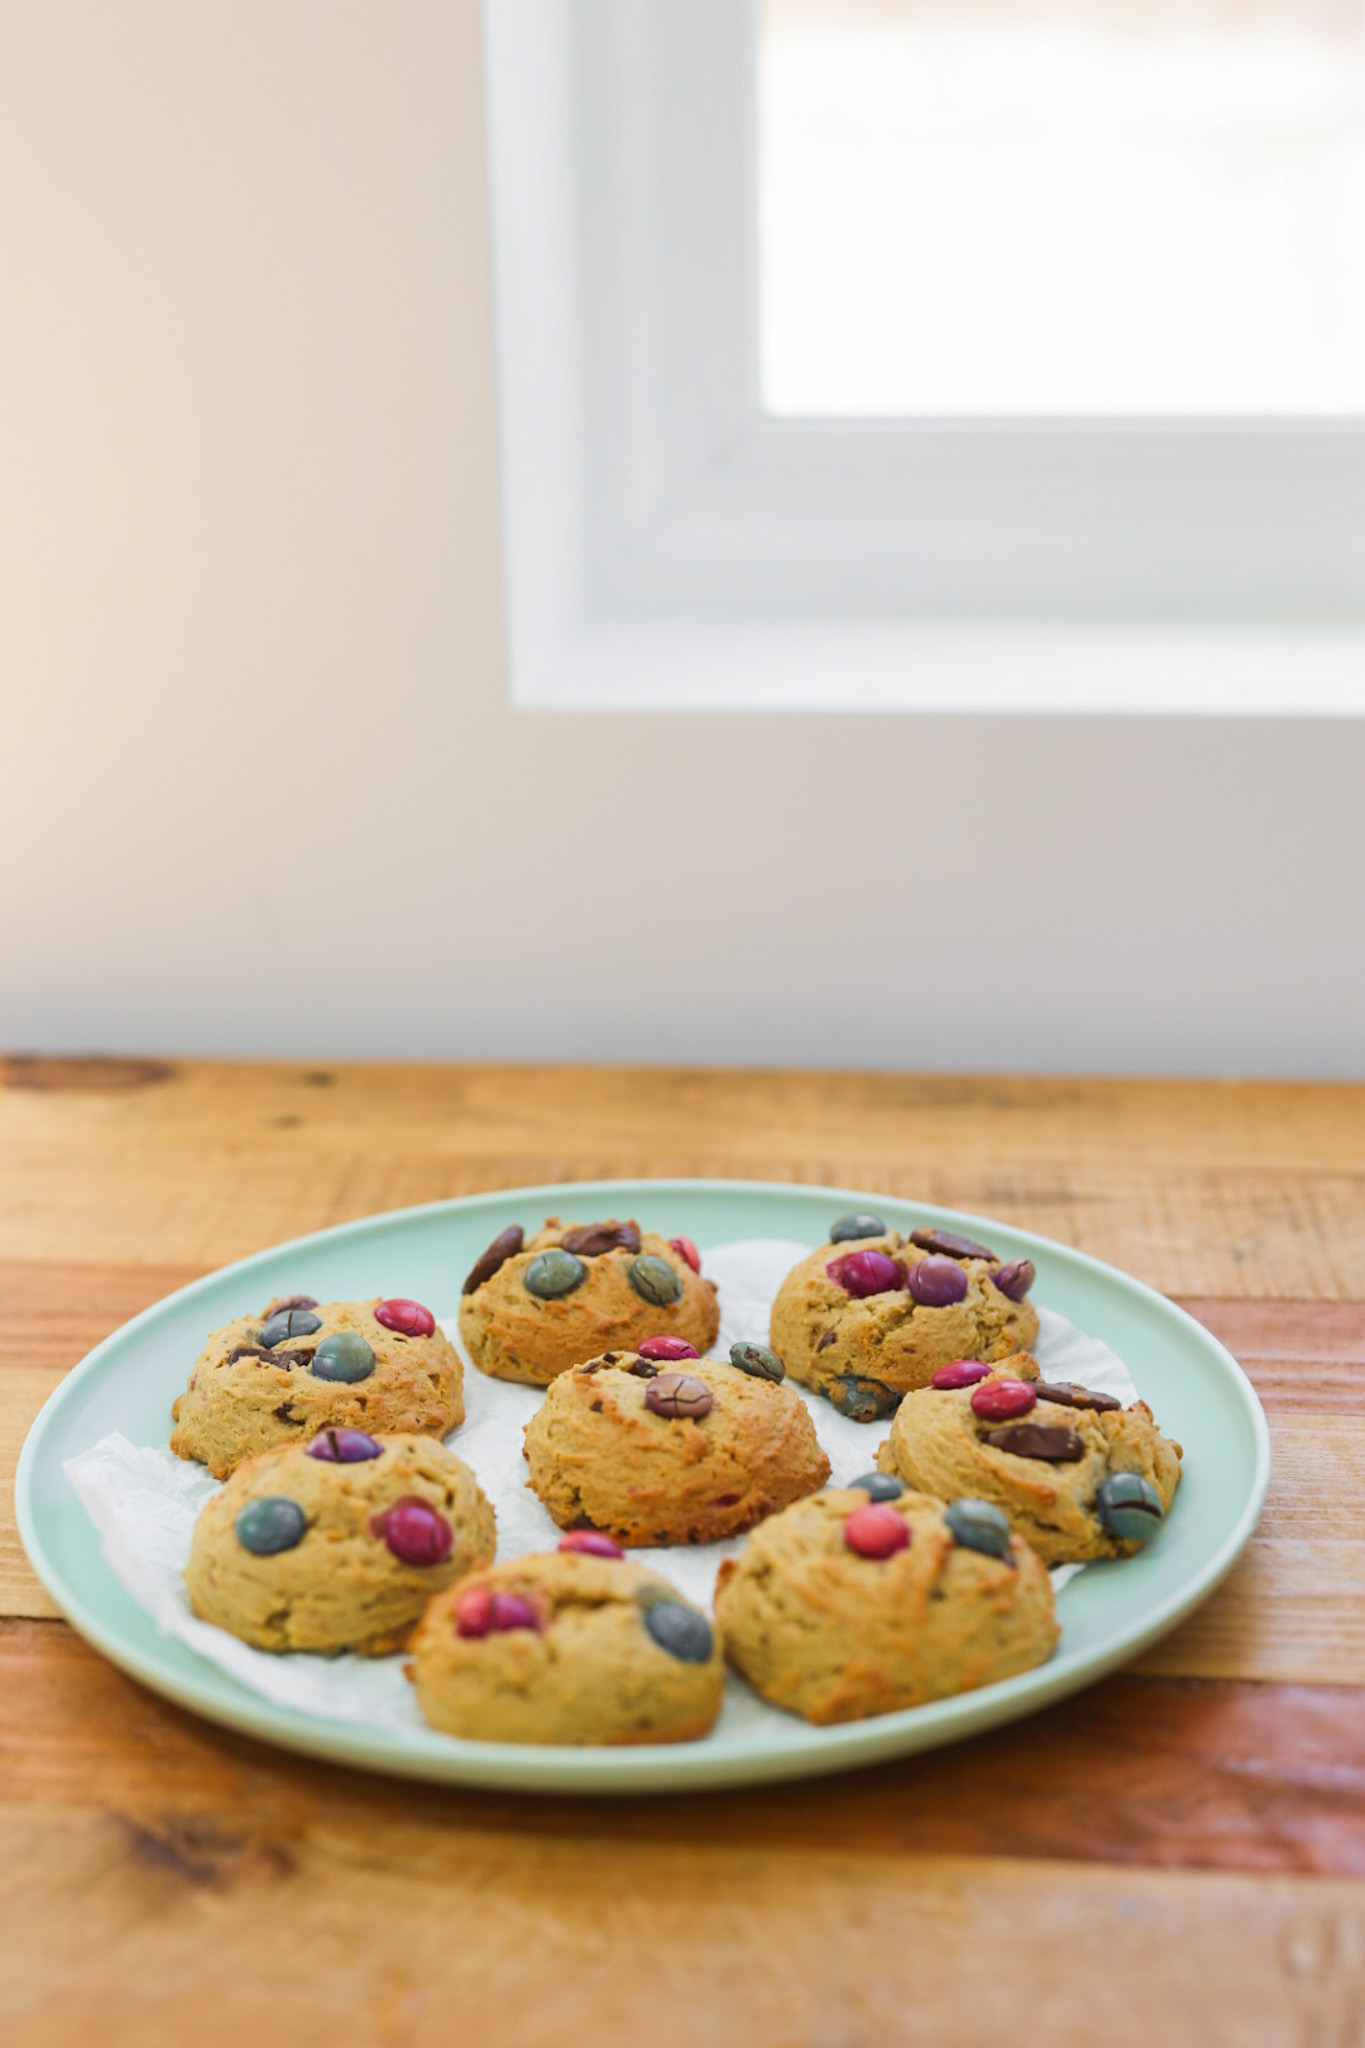
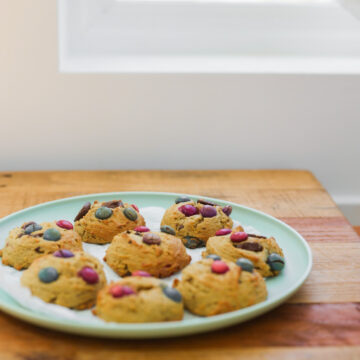
These Mini Chocolate Candy Cookies are vegan and kid-approved. These make such a fun and colorful after-school treat. I love filling up a plate with these cookies and placing them on my countertop, under a large bakery dome. Then I get to see my kid's eyes light up when she sees them just waiting for her.
The mini size means you can eat a few. And the mini size also means that these Mini Chocolate Candy Cookies are perfect for lunchboxes or taking to-go.
Warm up the oven and let's get baking!...
Jump to:
Vegan Chocolate Candies
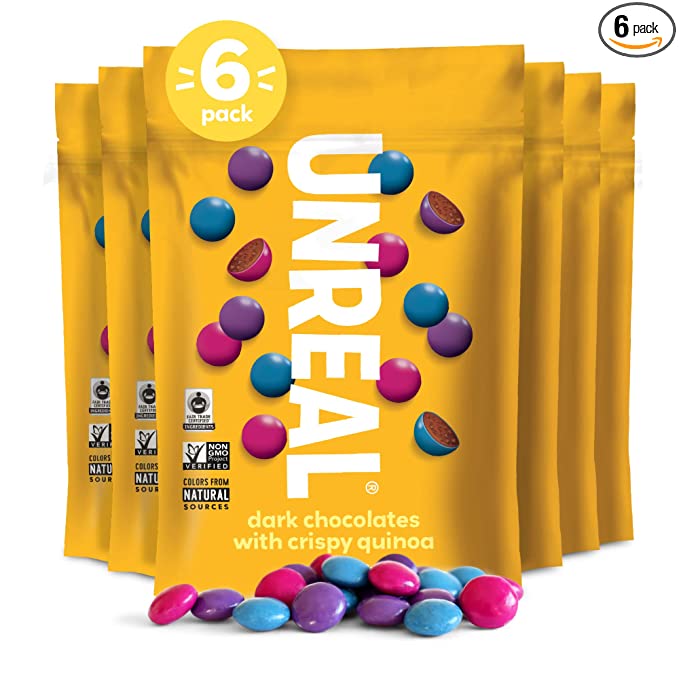
These mini cookies require some colorful chocolate candies on top. But if you are not into the colorful "m & m" style candies, there are a few vegan options on the market today...
There are several vegan chocolate candy brands available that offer delicious treats without any animal-derived ingredients. Here are a few popular options:
Vegan Candy Brands
- Enjoy Life Foods: They offer a range of vegan chocolate products, including dark chocolate bars, mini chocolate chips, and chocolate-covered snacks.
- Endangered Species Chocolate: Known for their ethically sourced and organic chocolates, they have a variety of vegan dark chocolate bars with different flavor options.
- Hu Chocolate: They specialize in paleo and vegan chocolate products, offering bars in various flavors like almond butter and sea salt, cashew butter, and raspberry jelly.
- Unreal Candy: Their line of vegan chocolates includes peanut butter cups, chocolate-covered gems, and other fun, plant-based alternatives to classic candies.
- OCHO Candy: They create organic and vegan alternatives to popular candy bars like peanut butter cups, caramel-filled bars, and coconut-covered bars.
- Go Max Go Foods: They produce vegan versions of classic candy bars, such as vegan Snickers, vegan Milky Way, and vegan Twix.
- Alter Eco: Known for their fair-trade and organic chocolates, they have a selection of vegan chocolate bars with different cacao percentages and flavors.
Remember to always check the ingredient list, as formulations can change over time, and different varieties within a brand may have different ingredients.
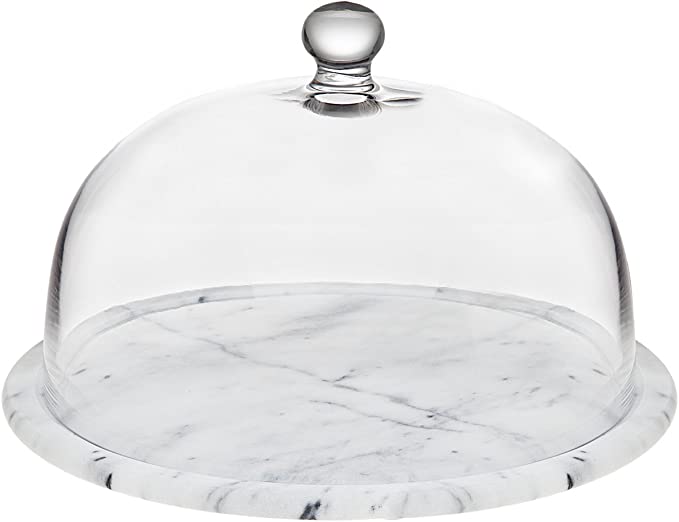
Presenting a Plate of Cookies
Remember when I told you I loved placing these cookies under a glass dome? Well here are a few beautiful options for those pieces...
Rotating Cake Stand with an Acrylic Dome (kid-friendly!!)

Glass Dome over Marble on Amazon
Do I Need to Chill the Cookie Dough?
Nope! You definitely do not have to chill the dough. The thing is, you do get a chewier, perfectly textured cookie if you chill the dough, but if you don't mind a slightly fluffier cookie, room-temperature dough works fine. Sometimes you just can't wait, right?
Why Chill Cookie Dough??
A great question that I get basically every time I teach a cookie recipe. Here is the answer..
Here are a few reasons why chilling cookie dough is often recommended:
- Texture: Chilling the dough allows the fat in the dough (such as vegan butter or even nut butters) to solidify. When the cookies are baked, this solid fat takes longer to melt, resulting in cookies that spread less. As a result, you get cookies with a thicker, more tender texture. As I said, better chewy texture and less "fluff."
- Flavor development: During the chilling process, the ingredients in the cookie dough have more time to meld and develop flavors. This can lead to a more pronounced and enhanced taste in the finished cookies. It's kinda like how you chill a cold salad or cold pasta dish to really develop the flavor and allow all the ingredients to merge fully together. Dough is the same way!
- Reduced spreading: Chilled dough spreads less during baking because the fat solidifies. This helps the cookies maintain their shape and prevents them from spreading too thin and becoming overly crisp. It can also help reel in any puffiness from just-mixed fluffy dough.
- Color: They tend to develop a more uniforn browned color when the dough is chilled. I honestly don't know why this one happens, but I've definitely noticed it!
- Control over baking time: Chilling the dough allows you to have more control over the baking process. By refrigerating the dough, you can decide when to bake the cookies. This flexibility can be convenient if you want to prepare the dough ahead of time and bake fresh cookies later, or if you prefer warm cookies straight out of the oven at a specific time.
- Kid-Friendly Bake: You can prep the dough ahead of time and have it ready to bake with your kiddos helping along!
Conclusion to Chilling
So chill or don't chill, usually, you can decide that on your own. The only dough that really needs to be chilled is something like a sugar cookie dough that gets rolled out.
Make-Ahead Tip:
Whip up the dough the day before you want to bake and serve the cookies! This way you can get the benefits of chilled dough and just treat it like a store-bought package of dough!
You can even roll and prep the cookies for baking with your kids to help them feel involved. Because sometimes all the measuring of ingredients is messy and some days, moms and dads just don't have time for that part of baking.
But yes, baking with kids is the best. Do the messy cookie prep at least once with your littles, they will have fun, even if the cookies don't turn out "perfectly."
Other After-School Treats for Kids...
Here are a few ideas from my blogger friends..
- Vegan Brownies by Nora Cooks
- Vegan Peanut Butter Cups by Vegan Richa
- Vegan Banana Bread by the spruce eats
- Vegan Oatmeal Raisin Cookies by love and lemons
- Vegan Rice Krispie Treats by minimalist baker
- Vegan Chocolate Avocado Pudding by ambitious kitchen
And a few recipes here on my blog!...
Vegan Treats for Kids
Because like these candy cookies, sometimes a little treat is just what you need!
- Peanut Butter Brownies
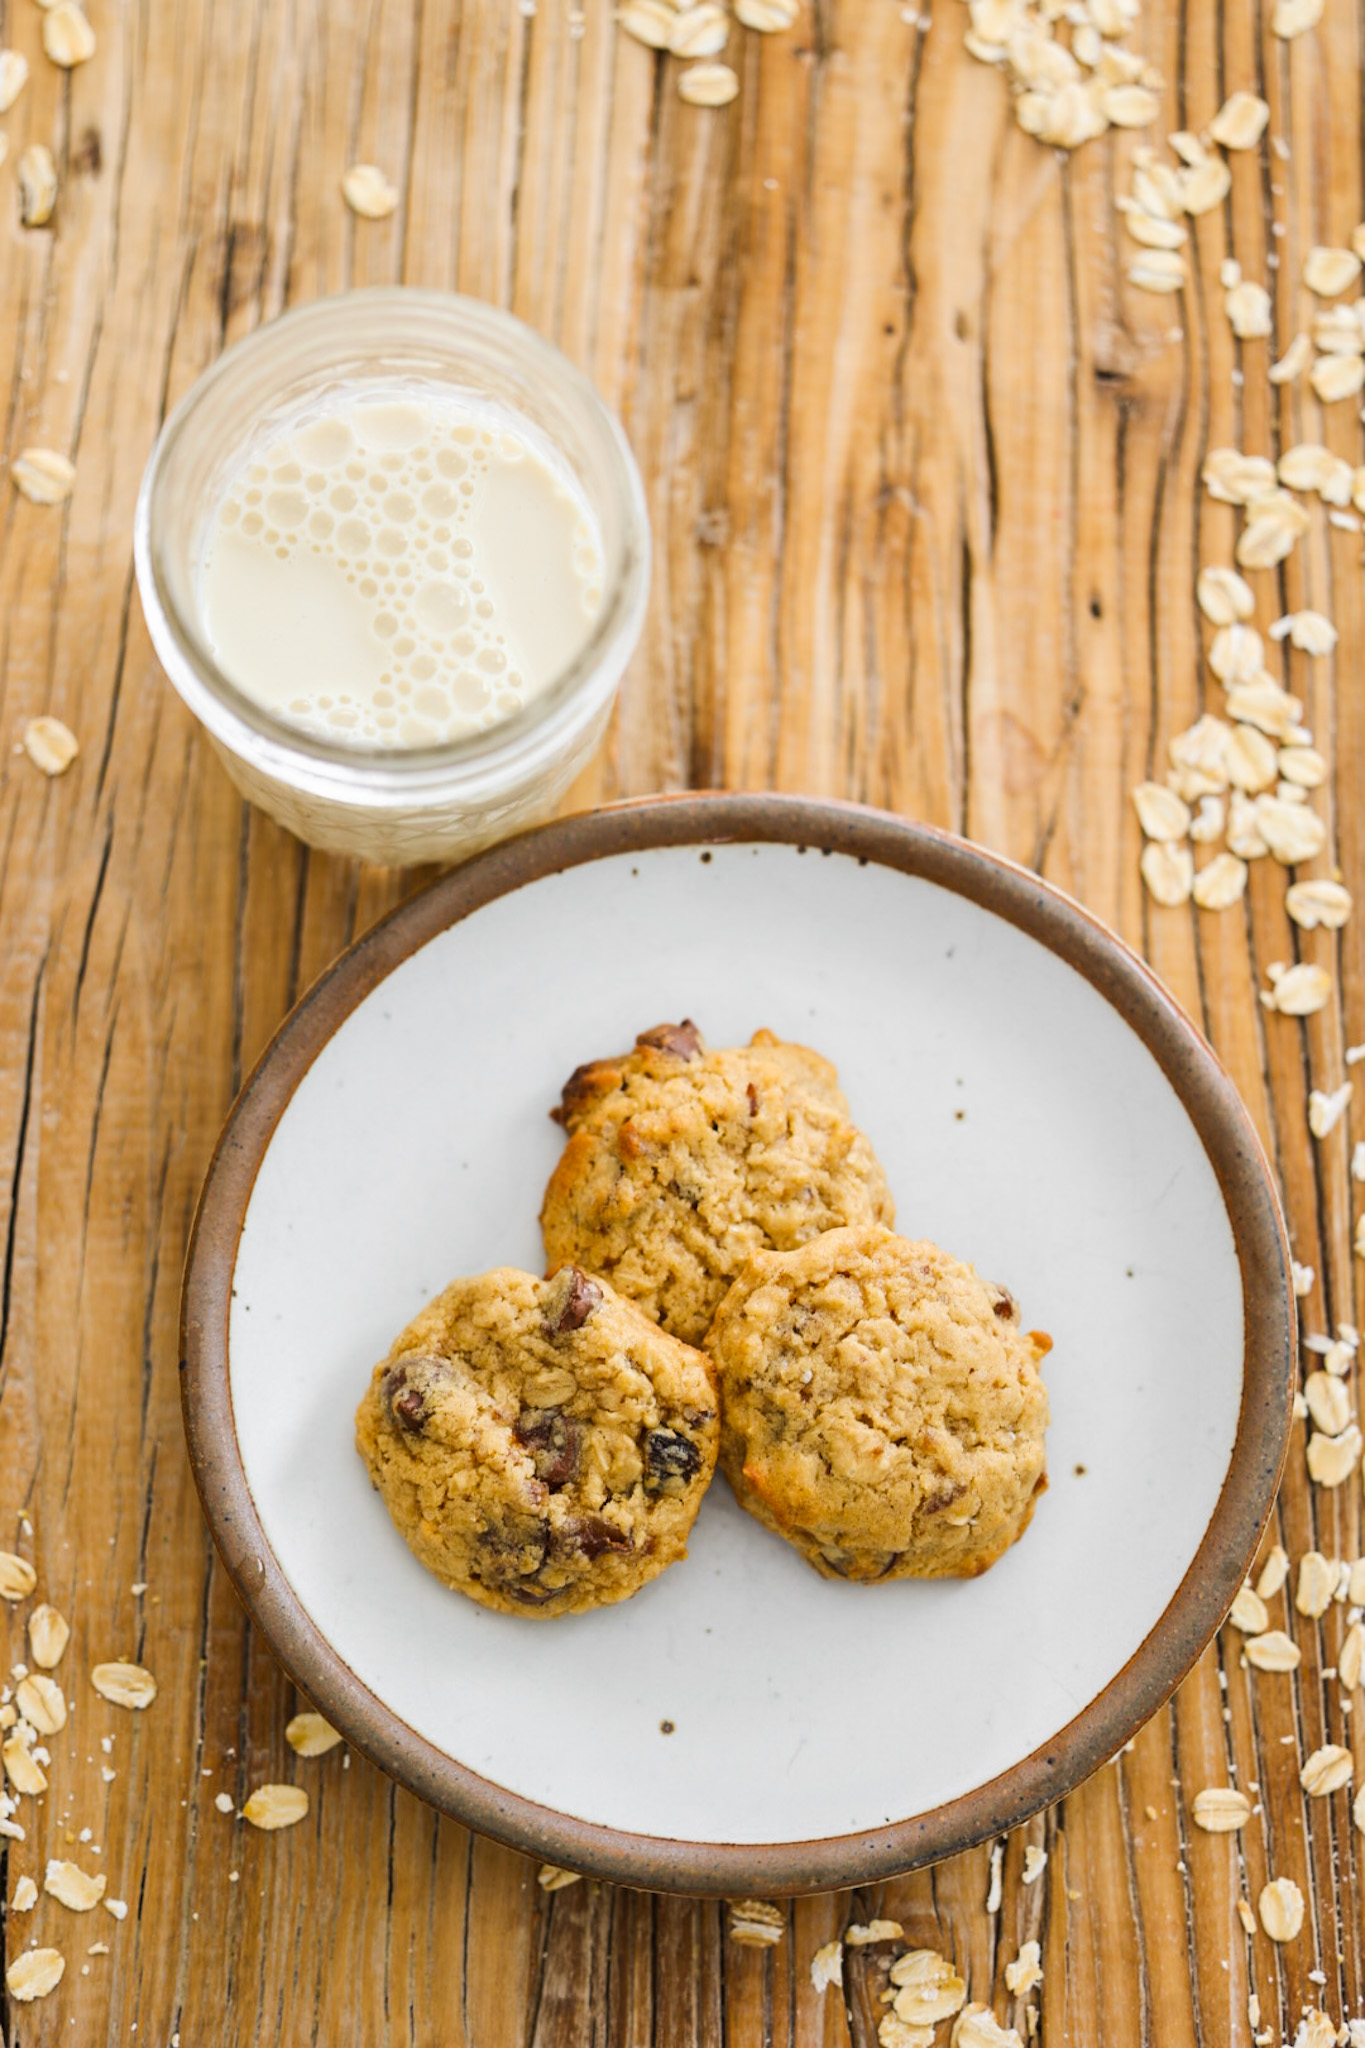
- Oatmeal Cookies (Chewy)
- Peanut Butter and Jelly Bread
- Powdered Donuts
- Lemon Bars
- Peanut Butter Popsicles
- Double Berry Crumble Muffins
- Oreo Pudding Parfait (Mud Pudding)
- Double chocolate Chip Cookies
- Maple-Sweetened Peanut Butter Cookies
Ingredients
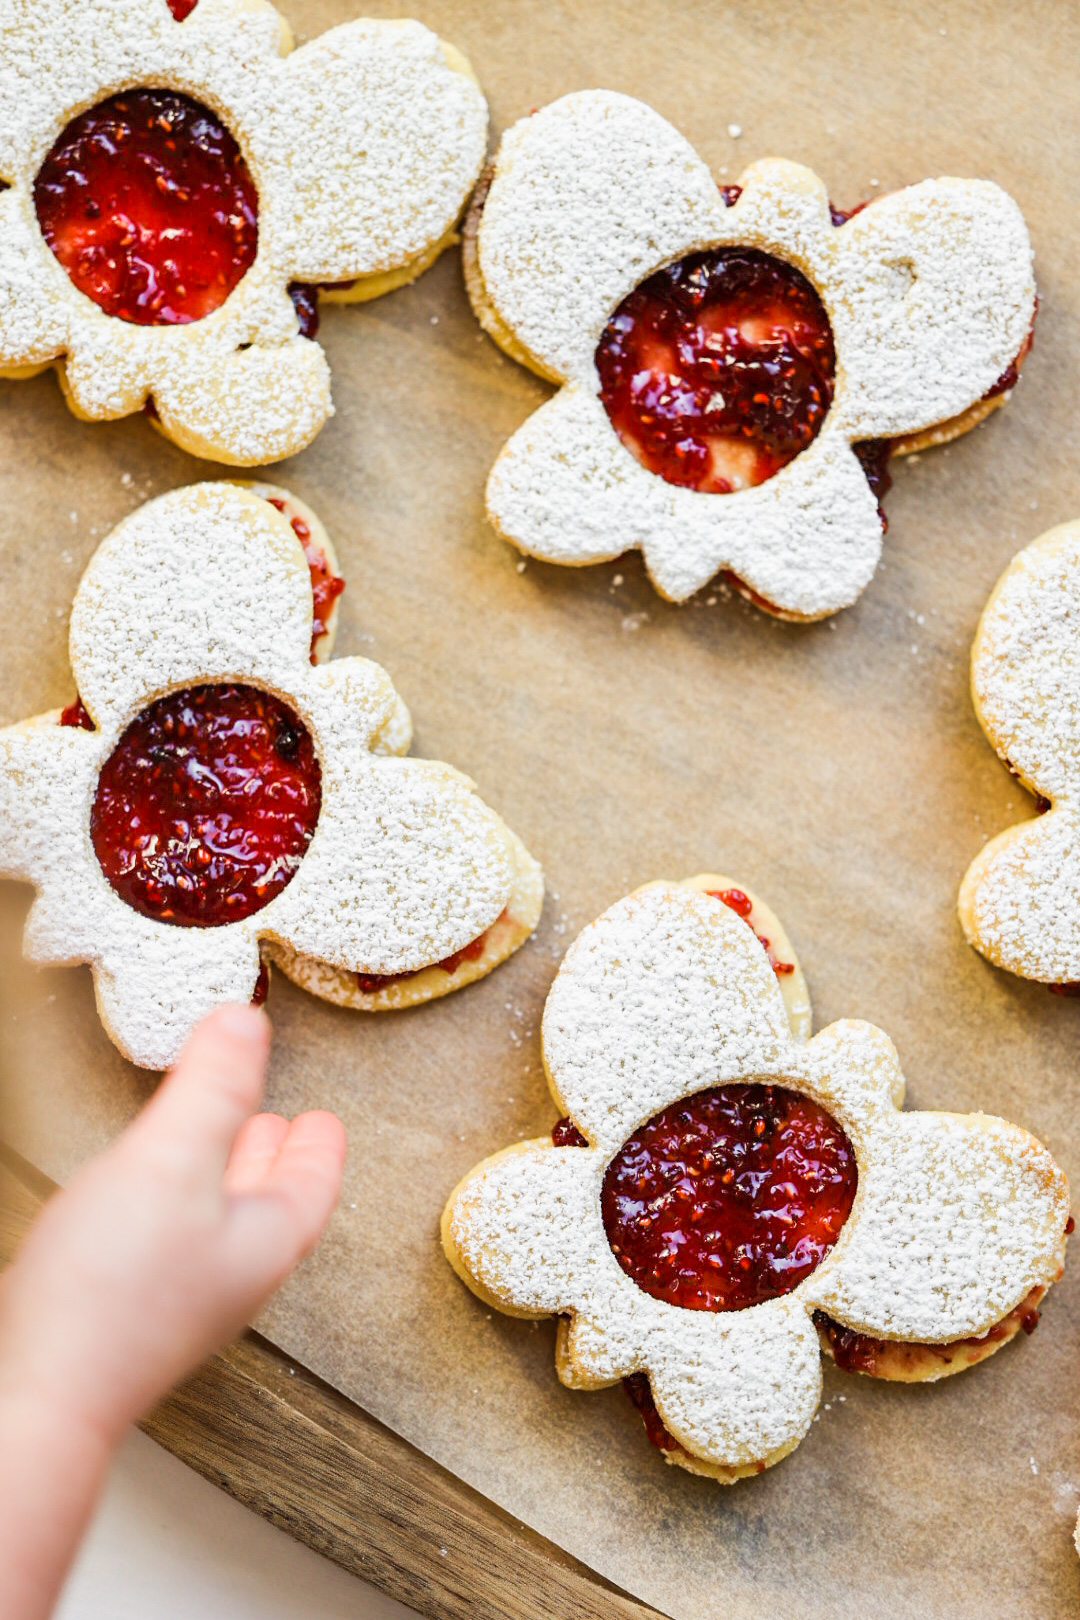
Here are the main ingredients for my Vegan Linzer Cookies...
- flour
- vegan egg
- sugar
- vanilla extract
- salt
- baking soda
- vegan butter
- vegan candies
See the recipe card below for quantities.
Instructions
Making these Mini Chocolate Candy Cookies is pretty simple. You just mix the wet ingredients. Then add in the dry ingredients. Then you can either fold in the chocolate candies or add them on top after you place the dough on the baking sheet. If you want an extra chocolate flavor, add in the optional chocolate chips when you are mixing the dough.
Substitutions
Here are a few substitution notes for you.
- Vegan Egg - You could sub with silken tofu or applesauce. If using applesauce, please reduce the amount to ¼ cup.
- Wheat Flour - You can sub with a gluten-free flour blend if needed.
- Vegan Butter - This is a prime ingredient for these cookies, but if you really want to attempt a version without it, try coconut oil and a pinch more salt.
Mini Chocolate Candy Cookies
Ingredients
Wet
- ½ cup JUST egg
- ½ cup vegan butter, Earth Balance stick
- 1 teaspoon vanilla extract
- ⅓ cup cane sugar
- 1 cup brown sugar
Dry
- 1 teaspoon baking powder
- ¼ teaspoon baking soda
- ¼ teaspoon salt
- 2 cups all purpose flour
Fold-In
- 1 cup chocolate chips, optional
- ¾ cup chocolate candies "vegan m & m's"
Instructions
- Preheat oven to 350 degrees and line a baking sheet with parchment paper.
- Cream together the wet ingredients.
- Mix in the dry ingredients and beat until fluffy.
- Fold in the chips and half of the candies.
- Transfer the dough to a bowl and cover with plastic wrap. Let chill for at least 30 minutes. Note: You could bake without chilling the dough, but see blog post for reasons why chilling helps.
- Scoop dough into mini-sized balls on parchment. Add the leftover colorful candies on top. Press into the dough.
- Bake at 350 for 11 minutes.
- Cool on a baking rack for ten minutes before serving.
Equipment
- 1 parchment paper
- 2 baking sheets
- mixer
nutrition estimate | per serving
Storage
Store these Mini Chocolate Candy Cookies on the counter and eat within a few days or store in the fridge and consume within a week.
FAQ
Since these are mini cookies, they require less time in the oven. I do larger "mini" cookies, so about 9-11 minutes works at a warm 350. But if you want teeny tiny mini cookies, you could get about 36 cookies out of this recipe and only need to bake them for about 8-10 minutes.
Affiliate Disclosure: This post contains affiliate links, just as many posts on my site. All opinions are authentically my own. I only link to products that I either love or that will bring something resourceful to the topic I am blogging about. Affiliate links have the possibility to help support the work I do to bring content to my blog and beyond. Thank you for being here and supporting my work and voice and recipes!
Anonymous says
This worked exactly as written, thanks!
FL ALAMIN HOQUE says
Your commitment to a healthy lifestyle is truly inspiring! Keep shining with positivity and embracing those healthy habits. Your journey is not only motivating but also a beacon of wellness for others. Cheers to a vibrant and thriving life.