

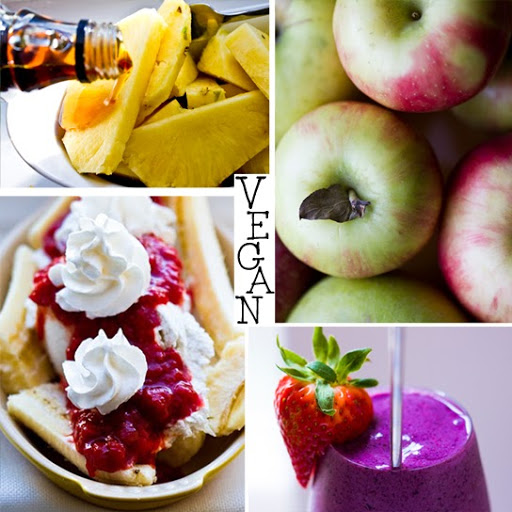
I have a new found appreciation for vegan Jalapeño Poppers...
Jalapeño Poppers, those cheese-oozing, fried/breaded peppers used to be a favorite "junk food" snack of mine in my pre-vegan days. Well this veganized recipe is awesome!
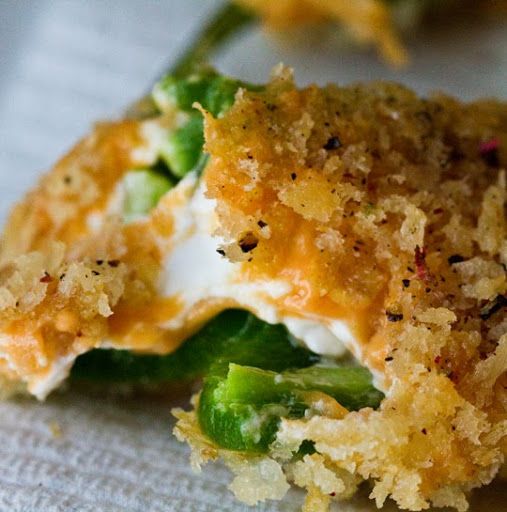
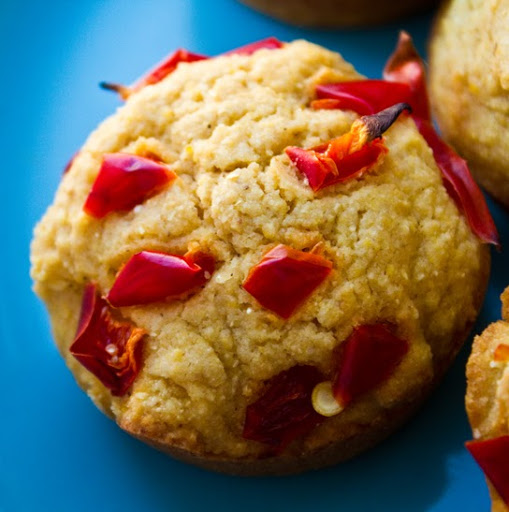
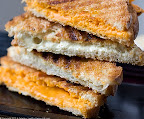
These have an inner cheesy mixture of creamy white and cheddar cheese. Crisp, light breading. Tender medium spiciness. I'm in Jalapeño heaven with this fun party recipe. These are easier than I imagined too!...


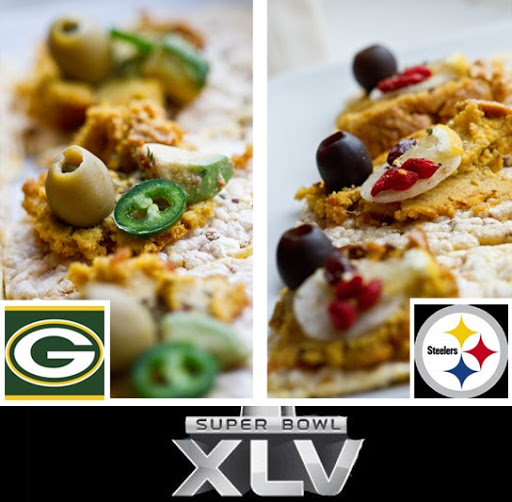
Amazingly, this recipe turned out perfectly on the first try. I served these during the Super Bowl and my husband loved them. He kept asking me if he could eat just one more. I rarely serve "fried foods" because you have to use so much oil and it just always seems a bit wasteful to me, but these are worth it! Especially if you are serving them for a big crowd and can double or even triple to batch!
Vegan Cheese. A good popper needs rich, melty cheese. I would advise using a brand that melts well like Daiya or Follow Your Heart's newer block cheeses. Read my Big Vegan Cheese Guide here.
A note of caution when working with Jalapeño peppers: be careful! You’ll want to remove the seeds so that the spiciness level is mild. Those seeds have a kick! Do not touch them with your bare hands and then touch your face or especially your eyes! Soop them out, discard and wash your hands just in case. You can always wear gloves if you are nervous about working with spicy seeds. Or goggles, kinda kidding there though. Ha.
This is one of my most popular party-approved recipes and I hope you love it!!
Party Jalapeno Poppers
By Published 02/07/2011
These easy vegan poppers are filled with cheese and cream cheese and have a crispy Panko, lightly fried outer shell. Warm and spicy and so amazing!
Ingredients
- 5 large jalapeños, sliced in half and seeds removed
- --
- Cheese Mixture:
- ¼ cup vegan cream cheese
- ¼ cup vegan cheddar cheese shreds
- Flour Mixture:
- 2 tablespoon all purpose flour
- 1 tablespoon nutritional yeast
- ¾ teaspoon garlic powder
- ⅛ teaspoon chipotle powder or smoky paprika - or to taste
- pinch of salt and pepper
- --
- Panko Bread Crumbs
- small shallow bowl filled with non-dairy milk (about ⅓ cup)
- 1+ cup vegetable oil (for frying)
Instructions
- Prep your jalapeños by halving them and carefully removing the seeds. Set aside.
- Get your "breading" station set up. You will have a bowl for each of these: cheese mixture (fold the shreds into the cream cheese), flour mixture, Panko crumbs, non-dairy milk.
- Stuff jalapeño halves with vegan cheese mixture, roll in milk, roll in flour, back in milk, roll in Panko crumbs, set aside. Pressing the Panko crumbs into the wet cheese layer really helps. Continue this process until all the jalapeños are stuffed and breaded.
- Pour your oil into a large pot over med-high heat. Test the oil for heat-readiness by dropping one panko crumb into the oil - if it sizzles, the oil is hot enough. If you can get by with cooking all your poppers with 1 cup of oil, great. But if you want a more saturated "fry" you may need to add more. "Fry" each popper for about a minute or until the outside is deep golden brown. They don't need much because the oil is so hot.
- Transfer the cooked poppers to a paper towel or baking rack to cool for a few minutes before serving.
Yield: 10 poppersPrep Time: 00 hrs. 15 mins. Cook time: 00 hrs. 10 mins. Total time: 25 mins. Tags: Jalapeño poppers, vegan,appetizer,super bowl,snack,cheese,vegan,jalapeños,party,easy


