
This is my Eating Disorder Reflection.
With each new blogpost, I am continually so grateful that this little food blog I started back in 2007 is now my full-time career. But besides being my dream job, the truly most valuable aspect of blogging for me has been all the amazing connections I have made with my readers and fellow bloggers, you guys on the other side of this screen.
You are a community of compassionate, aware, sometimes hilarious and always inspiring individuals from all over the world. I wake up each day excited to see what you are posting in the comments, tweeting me, Instagramming and reaching out everywhere else.
Heathy Happy (Real) Life.
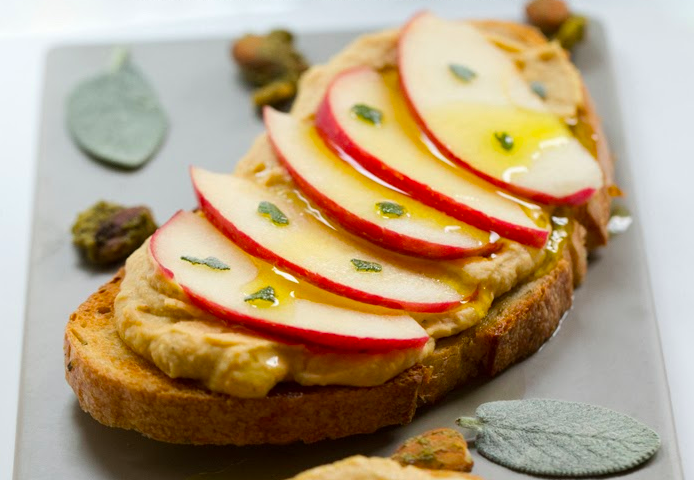
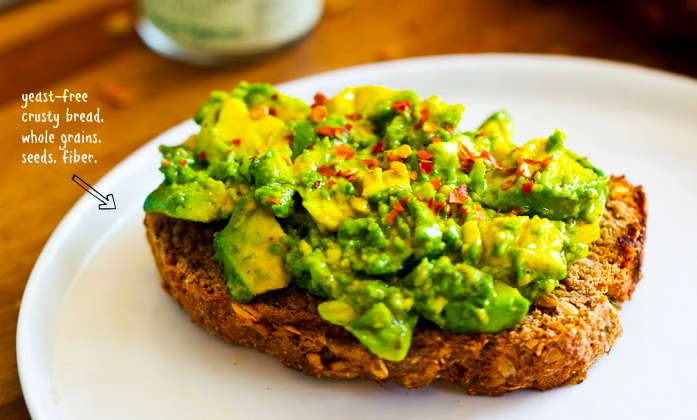
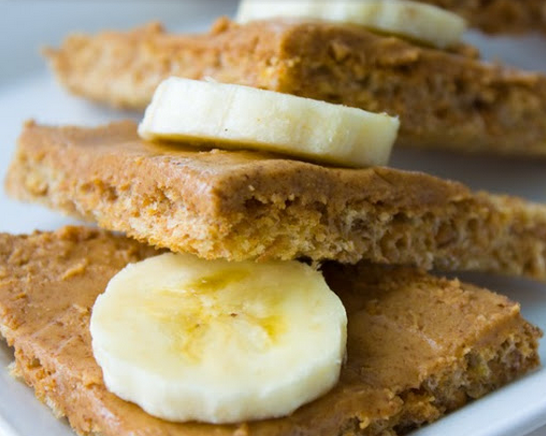
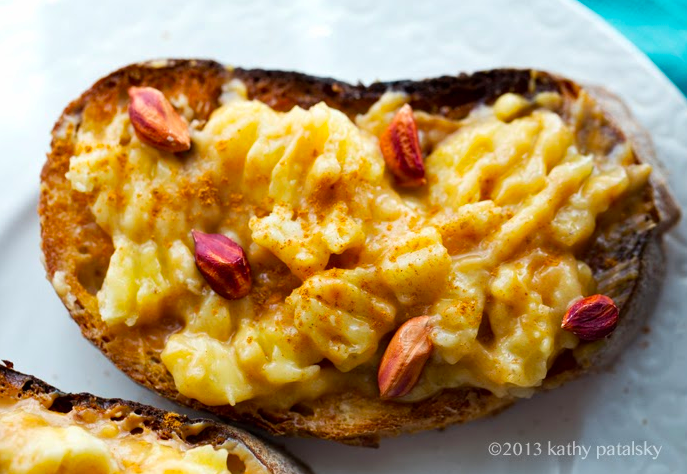
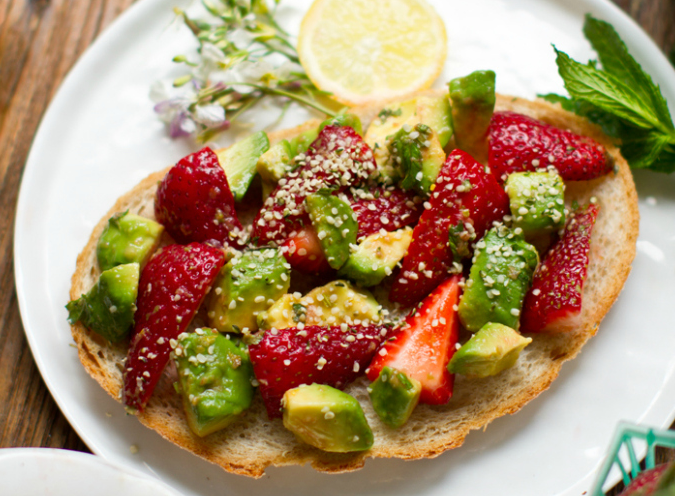
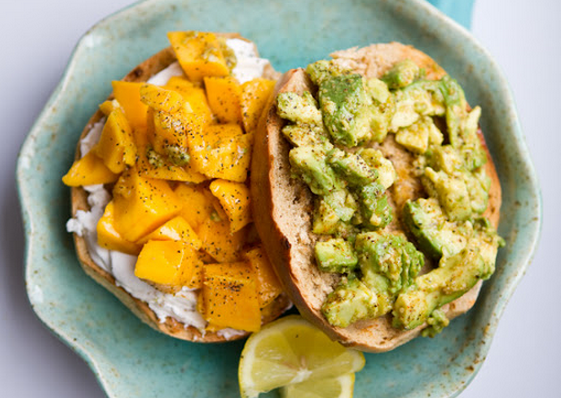
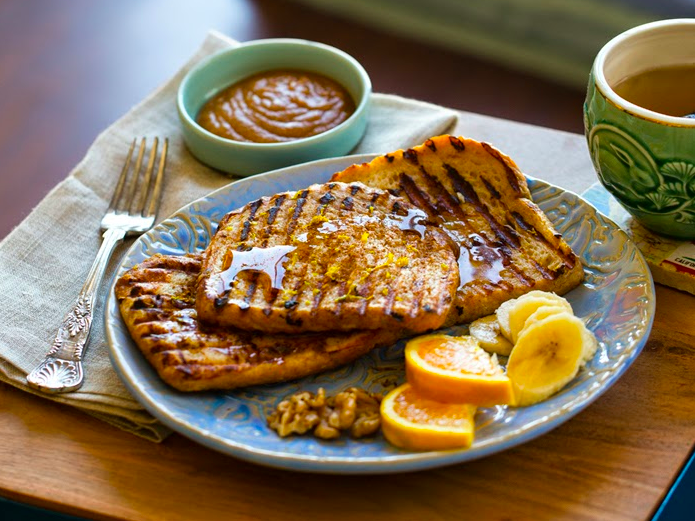
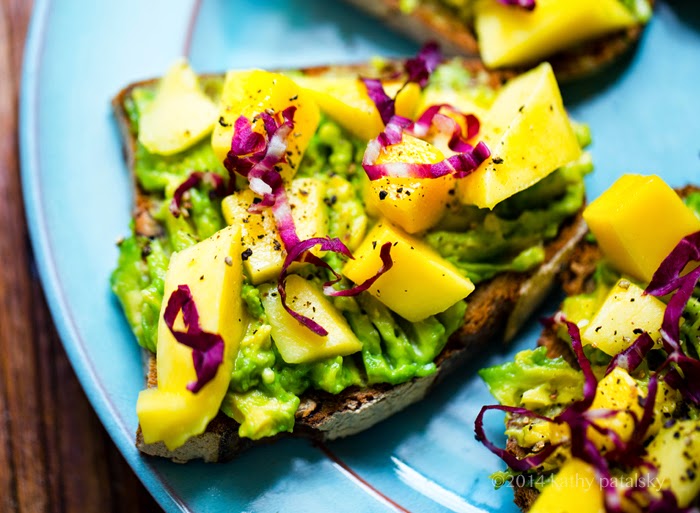
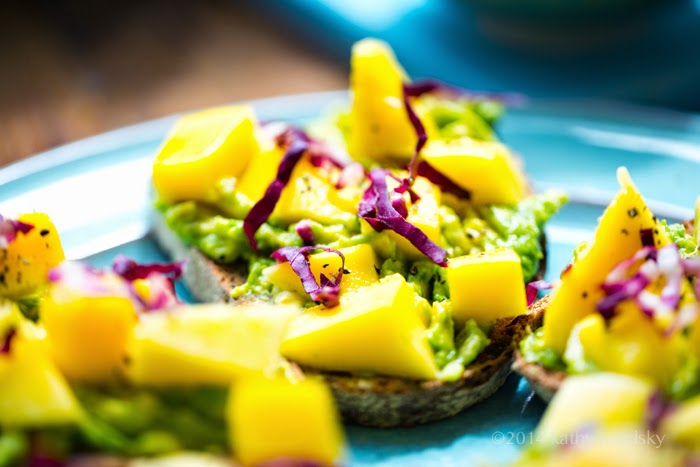
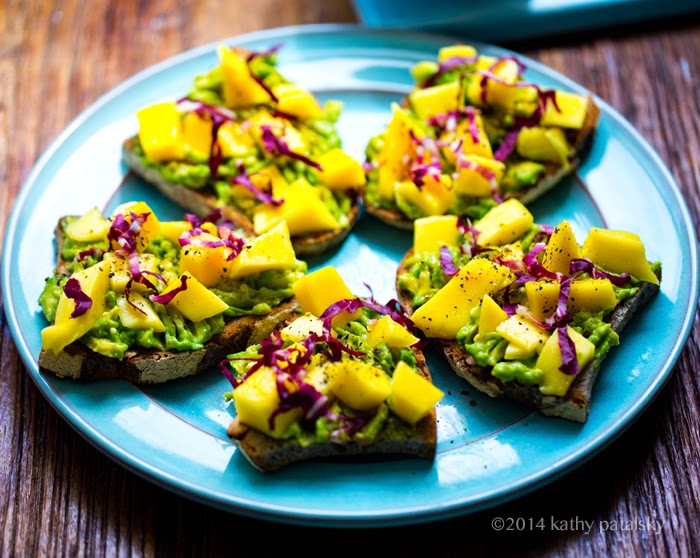
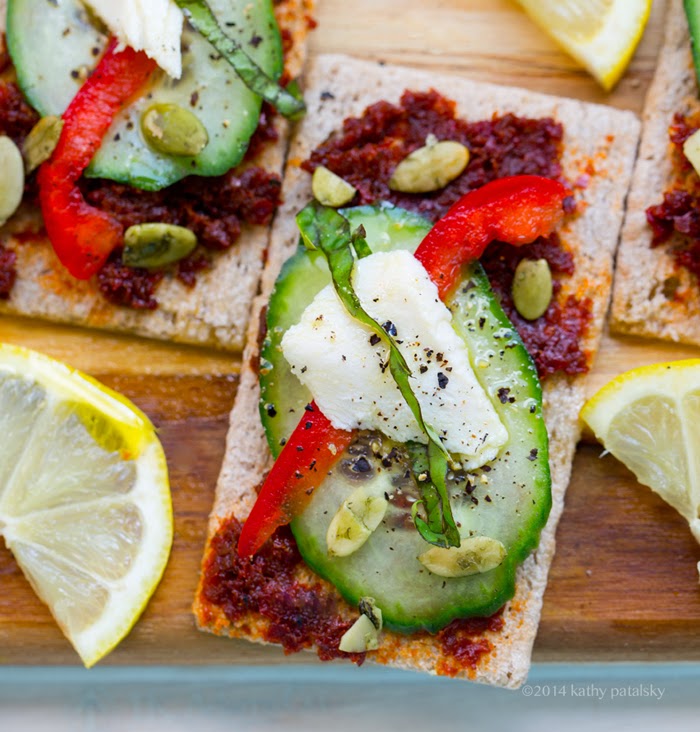
Today I am pausing on a recipe and sharing a story. All because I want to chat a bit deeper with you on the topic of wellness. Because while I know we all love a good spin-on-avocado-toast recipe post, I also know that sometimes the best meals are not about the food at all, but rather about the person on the other end of the table, and the connections and stories you shared.
Wellness Gets Real
This story is one I haven't told in full here on HHL, and I kept making excuses to not share it, until one day last week I just started writing. And writing. And eventually ended up with this post. So here it goes.
But before I get to my story, I want to reflect on two things: wellness and our bodies.
Whole Body / Mind Wellness.
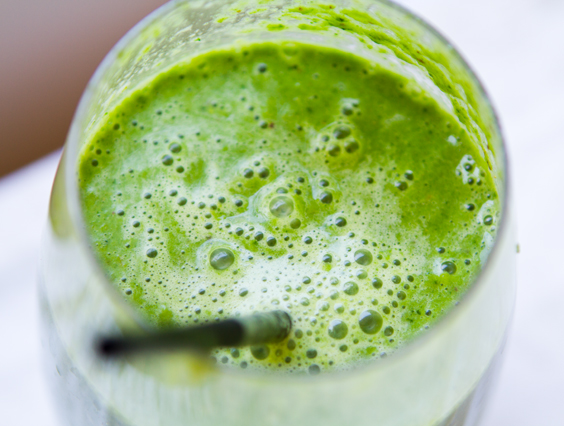
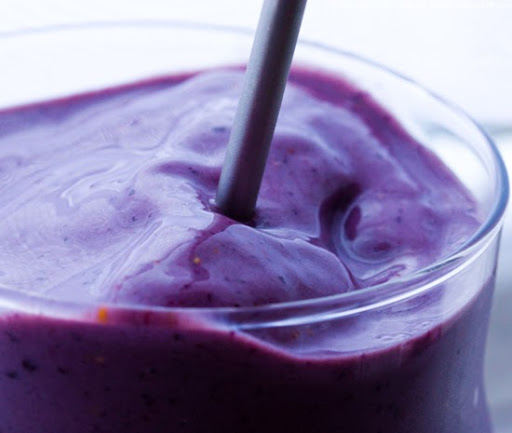
If you think the term "wellness" sounds a bit boring or passè, think again. You see, every fit of laughter, burst of energy, peaceful slumber, comforting hug, valuable friendship, each brilliant idea you have, illness your body fights and every feeling of hope, peace or gratitude is born from some aspect of wellness. In short, contrary to popular belief, wellness is much more than your half hour of cardio and lunchtime green smoothie. It is your entire world, mind spirit and body, doing its best to thrive on this planet.
Need a wellness refresher? Learn all about the six dimensions of wellness.
Favorite wellness skill: learning how to listen to your body.
An authentic, well-tuned ear takes time and dedication to acquire. Our bodies are speaking to us all the time, it is our job to listen and hopefully adjust our actions based on what we hear.
Why Trust Your Body?
Simply put, there is so much we can learn from them. As humans, when we landed in this world, inside these fragile and mysterious bodies, we didn't know our thumb from our belly button. But our bodies had been doing some pretty fantastic things from the very beginning. Creating organs, major body systems, digesting nutrients, fighting off bad bacteria, fine tuning our brains and developing our senses. Our magical bodies are the little geniuses in each one of us. Yes, YOU are a certified GENIUS just by having a body.
So it makes good sense to stop focusing so much on what outside voices and popular trends are telling us and start listening to our actual bodies themselves. They want nothing more than to help our spirits thrive on this planet. To usher us towards total wellness: spiritual, emotional, physical, social, intellectual and occupational.
But there is no such thing as perfect wellness. We all have cracks, weaknesses. Some more severe than others. These were mine. Story time!
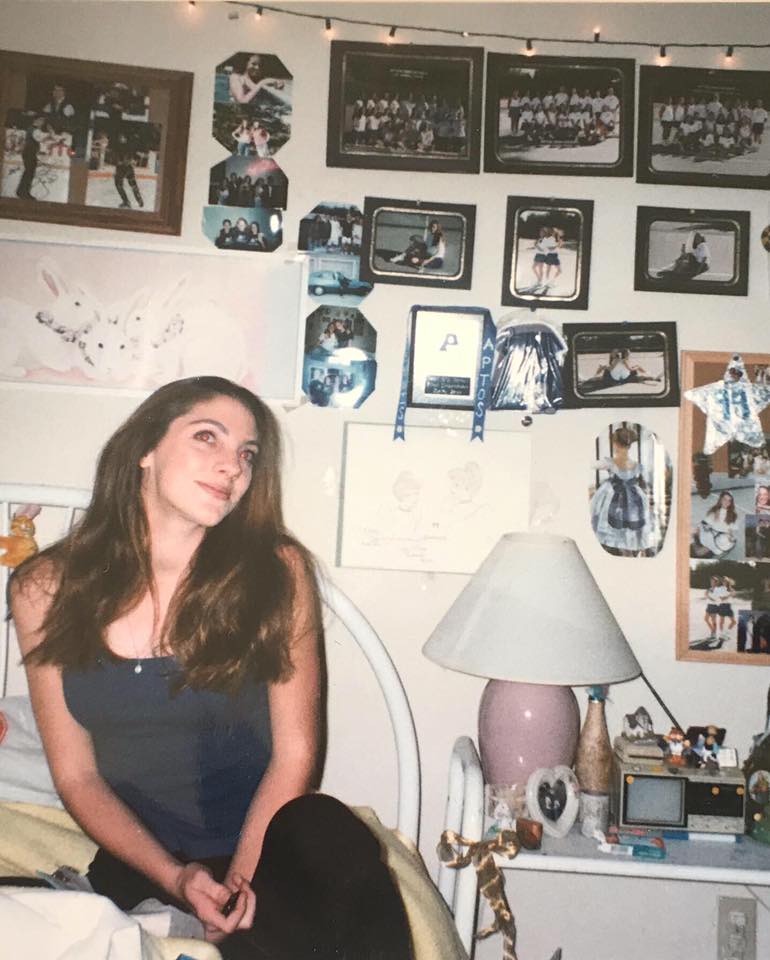
Just a Girl in this World.
As a young girl, when it came to my body, I did what many young people do, I basically ignored it. Once in a while it would strike me down with allergies, asthma attacks, ear aches or common colds. Or if I ate too much Halloween candy or fell and scraped my knees. I would suddenly be very aware of its presence and voice. But other than that, I didn't pay much attention.
Then those teenage years hit, physical and mental changes unraveling at a speedy pace, and suddenly I was a 16 year-old girl becoming painfully overly aware of my body. And before even working through things with my body, on the same team. I treated my body like my enemy.
Distorted View
I had a twisted distortion about what was beautiful and what I was supposed to look like. Hm, that sounds like almost every teenage girl, like ever, right? Well I didn’t know that at the time. Maybe because there wasn’t a whole lot of authentic and loudly-voiced, girl-focused, self esteem-building body talk going on in the late 90’s. Social media - I've realized - can in fact do GOOD. Though yes, it's a mix of positive and negative images and messages in regards to eating disorders.
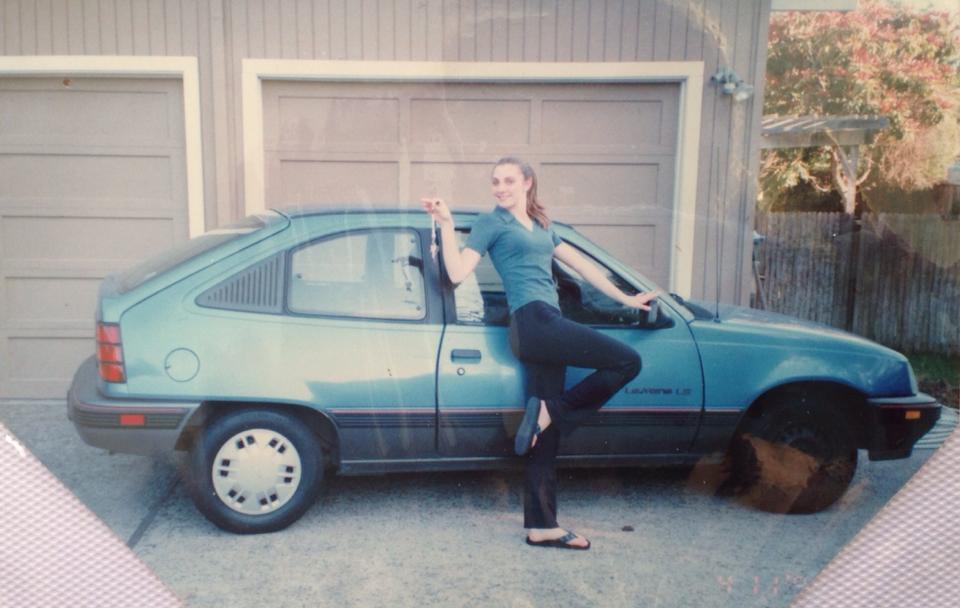
90's Life
In the late 1990's, we were in our own little boxes. Small worlds. School, friends, home, activities, newspapers, magazines, books, TV. My entire analysis of my own body was based on my surroundings: pop culture, magazines, friends, family, and maybe a few after-school specials just for good measure. The only convincing “girl power” I was aware of came blaring out of my boom box speakers, via The Spice Girls.
Taking My Body For Granted
When in reality, girl power was all around me. I was a pretty darn good example of it, excelling in school, sports, art, friendships and more. That very body I doubted, was actually the very thing that allowed me to do all my favorite things: play tennis, study hard, think and learn, make friends, care for animals, connect with people, dance, sing, use my creativity and more.
My self esteem should have been soaring. And it was, in some respects. But when my weaknesses were tested, I struggled and I simply didn't make the connection.
Naturally Thin
The frustrating thing about my story is that I have always been naturally thin, and so the line between looking healthy or not was always strange. I was teased in junior high for me "lanky" limbs.
Teenage Girl Problems
And suddenly, as late high school insecurities and anxieties grew, my normal teenage girl doubts were manifesting themselves in some dangerous ways. Those small cracks in my wellness system, gave way to reveal deep canyons. Eating disorder facts:
- 75% of girls with low self-esteem reported engaging in negative activities such as disordered eating, cutting, bullying, smoking, drinking and using drugs.
- The impact of low self-esteem often leads to behaviors that can be life altering well beyond teen years.
- Girl self-esteem peaks at age 9 then plummets. - girlpowercampaign
Even though my body allowed me so many joys, I took one look in the mirror and decided...
I hate you.
When My Eating Disorder Started
This all started my senior year in high school. (Great timing, yes?) I was a sweet, smart girl with loads of friends and a happy life, but my overachieving tendencies, perfectionistic mindset and lack of stress-coping skills while applying for colleges and pondering my future got in the way of all the good stuff. Suddenly, changing my body, was high priority on my to-do list.
For a good year, I starved and overworked my body. Muffling anything it had to say. And I succeeded in my efforts, I lost weight at a drastic pace, and in my minds eye, I was winning this game.
Meanwhile, my body was screaming. Crumbling. Wellness deteriorating. Frail, exhausted, my brain became fuzzy, my energy levels plummeted and I found it challenging to climb out of bed each day, depression kicked in and my growth as a beautIful young girl basically froze, stuck blistering in frostbite from an endless blizzard that I started for myself. Think Queen Elsa, only much more traumatic.
High Functioning Personalities are Common in EDs
Somehow, I was able to maintain my straight A grades and participate in endless extra-curricular activities, though my inner happiness began to suffer. A body can only take so much.
This behavior spiraled into what official terms would call an eating disorder, though I was never formally diagnosed. It was a time when talking openly about eating disorders was a very awkward thing, no one really felt comfortable doing it. And even though I am able to write this today, I am annoyed to say that I still have some faint sense of shame from the whole experience. And that is the main reason why I am writing this. To free myself and other girls out there from that shame.
Shame-less
There is nothing shameful about it, and anyone who thinks that there is or judges you for it, probably has a lot more going on in their own life than they care to admit to. Life happens. People go through things. And then we find comfort in figuring things out together.
So that last year of high school, a time that should have been incredibly joyful and magical, became a battlefield. Me against my body. And while a few people in my life showed concern, I was so good at pretending that everything was ok that after a while I actually believed it myself. I shut down and did not let anyone in.
Eating Disorder Isolation
And one of the greatest challenges I faced was that feeling of isolation. I desperately ached to hear someone say that I wasn't a broken person and I wasn't alone. Through everything, I had no clue how many bright, loving, amazing girls (and boys) were going through the same problems as me, on varying levels. I wasn’t some strange messed up soul, but a normal one.
But normal can quickly take a destructive turn. There is a switch that has to click, to take you from normal self doubt to full on eating disorder or body hate status. To actively torture your body from the inside out. You have to be motivated by something extreme.
What motivates the eating disorder?
Maybe it is your own perfectionism or unrealistic goals for yourself, or a distorted body image, or a severe case of stress where controlling your body actually numbs the pain and makes you feel in control, or maybe even the pressure from participating in a body specific sport or industry like ballet, gymnastics, or modeling.

For me, I put that pressure on myself and soon, like a wooden marionette character, my entire world was strictly choreographed by my disorder, I was being held up by tight thin strings just waiting to break, leaving me falling on my face. I had given away so much control to the puppet master that I had forgotten how to stand up on my own terms, walk my own path, dance, jump, sprint and leap.
Rock Bottom
Come winter break of my senior year, I was a mess. I have photos where I look like a skeleton. I don't share them here because they could be triggering for those still suffering.
My eating disorder could no longer be hidden from anyone. Teachers, friends, they all reached out. Looking back, I am so sad I didn't open up to them. I just didn't see it. And that is one of the major problems with eating disorders. You truly believe you are both fine and healthy -- and not quite perfect yet.
At some point, finally, I awakened somewhat from my protective coating of numbness and saw what was happening. And the sting of reality was harsh. I looked like crap. And felt even worse. I wanted out.
Help. Please.
I desperately wanted a quick fix solution. A reset button to press on all the damage I had done. But sending a dozen long-stemmed red roses to my body wouldn't work. I tried to maintain healthy habits, but it was a struggle. I felt hopeless at times and wondered if things would ever be normal again. All I wanted was to go out with my friends, eat three slices of pizza and plop down on the couch without my brain going on autopilot and analyzing calories and fat grams.
Eventually, I graduated from high school, all while still struggling to recover. Soon I was a new college student in Boston, 3,000 miles from home. My schoolwork still thrived, but my social life suffered. For the first time in my life, I found it challenging to make friends and to be a happy person with all the internal conflict I was trying to resolve, both mentally and physically.
It took me a good while to genuinely crawl out of that rabbit hole. And even today, I have some leftover physical and mental consequences from all those years of self-abuse and lack of support. But for the most part, I am lucky and grateful to have come out of it.
Getting Help Early
Just HOW I managed to do that is an entirely other conversation in itself. I 100% think that my eating disorder would have healed more quickly if I had reached out for help early on. But back then there was no Twitter or blog posts or ways to connect and get advice. I felt so alone and ashamed.
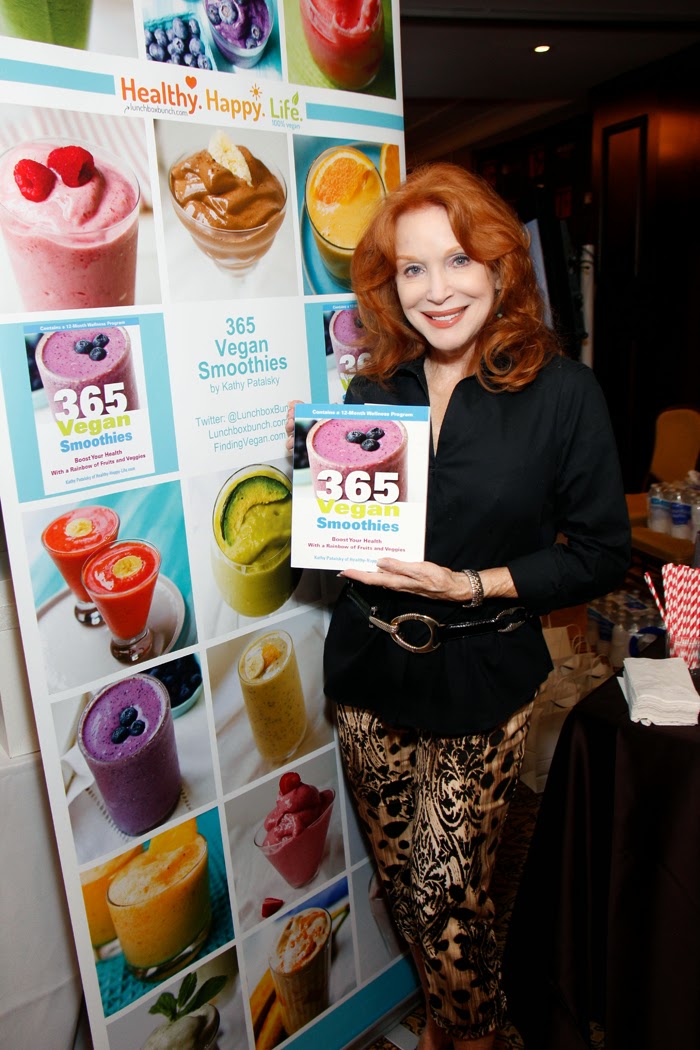
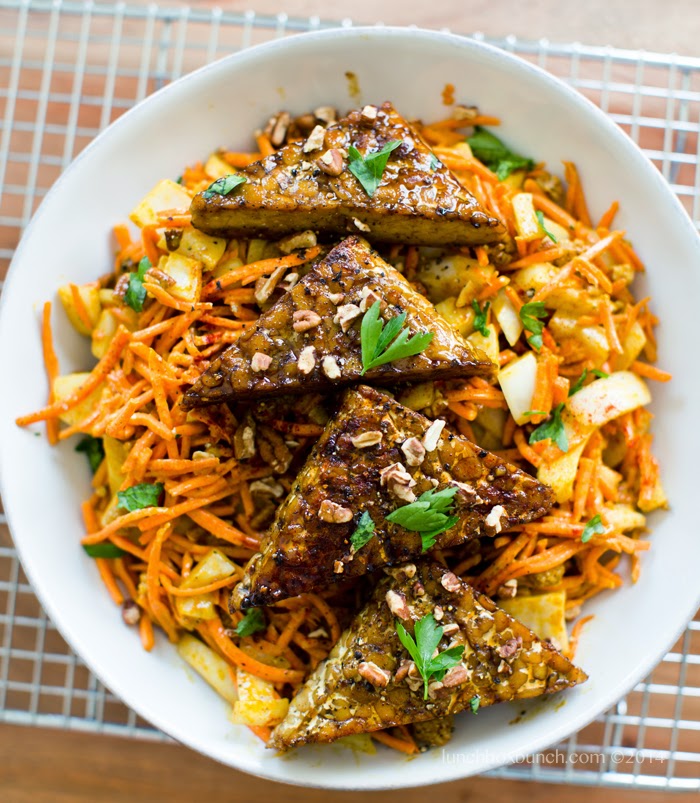
I will say that my plant-based diet and vegan lifestyle has had a valuable presence on my journey towards health and wellness.
Healing Started, Slowly...
Another cornerstone in my healing was realizing that all the good, real, stuff that makes someone truly beautiful is on the inside. So clichè, but I think young girls are not always brought up to truly believe this. So much beauty lies inside each one of us, but the world will only ever see that beauty if you first and foremost believe in it yourself.
Self esteem matters so much. Lets support one another and keep the conversation going.
Today's Life.
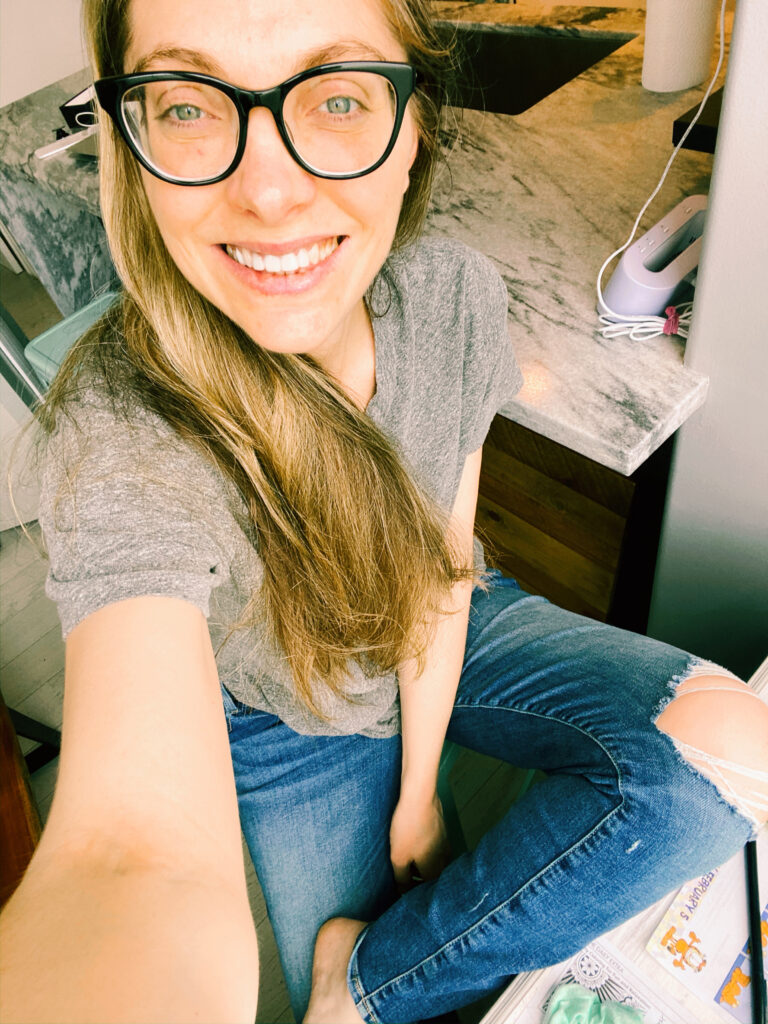
These days, my eating disorder is healed. I can say that with actual confidence. Not like how I did in college. Back then, "I'm fine" was really me screaming inside.
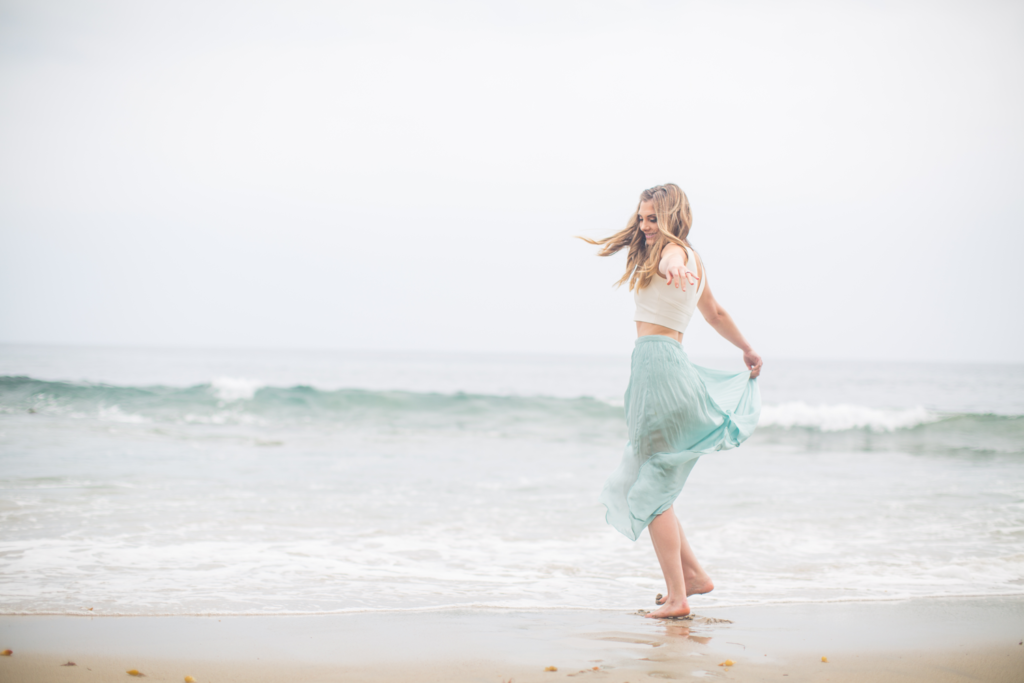
My actions towards my body reflect my goal for wellness. I want to thrive on this planet, play in the sunshine and have a smile on my face, and I have to take care of myself to do that. As a 33 year-old woman I now choose to spend my precious time and energy nurturing the things that bring me the most in return: people, thoughts, feelings, words, animals, adventures, art, my work, places, joy-inducing food and real nutrition, healthy happy fitness like dancing around in my bedroom as opposed to grinding away at the gym (though I have nothing against gyms), and overall trying to have a big old sense of humor about everything that life may sling at me.
Growth From Struggle
It is up to us to turn our challenging experiences in life into positive outcomes. And to hopefully give back to those still struggling. And for me, much good did come out of all this: this experience inspired my love and passion for authentic health and wellness, my degree in Health Promotion, this blog, my vegan adventures, many lifelong friends and all my work in creating healthy happy meals for my life and yours!
Share Your Story
Sharing this story about my eating disorder was not easy. It literally took me an entire day to press the "publish" button. But if I can make one person feel less alone or supported, then it is worth it.
I ask a favor. I hope you will join in this conversation of real world wellness. Leave a comment, share this with a friend or simply give it a like. It would mean the world to me and show me that you are hungry for more conversations. And if you have a topic you’d love for me to bring up and chat about, let me know.
A few of my favorite eating disorder / kindness / positive message reads online:
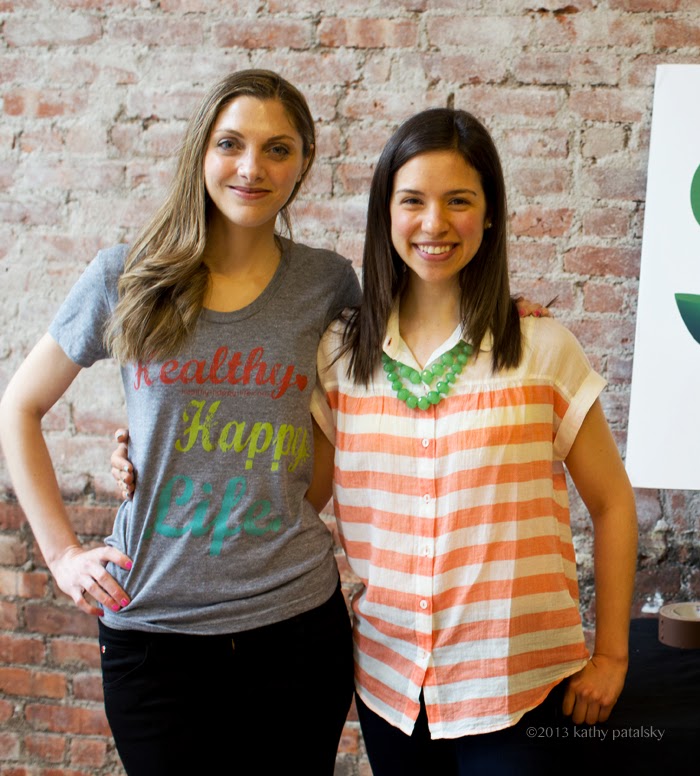
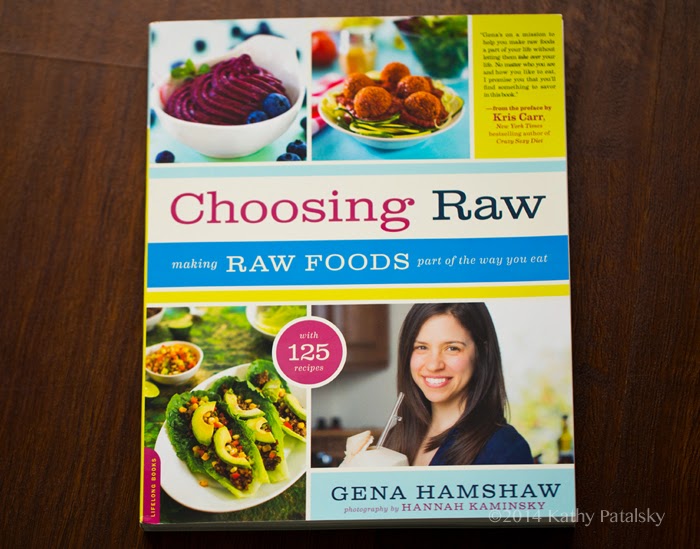
- Gena’s Green Recovery Series
- NEDA - national eating disorders association - get support!
- ANAD
- Operation Beautiful
- The Kind Campaign to end bullying, especially among young girls.
- Ask Elizabeth - advice
- GirlieGirlArmy - WCW all day, strong female vibes I adore

(Disclaimer: I do not want to generalize body image issues or ED's. Everyone is different. This was simply MY personal case. If you think you are struggling with any body or eating issues at all, seek help, do not feel ashamed. And most of all, keep working at it! I promise, it gets so much better. You can do this. 🙂