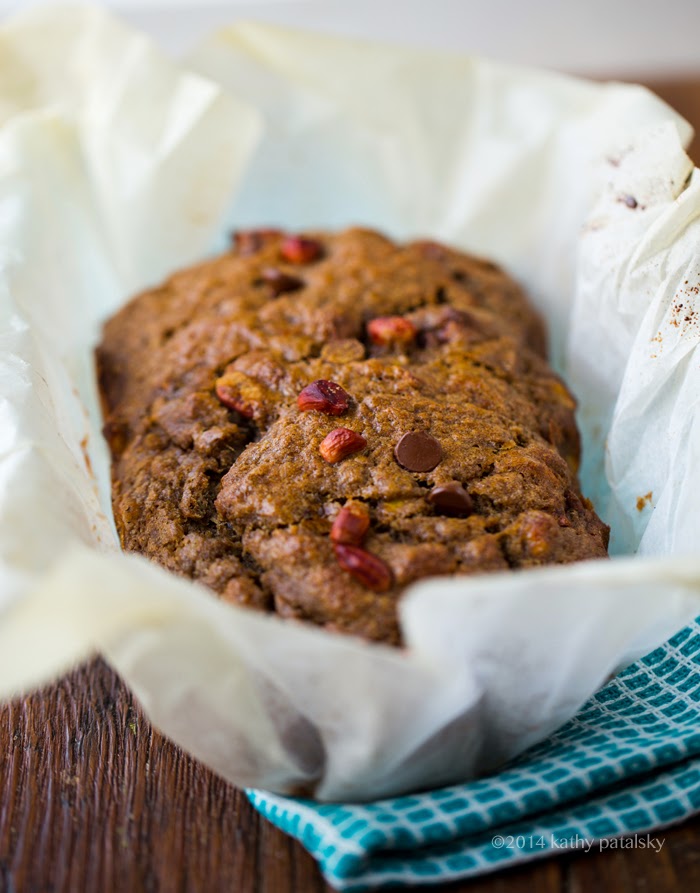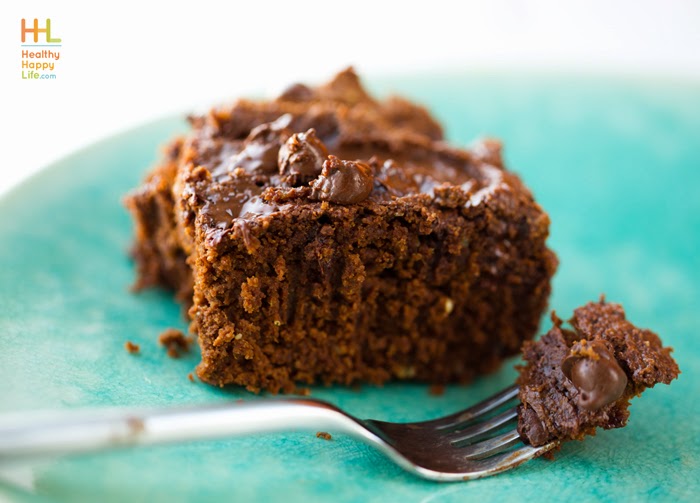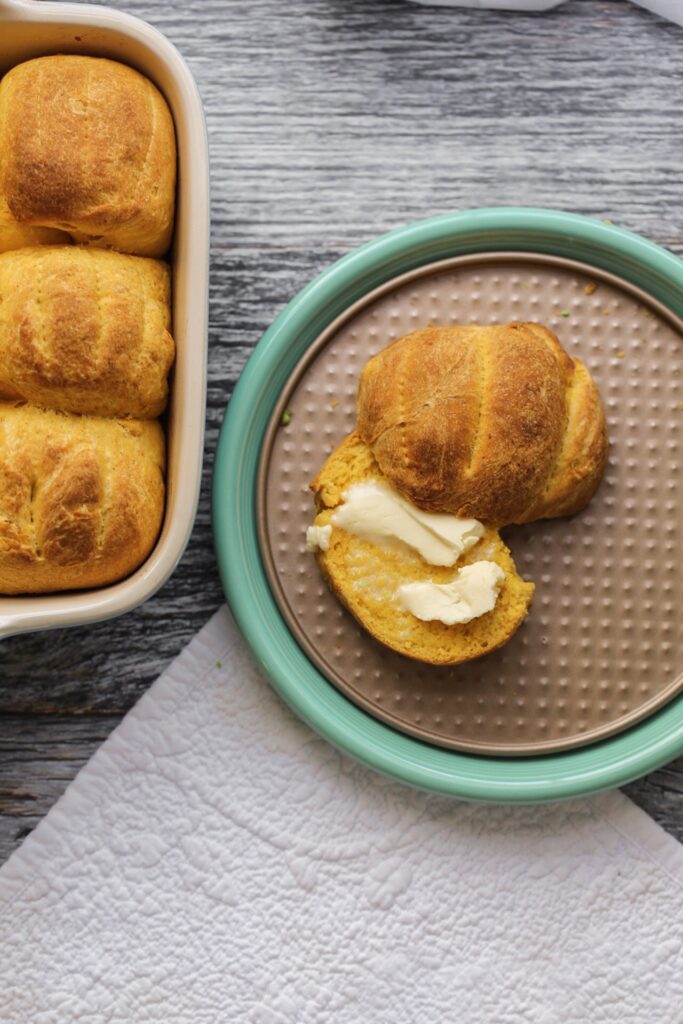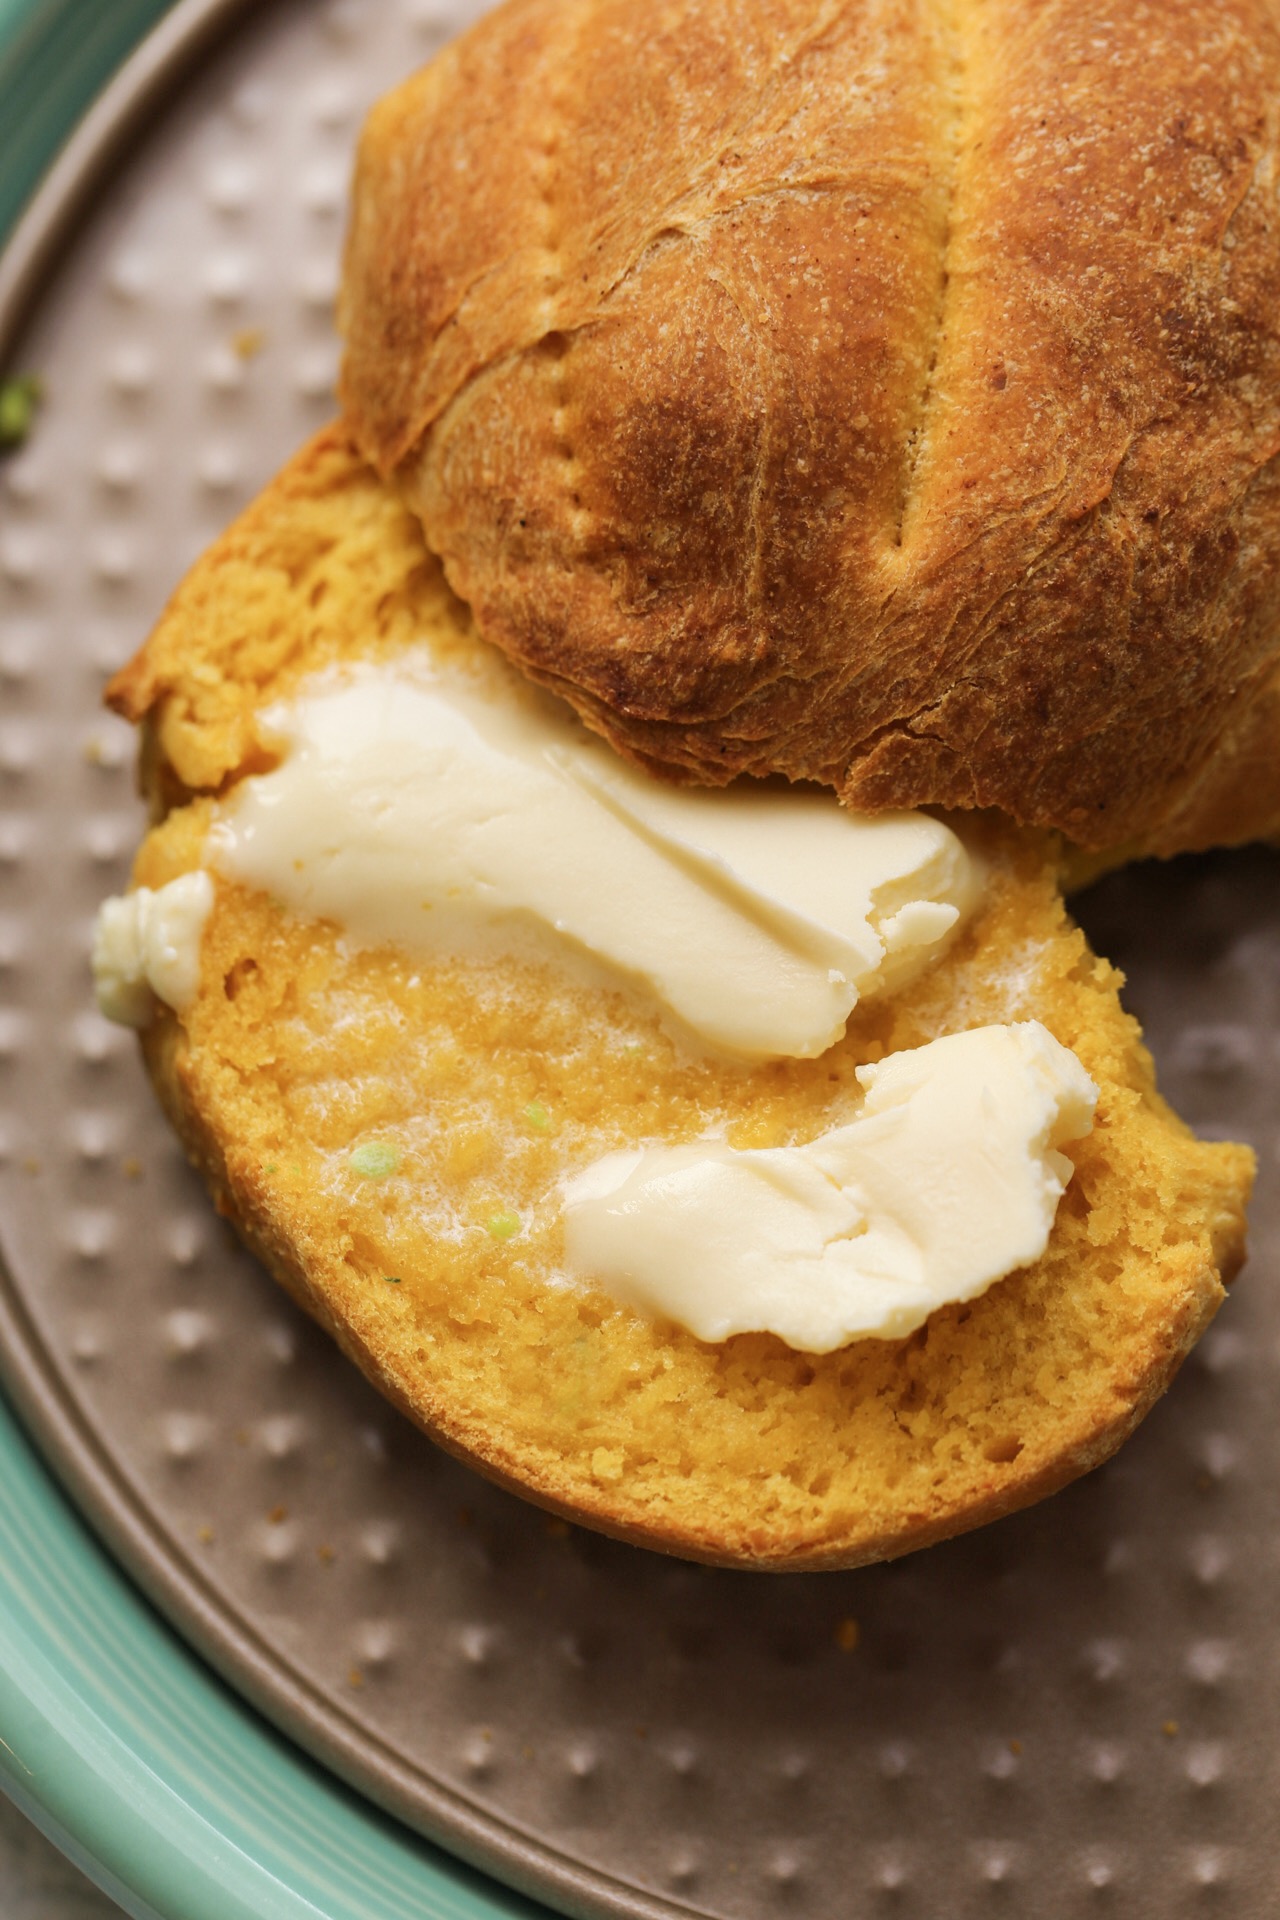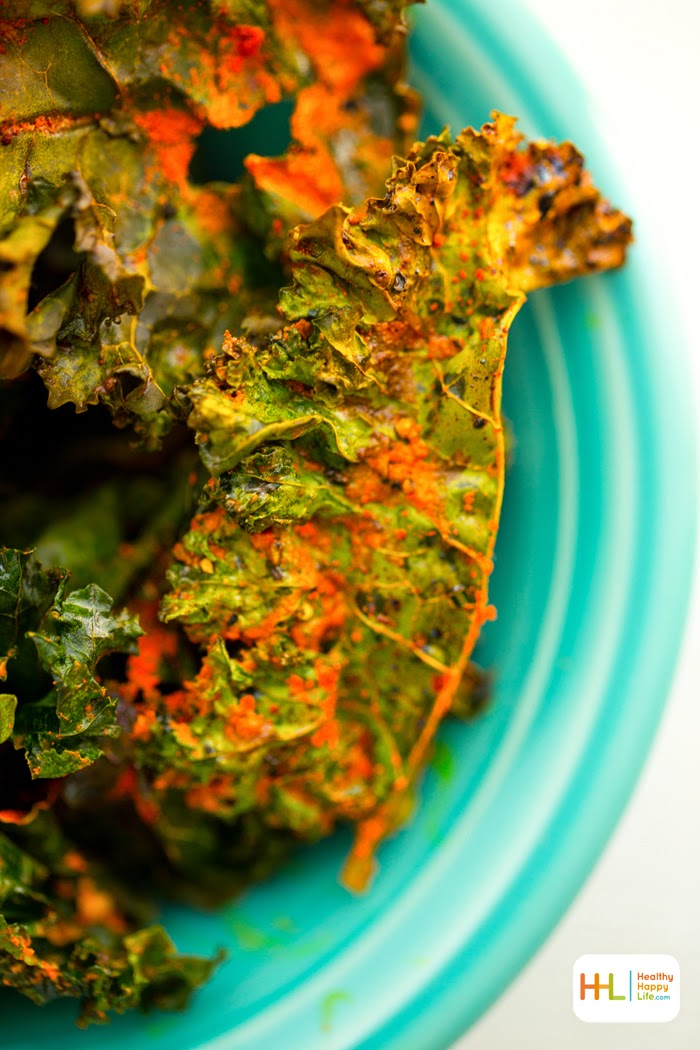

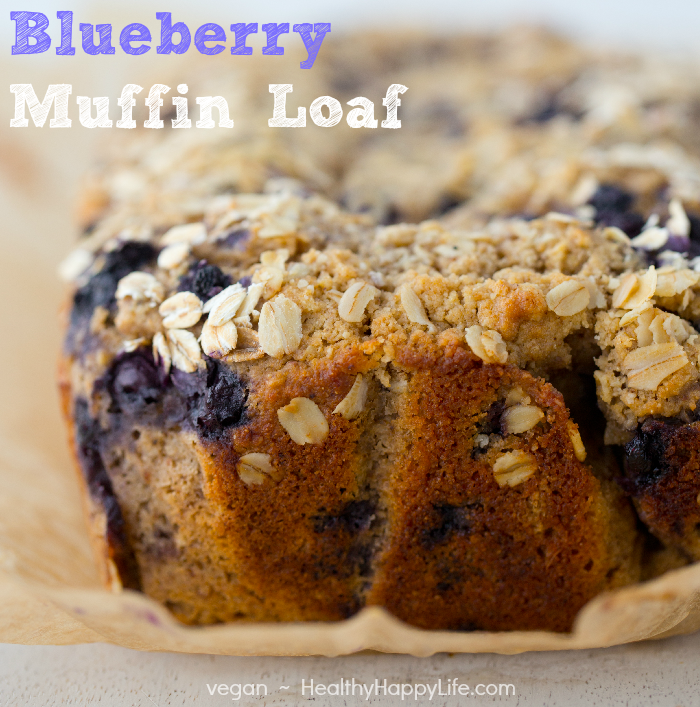
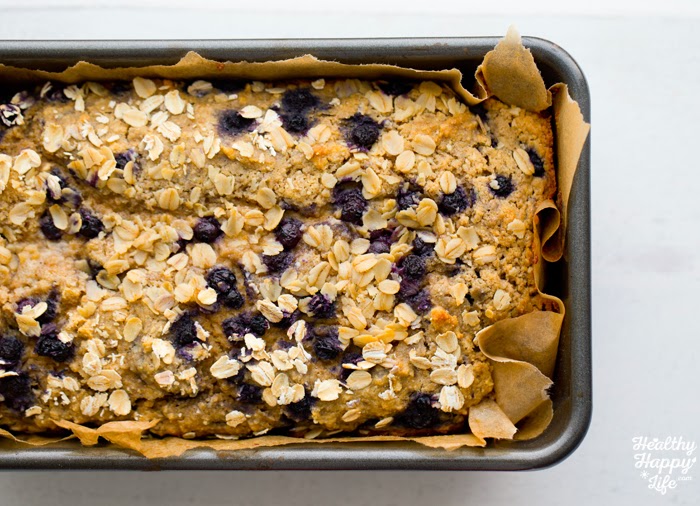
This Butter-Topped Blueberry Muffin Loaf is light and fluffy, loaded with periwinkle-stained wild blueberries in every bite. Filled with healthy ingredients like sprouted grain flour, walnuts, fresh ginger and more. Bake today and make something beautiful. Something artistic. Art that you can eat!...
Baking Sunday. Today was a busy little Sunday. A day just begging to be soaked in molasses to help it slow down.
And nothing happily slows me down, both physically and mentally, more than baking. BAKING. Meditation. Same thing. Any type of art actually. But today my palette is my pantry.
When my thoughts are swirling and I cannot seem to focus on what I know I should be doing, aka staring at a screen, I love clicking on the oven to 400 degrees, feeling that warmth escape and instantly sooth me as I whip vanilla-y, nutty-sweet flavors in a big silver bowl. Today it was periwinkle wild blueberries that caught my eye.
And once that fluffy little mound of goodness sneaks out of the oven, carefully held in my oven mitt palms, I feel a bit more like me. A bit more like, well right now in this moment I have this perfect freshly-baked loaf. So that means everything is pretty darn right in my world. Happy kitties and a happy husband and a nice roof over my head and inspiring work and sweet-hearted friends and happy plans and dreams make things pretty great too.
Happy baking day friends.
Oh and I watched a movie. Another #SlowDown strategy of mine. Loved it..
"You know how everyone says seize the moment. I don't know, I'm kind of thinking it's the other way around. You know, like the moment seizes us." - Boyhood movie
Question of the day: What do YOU do to help yourself slow down? Let me know in the comments!
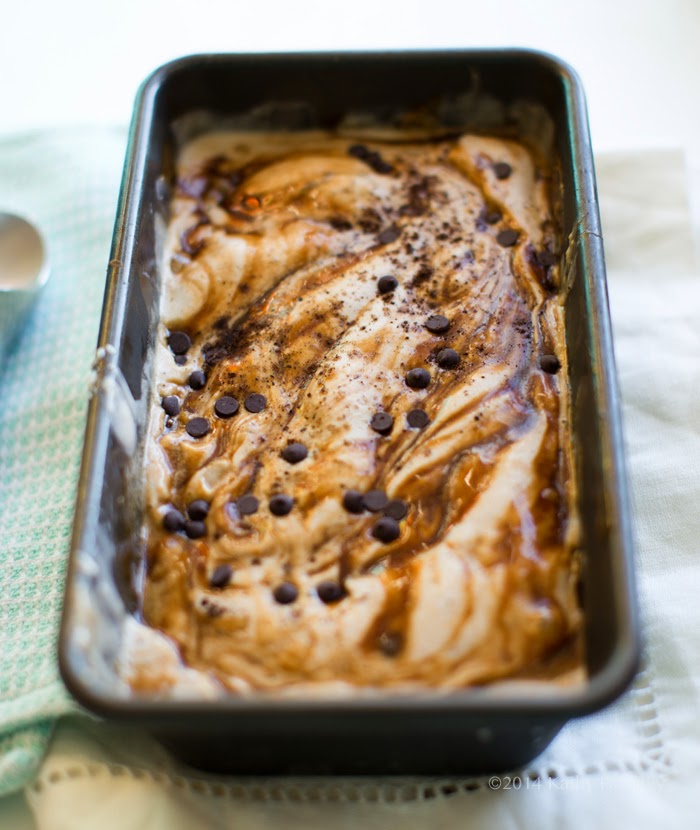
Into the oven. Vegan butter-topped blueberry muffin loaf. #baking #beforeShotA photo posted by Kathy / HealthyHappyLife (@kathypatalsky) on Jan 18, 2015 at 3:54pm PST
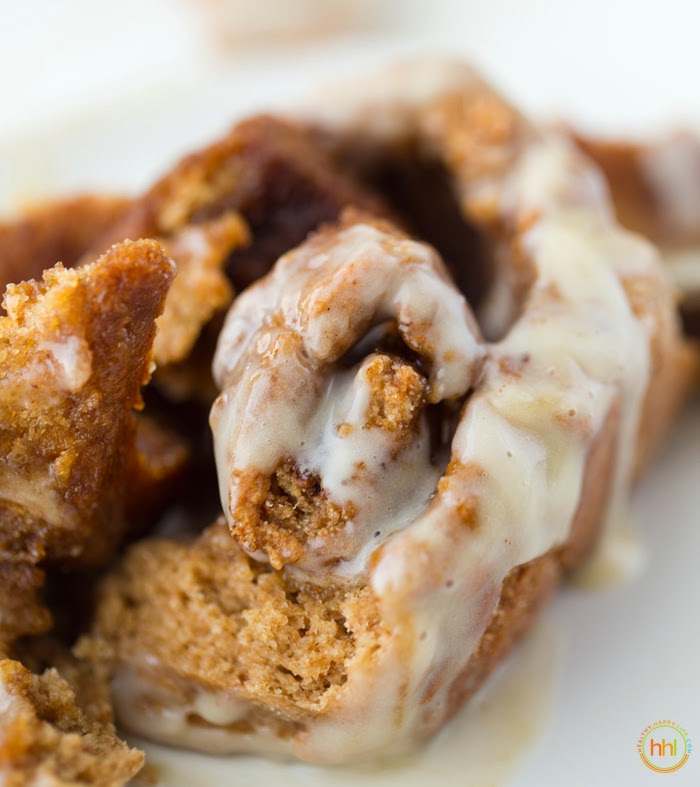
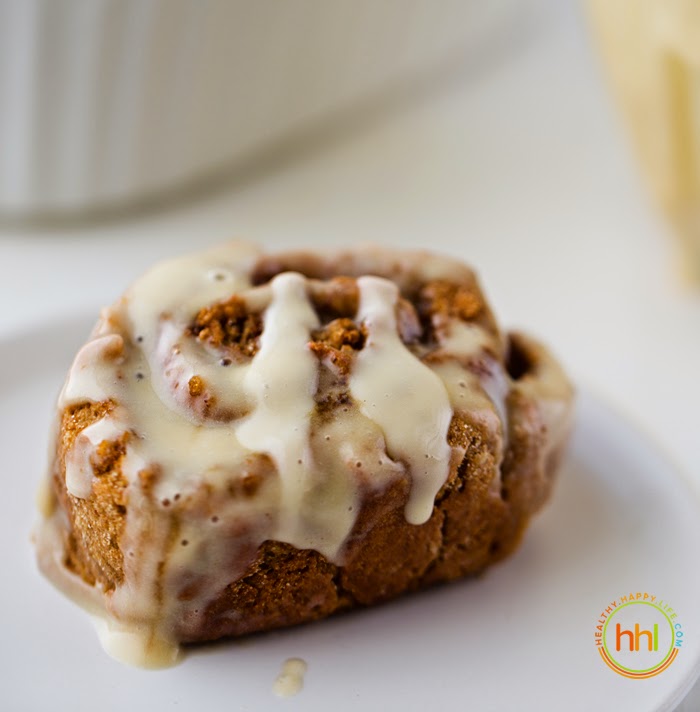
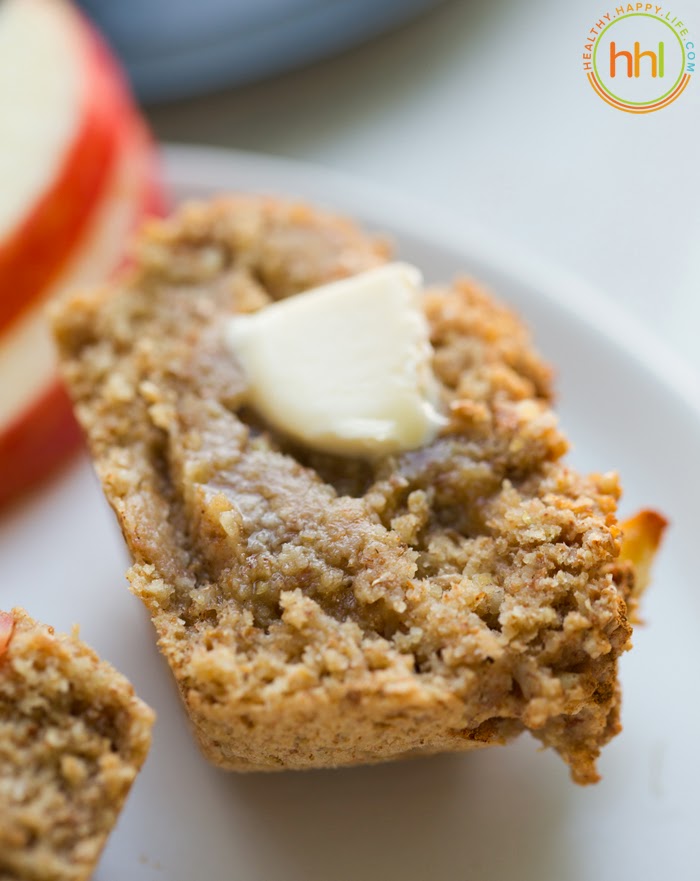
..vegan butter-topped.. (vegan butter!) -- you could also use virgin coconut oil..

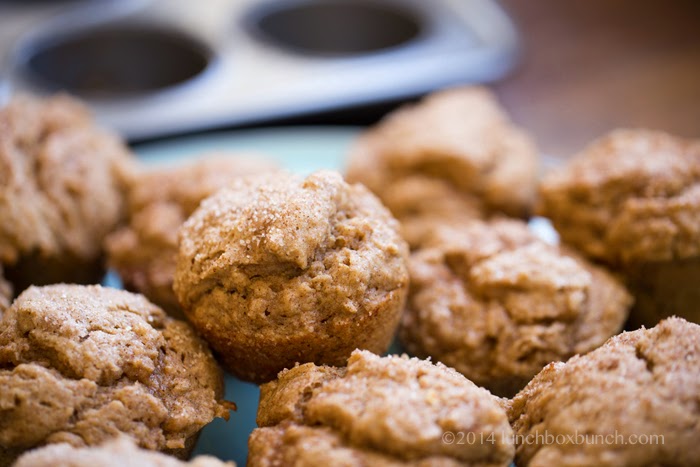
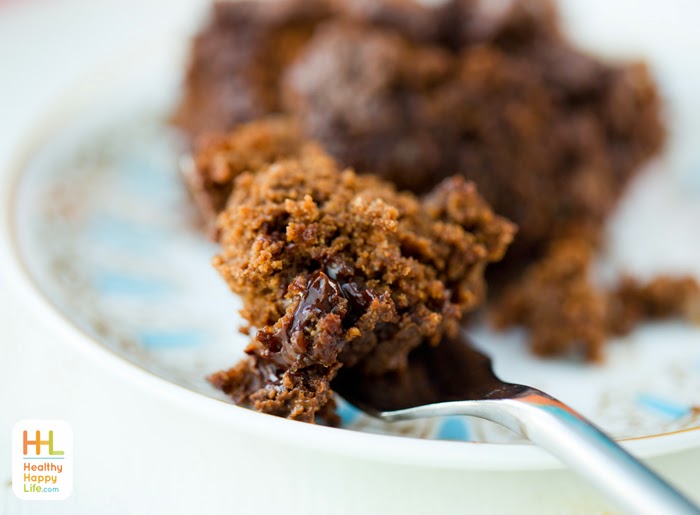
fluffy. blue. purple. cozy. loaf. warm.
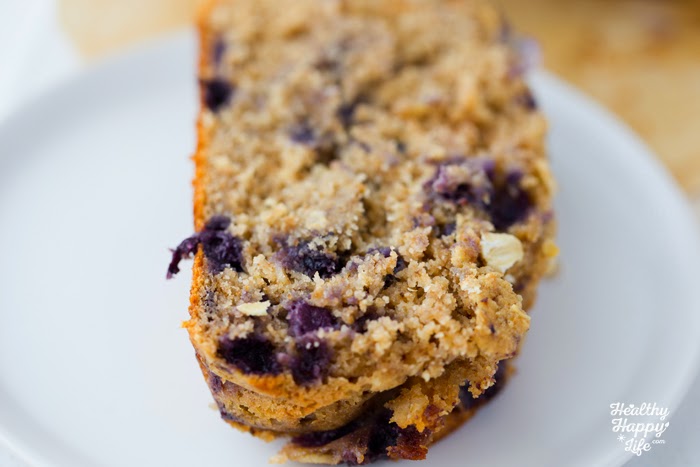


This loaf really was perfection on a cozy Sunday afternoon. Leftovers for breakfast tomorrow will be a treat.
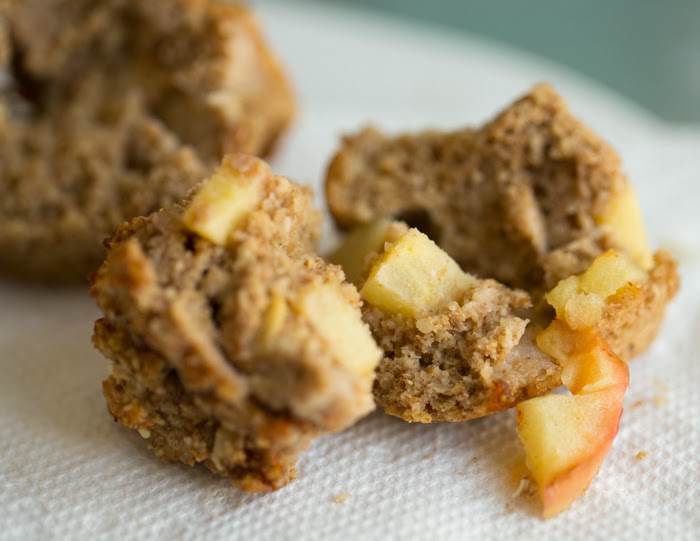
I used a sprouted grain kamut flour by one degree organics, but any sprouted flour or even just a whole grain flour will work. The walnuts add oomph and texture because they are processed into a fine crumble - along with some rolled oats. Lemon, almond extract (or sub with vanilla) and a little bit of whole apple blended in too.

Tools. This recipe works best if you have a high-speed blender - aka a superhero, amazing, life-changing Vitamix - or food processor - otherwise you will have to make a few substitutions for things like the blended apple and ginger and processed walnuts and oats.
Butter-Topped Blueberry Muffin Loaf
By Published 01/18/2015
Fluffy whole grain, vegan blueberry loaf is as cozy and alluring as a fresh-baked blueberry muffin!
Ingredients
- dry:
- 2 cups sprouted grain wheat flour (kamut wheat)
- 1 cup rolled oats
- ½ cup raw walnuts
- 1 tablespoon baking powder
- ¾ teaspoon salt
- wet:
- 1 cup almond milk
- 1 medium apple, chopped
- ⅛ teaspoon almond extract -- or vanilla
- 1 small lemon, juiced
- ½ cup maple syrup, grade B
- 1 teaspoon fresh ginger, grated
- 1 ½ tablespoon virgin coconut oil
- fold in: 1 ½ - 2 cups of wild blueberries, frozen (lightly thawed but still cold)
- topping:
- 1 ½ tablespoon vegan butter, melted
- 1 tablespoon rolled oats
Instructions
- Preheat oven to 415 degrees. Line a loaf pan with parchment paper.
- Add the walnuts and rolled oats to a Vitamix or food processor. Process until crumble to fine -- a crumbly flour.
- Pour the walnut-oat flour into a large mixing bowl along with the flour, salt and baking powder. Stir well.
- Into the same blender container that you used the dry processing for, add all the wet ingredients. Process from low to high until the apple is blended and the liquid is smooth and thickened.
- Fold the wet into the dry, whip until smooth and fluffy - you could also use a hand mixer on low for 1-2 minutes.
- Fold in the frozen blueberries and stir gently. Pour the batter into the loaf pan and using a knife, cut a loose line down the center of the batter. Pour the melted vegan butter right down the center from from left to right, in a line. Sprinkle rolled oats over top.
- Bake at 415 for 25 minutes, reduce to 400 for an additional 10-15 minutes. Total cooking: 35-40 minutes. Note: if your blueberries were very frozen when you added them, you will want a few extra minutes for baking. Cool in the pan for at least ten minutes before removing loaf and slicing to serve.
Yield: 1 loaf, 8 servingsPrep Time: 00 hrs. 15 mins. Cook time: 00 hrs. 40 mins. Total time: 55 mins.
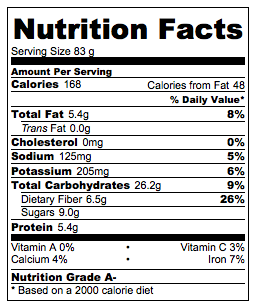
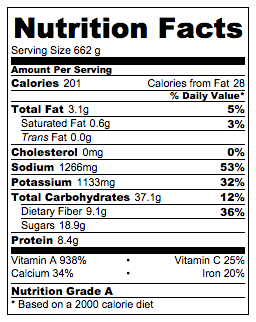
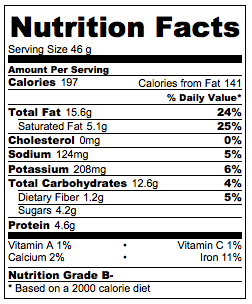
Nutrition
- Calories: 331
- Fat: 16
- Totalcarbs: 41
- Protein: 7
- Dietaryfiber: 7
Tags: muffins,loaf,blueberries,baking,vegan,blueberry muffins,oats,walnuts,breakfast


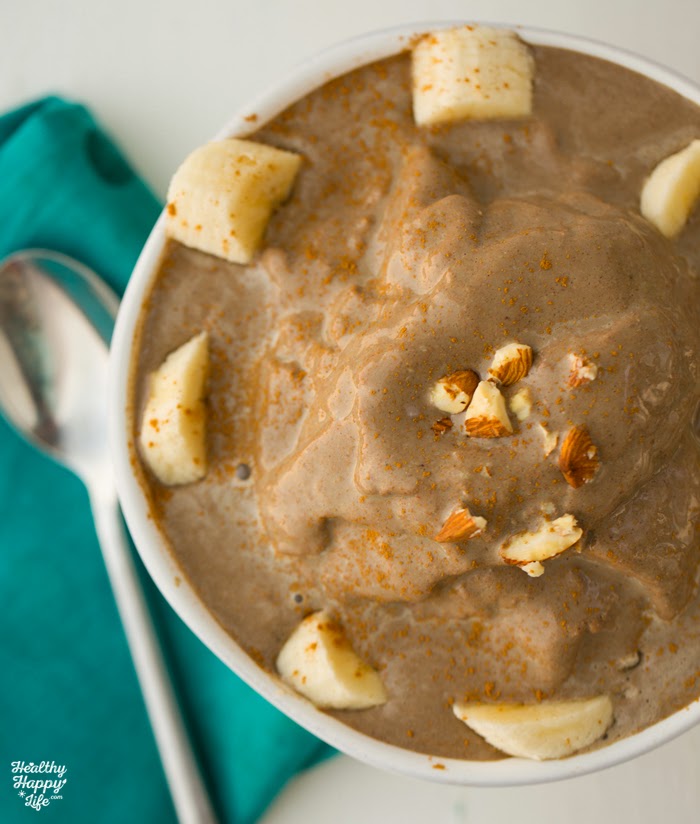
Have you entered my VEGA giveaway? Enter here + get recipes for smoothies like my Chocolate Ice Cream Smoothie Bowl.
Disclosure: I am a Vitamix affiliate and any links to their products are via my affiliate account.