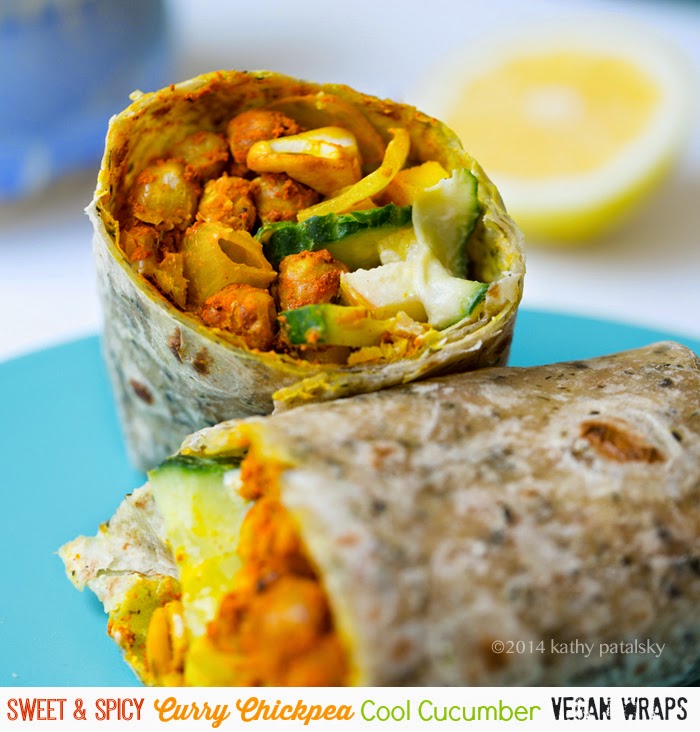

Spicy, sassy, sweet, amazing, pretty-darn-easy Curry Chickpea Cool Cucumber Wraps are on my menu tonight! This one skillet vegan meal is such a delicious and healthy way to end your day. Dinner is on and you can totally find time to make this...
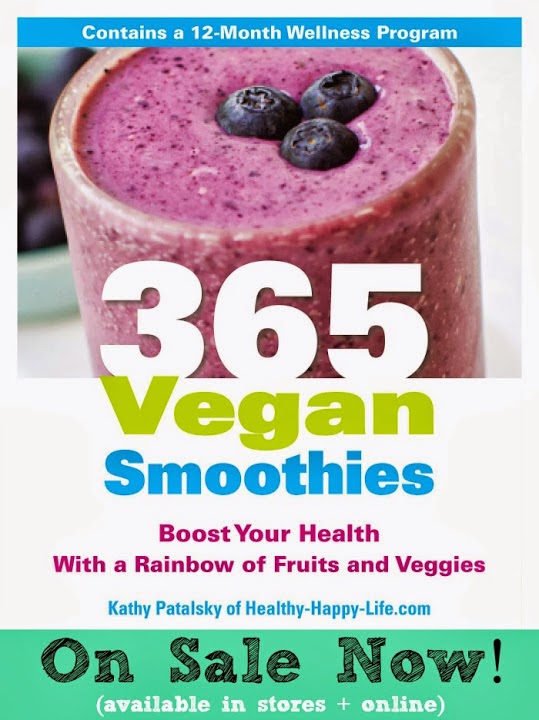
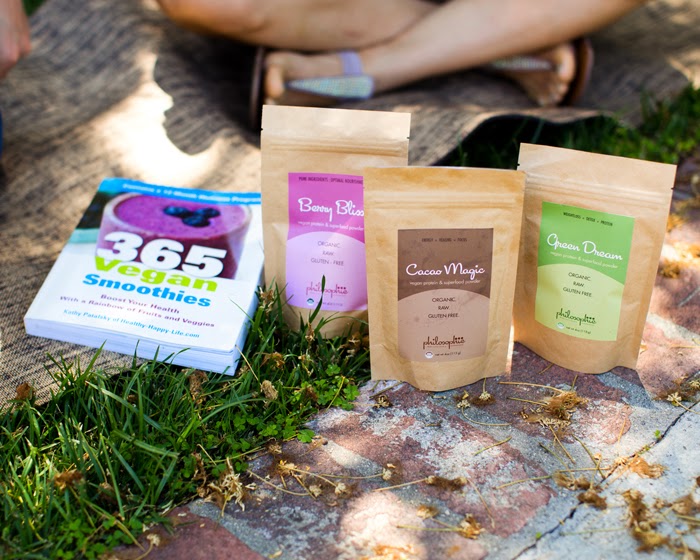
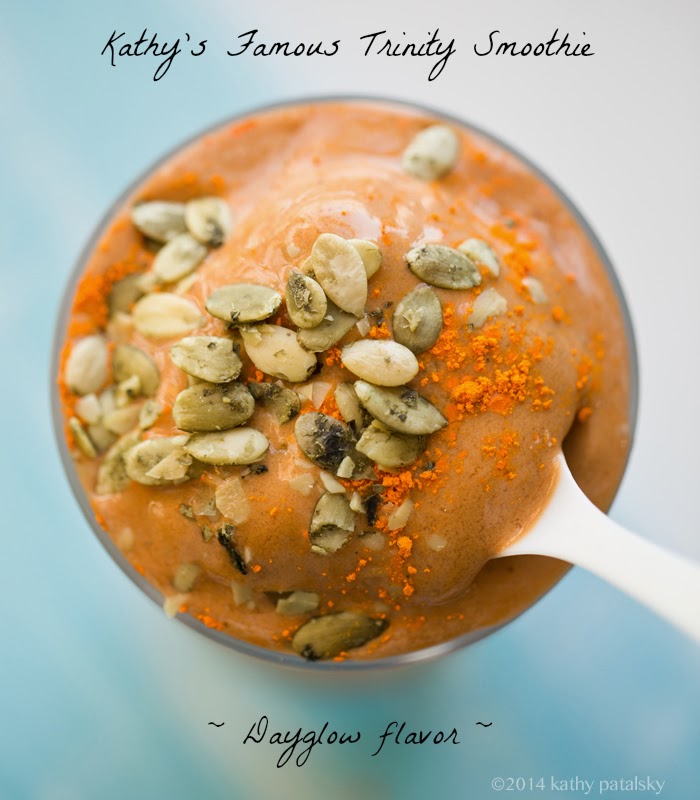
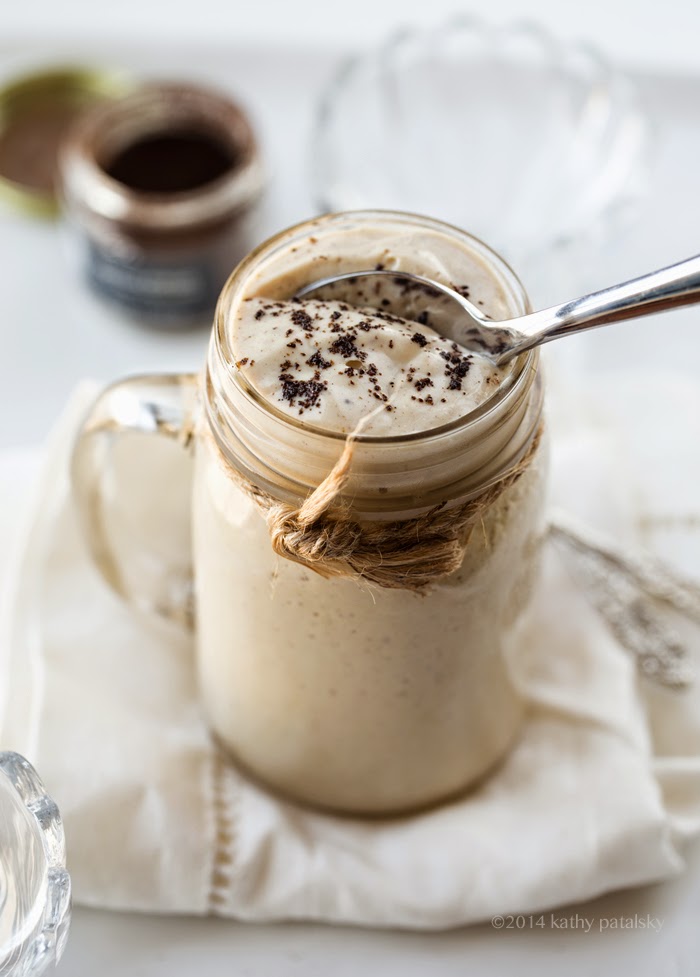
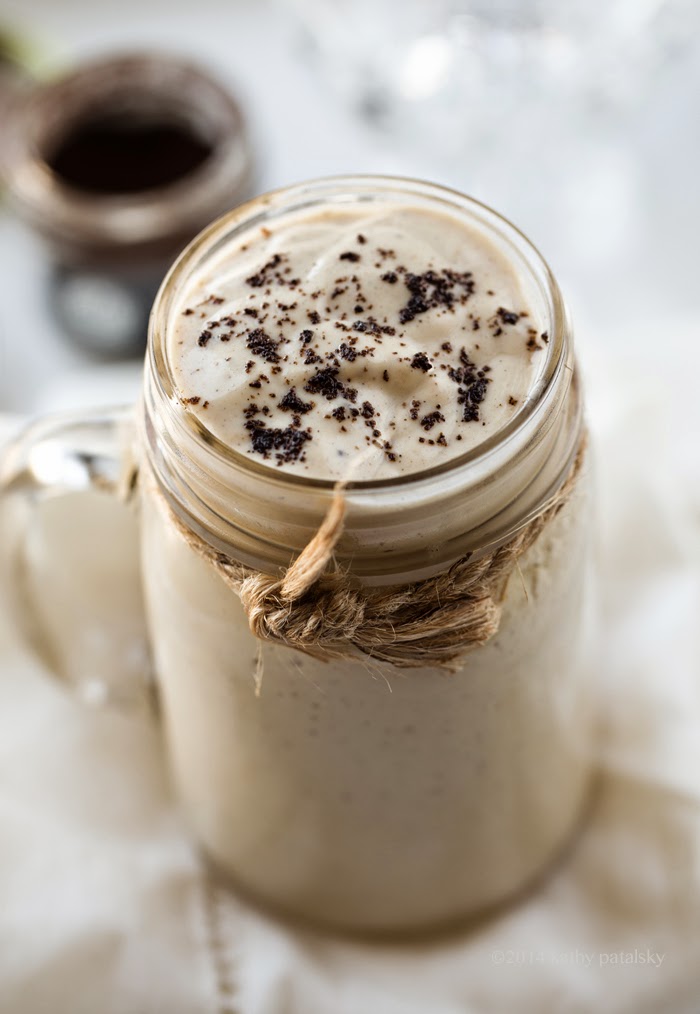
Some fun for you.. check out this super pretty smoothie recipe e-book by Natural Delights Dates. I contributed a smoothie recipe, as did Oh She Glows, Rabbit Food for my Bunny Teeth and more.
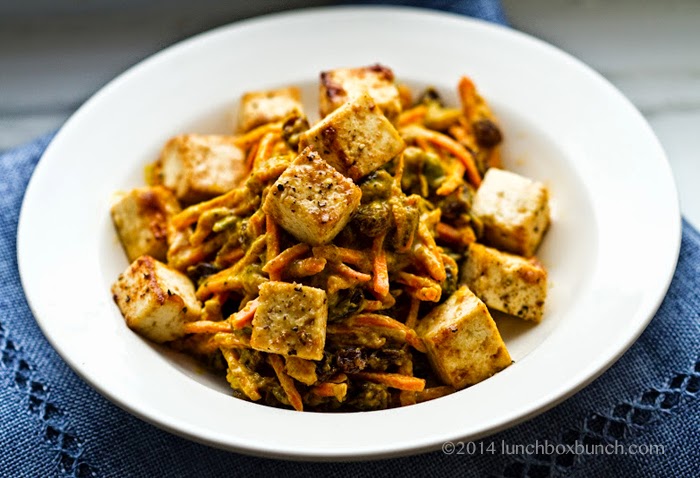
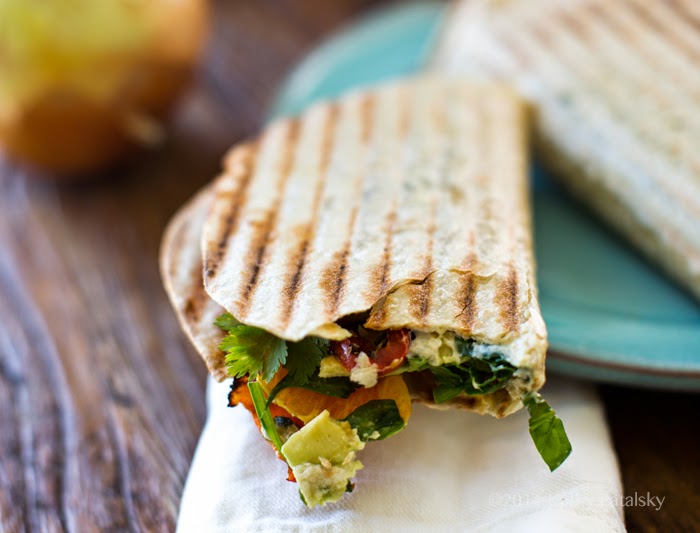
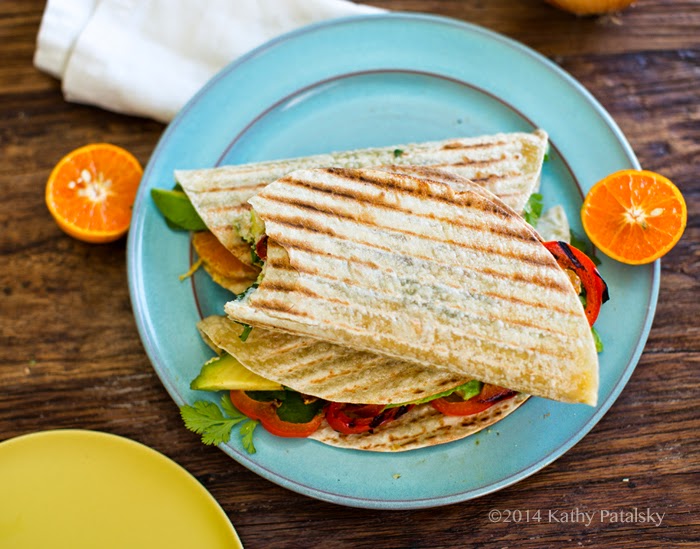
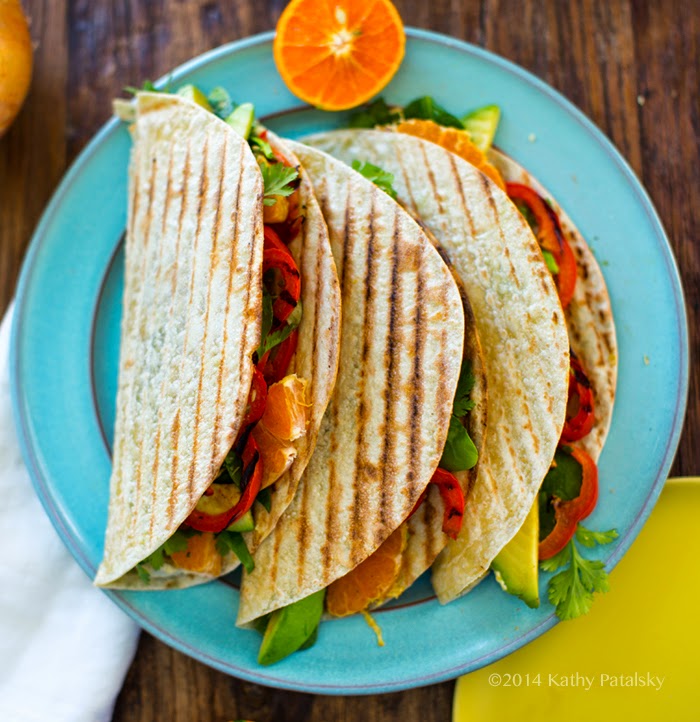
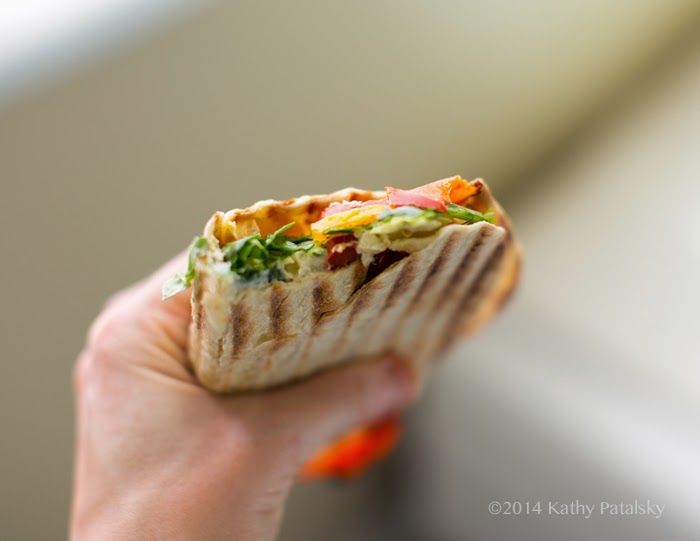
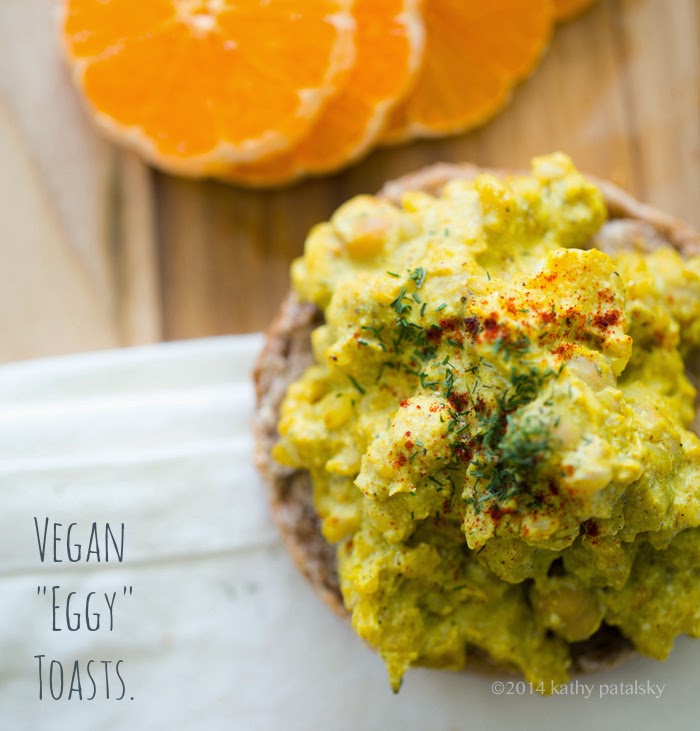
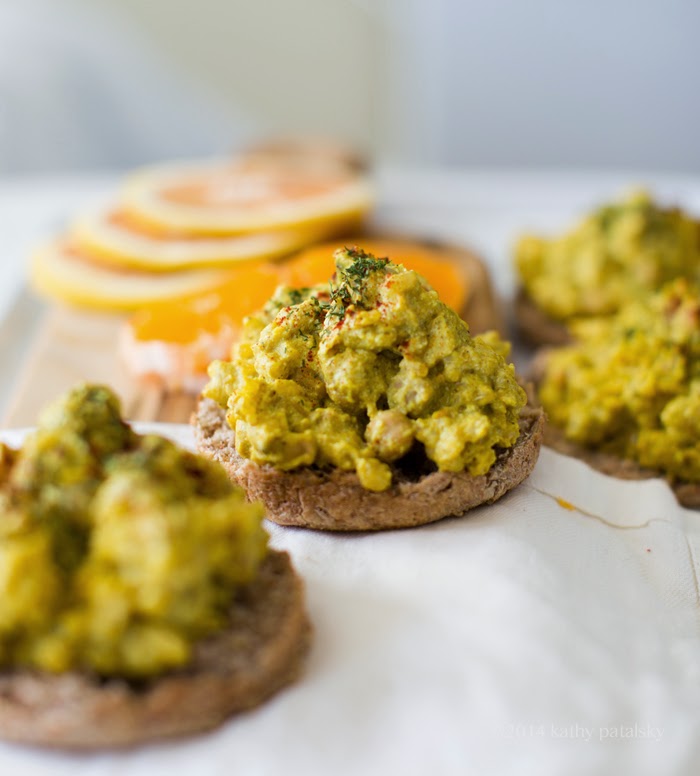
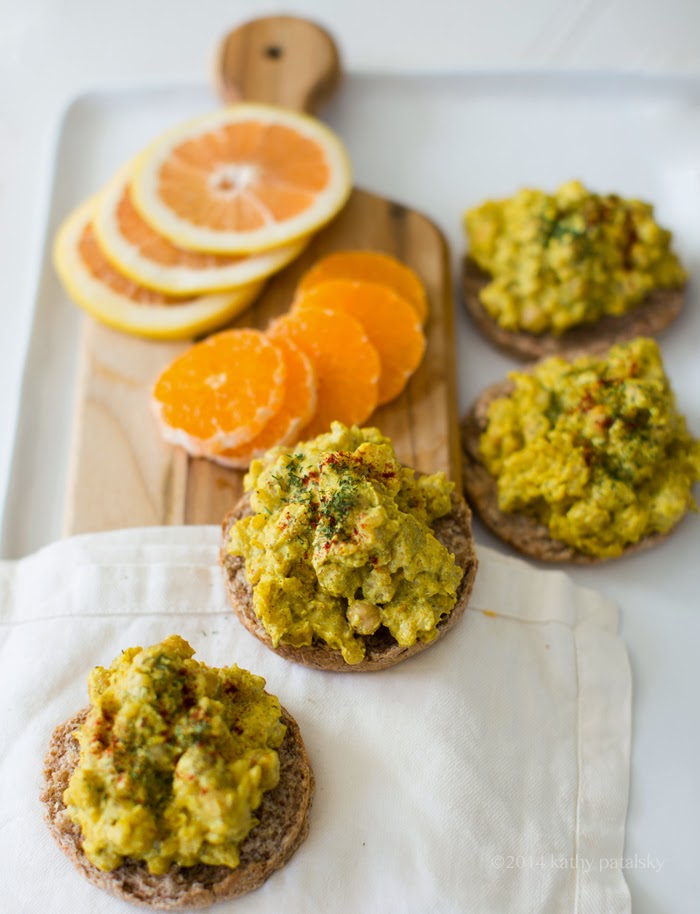
Curry Wraps! These wraps are bursting with flavor. Cool tahini and lemon cucumbers with crunchy sweet apple. Spicy, sweet turmeric and curry powder infused chickpeas and sweet onions mingle with juicy raisins and crunchy, buttery cashews. I am all over these amazing flavors and healthy benefits.
These vegan wraps are rich in fiber, protein, anti-inflammatory spices like turmeric, vitamin C-filled lemon juice, green goodness from the cucumber and more. What are you waiting for? Your new favorite summertime wrap recipe is right here...


Bonus idea: Add in a scoop of brown rice, quinoa or even farro for a boost of grain goodness. Add some leafy greens for added green goodness.
Curry Quinoa Wrap Inspiration.
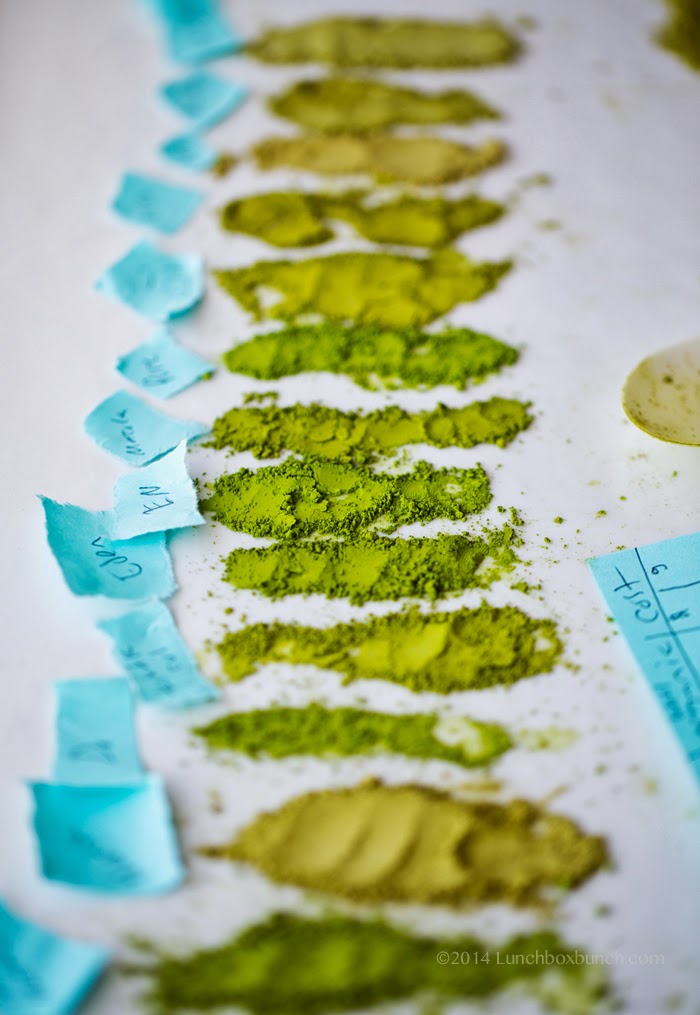
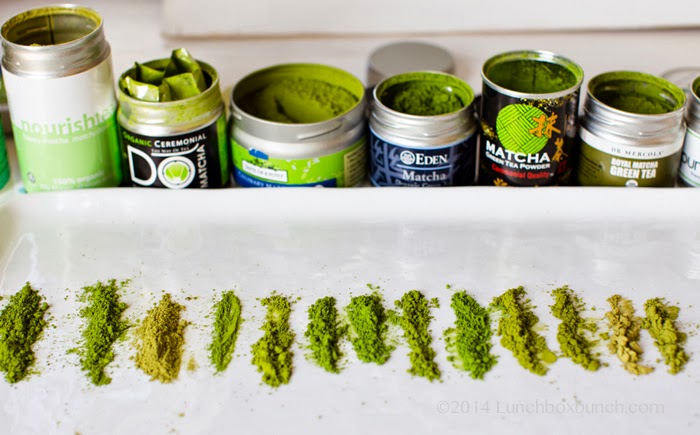
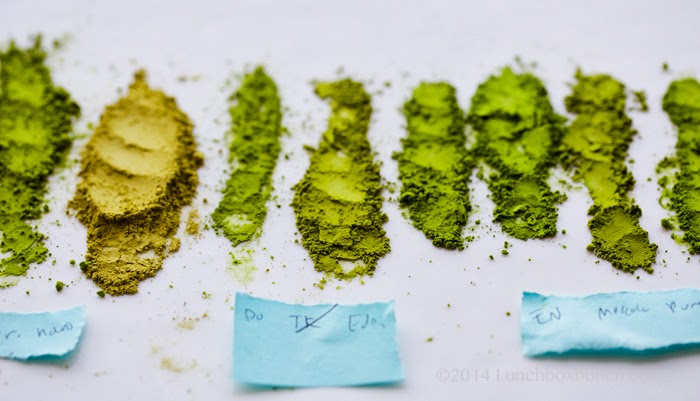
My favorite turmeric ever: Ojio. I seriously bought a whole case of this stuff on Amazon. And I bring it to parties. (No joke. Ask my blogger babes friends, Heidi, Lauren and Maura.)
And ps. I am so happy to have found an inspiring group of bloggers to chit chat with. I cannot tell you how great it is to discuss work, blogging, the meaning of life and all other daily wonderments with colleagues other than my kittens. Me out the door last night..

Sweet, Spicy, Curry Chickpea Cool Cucumber Wraps.
By
Published 06/26/2014
Ingredients
- 2 extra large wraps
- 1-2 teaspoon virgin coconut oil
- 1-2 teaspoon turmeric powder
- 1 teaspoon curry powder
- 1 clove garlic, chopped
- ¼ cup fresh lemon juice
- 1 medium sweet onion, chopped
- ¼ cup raw cashews
- ¼ cup raisins
- ¼ teaspoon salt (or to taste)
- 1 tablespoon coconut sugar (optional)
- ⅛ teaspoon black pepper + pinch of optional cayenne for extra heat
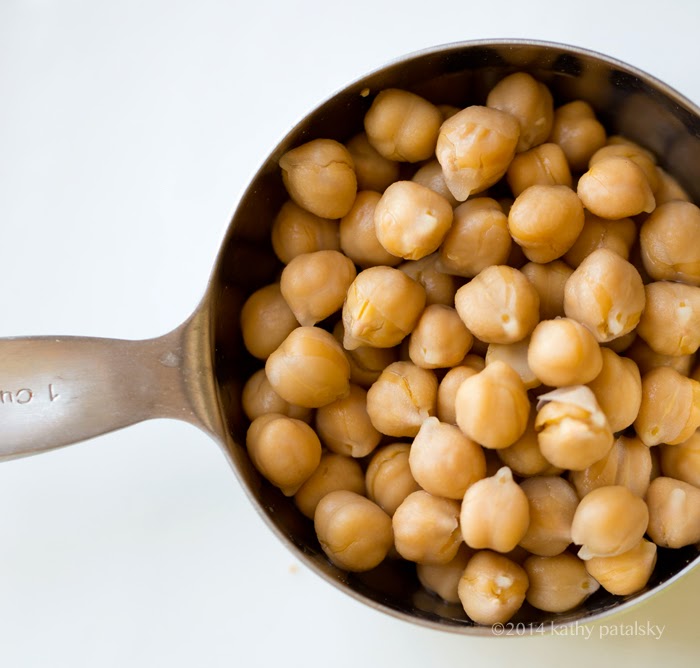
- 15-17oz. chickpeas, cooked (canned or boxed)
- Cucumber Salad:
- 1 cup cucumber, thinly sliced
- ½ cup apple, chopped
- 2 teaspoon tahini
- 1 tablespoon fresh lemon juice
- pinch of black pepper
- splash of apple cider vinegar (optional for extra zestiness)
Instructions
- Drain and rinse your cooked chickpeas. Set aside. Chop your cucumbers, garlic, apple and onion.
- Warm a skillet over medium-high heat. Add in the coconut oil.
- When oil is hot, add in the onion and spices. Saute for 2-3 minutes.
- Add the chickpeas, garlic, raisins and lemon juice to the skillet and continue to saute. Turn heat down to medium once liquid mostly absorbs.
- Add in the cashews and coconut sugar. Add the salt and any additional spices you would like to add more of or in addition. Taste and adjust as desired. If you saute seems a bit too dry for your tastes, add in an additional splash of lemon juice or an additional teaspoon of coconut oil. Saute for 3-5 minutes over medium, or until the chickpeas, cashews and onions start to brown and are coated in seasoning. Turn off heat and set aside skillet.
- In a bowl, combine the cucumber, tahini, lemon juice, apple and pepper. Toss until the apple and cucumber are well coated.
- Warm a wrap and fill with a large scoop of the chickpeas and a scoop of the cucumber on top. Fold wrap. Wrap in foil to help keep your wrap warm until serving time. Foil is also helpful if you plan on making these ahead of time, storing in the fridge, and rewarming in the oven to serve.
- Serve wraps warm -- (chilled is delicious too though!) Store leftover chickpeas or cucumber salad in the fridge and eat within a few days. Delicious add in: brown rice!
Yield: 2 wraps
Prep Time: 00 hrs. 10 mins.
Cook time: 00 hrs. 15 mins.
Total time: 25 mins.
Tags: wraps,sandwich,lunch,curry,chickpeas,entree,vegan