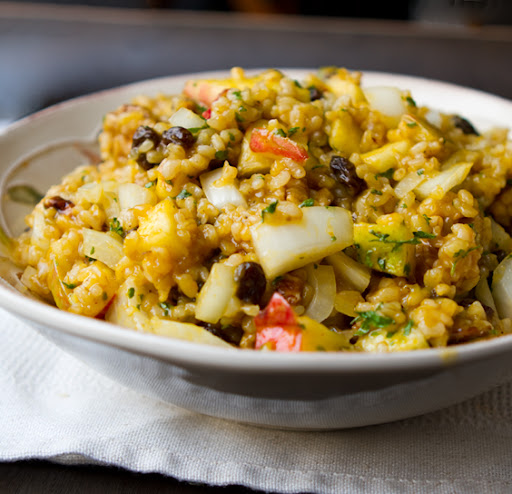

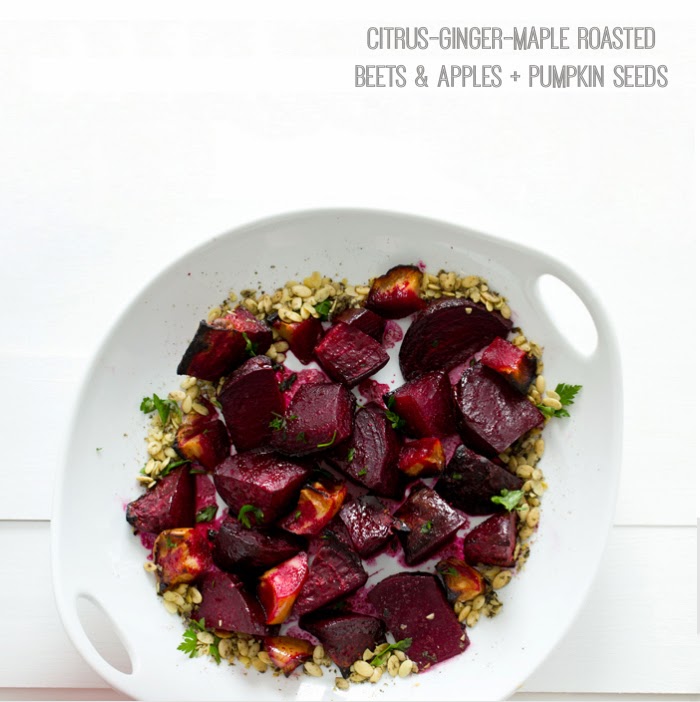
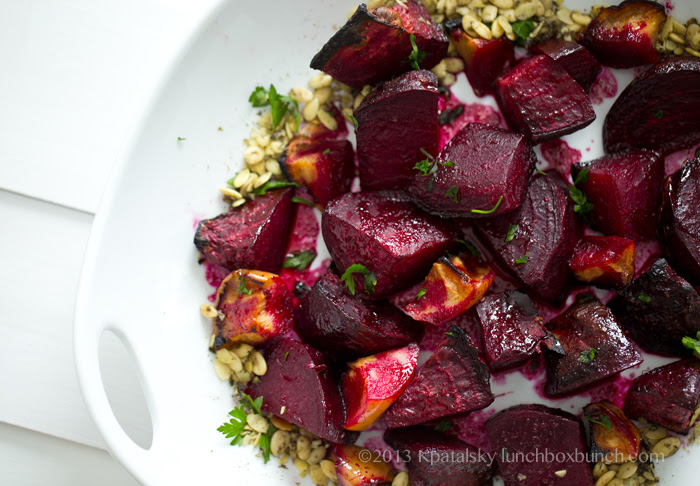
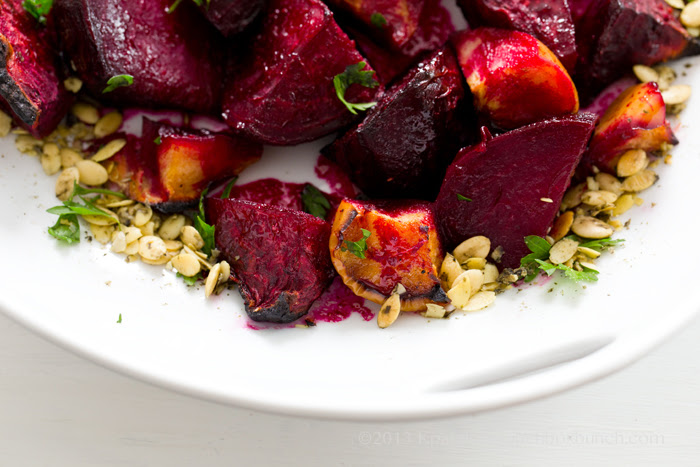
These Citrus-Ginger-Maple Roasted Beets and Apples with a ring of nutty pumpkin seeds are so simple, yet quite elegant too. Not to mention super healthy. A subtle hint of warming ginger compliments the bright citrus and apple flavors that mingle with the delicious roasted beets. This dish is wonderful served warm or chilled. I actually prefer it chilled! And that way you can easily make it ahead of time, stick it in the fridge and pull it out when ready to serve. I ended up nibbling on this platter all day long when I made it. I kept going back for more and more. Healthy, sweet roasted beets are a sweet, feel-good food you can indulge in, guilt-free! Try this holiday approved recipe..

I think these guys are really what Michael Jackson was singing about.

Just beet it.
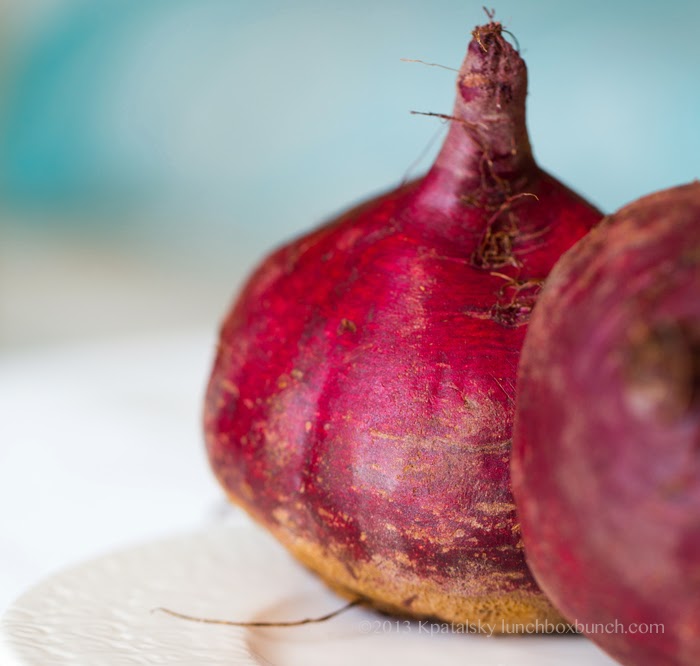
Beet it.
Beet it.
Beet it.
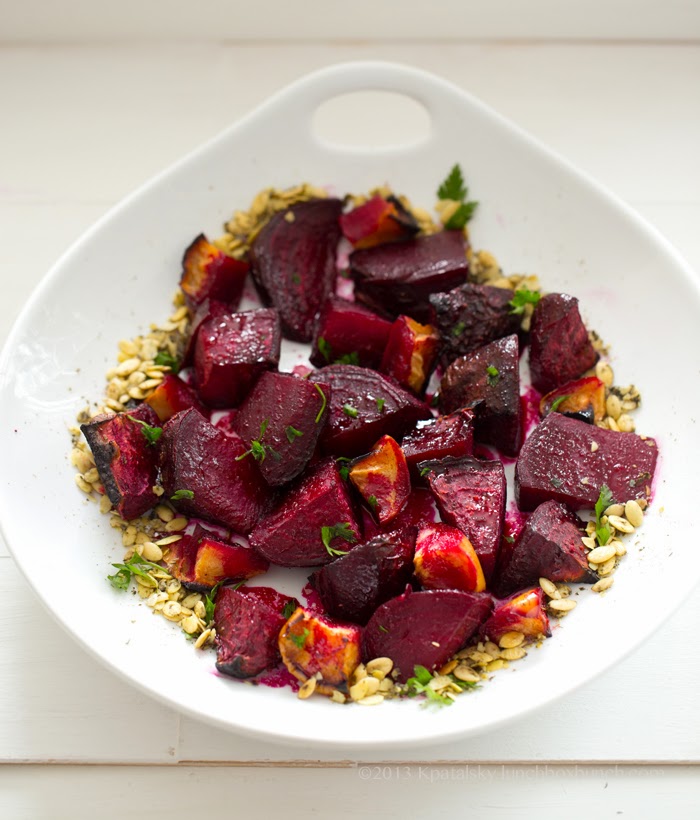
And Apple it.

No one wants to be de-beeted.
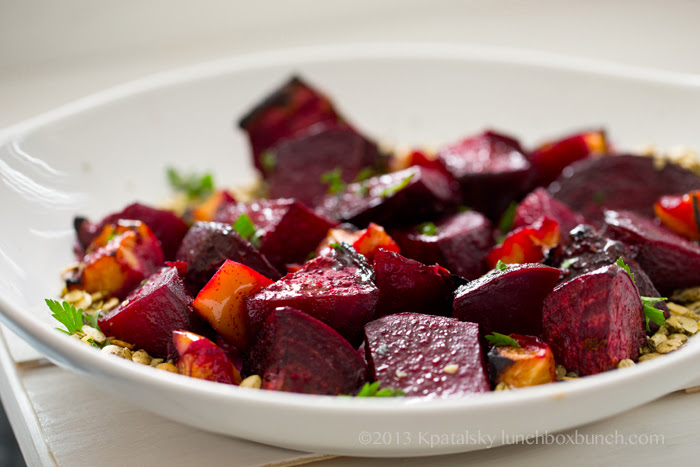
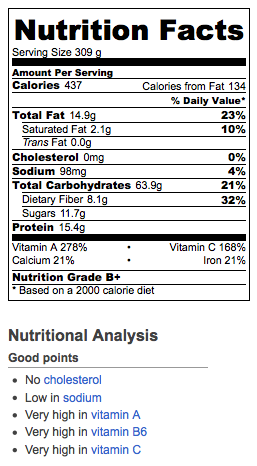
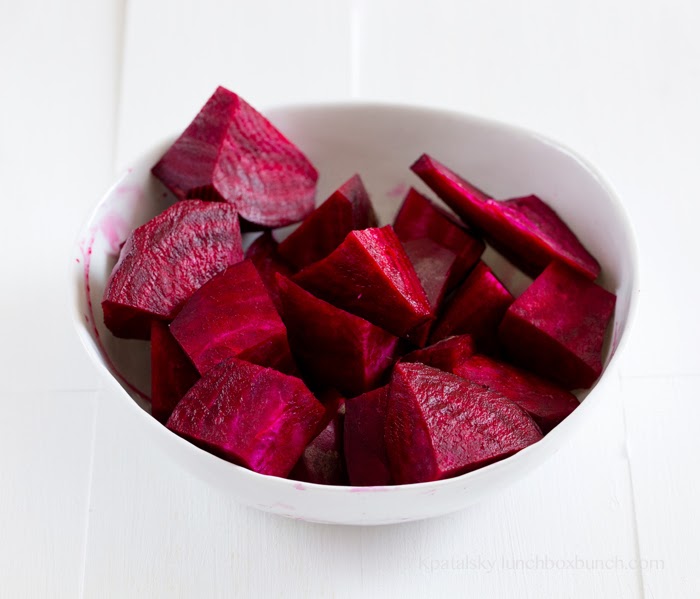
Get Back to Your Roots. Are you eating enough root veggies? They are so healthy and detoxifying! Whenever I consume large quantities of carrots, beets and sweet potatoes I just feel BETTER. Cleaner. More vibrant. More energized. Maybe it is all those nutrients. Beets are rich in potassium, magnesium, fiber, phosphorus, iron, vitamins A, B & C, folic acid and more. They also contain natural sweetness which can actually help stave off a sweet tooth. Instead of reaching for a cookie, reach for these beets in your fridge! I know it sounds weird, but it just might work for you. Plus the natural fiber and water in these beets will help fill you up. You cannot say that about a cookie.
Cool List. I was so happy to be included on this list with some of my vegan blogger friends, ChoosingRaw and OhSheGlows: 50 Bloggers Making a Difference in Fitness, Health and Happiness
Want more beet recipes:
* Vegan Red (Beet) Velvet Cupcakes
* Pink Beet Walnut Dip