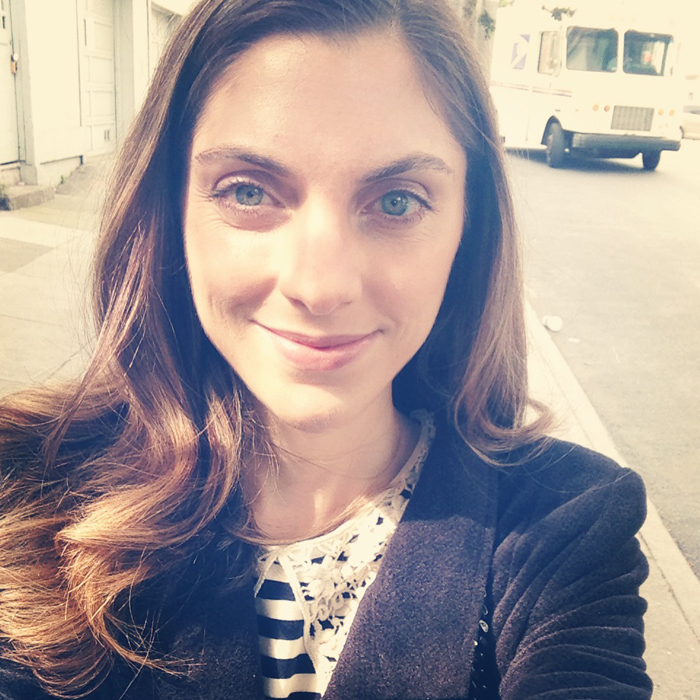
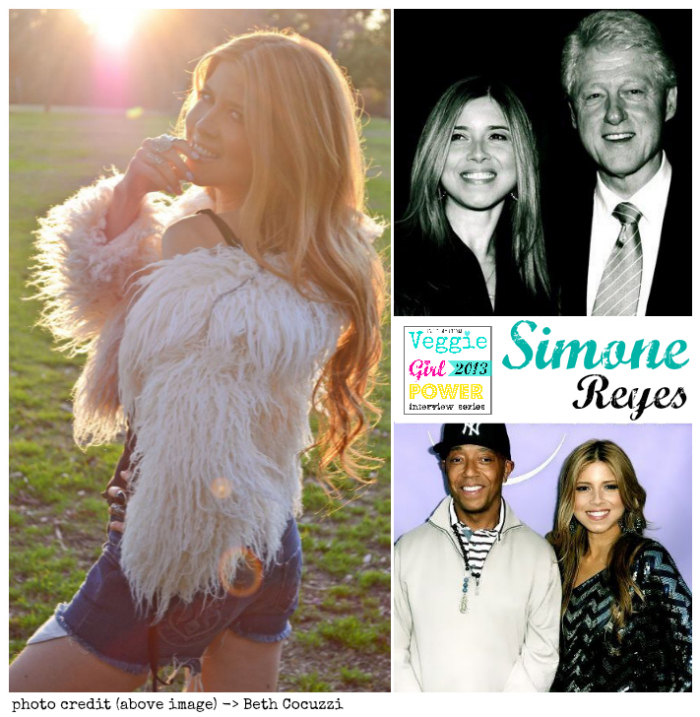
VGP 2013. As I mentioned in last week's VGP-update interview with Chloe Coscarelli, this year's Veggie Girl Power Interview Series will be stretched over a few weeks, instead of back-to-back. More room to squeeze in vegan recipes. And first up, is the passionate, glowing, tells-it-like-it-is chicka -> Simone Reyes.
You Know Her.. You may recognize Simone from television, as she appeared in the Oxygen-network reality show Running Russell Simmons. A show that followed business mogul/celebrity/vegan Russell Simmons and his staff (which includes Simone). But besides being a bubbly, fun, celeb-staffer, that oozes personality, and has reality-show-credits, Simone is first and foremost a passionate animal lover and activist. See what Simone has to say about life, veganism, animals, vegan celebs and what is next for her!..
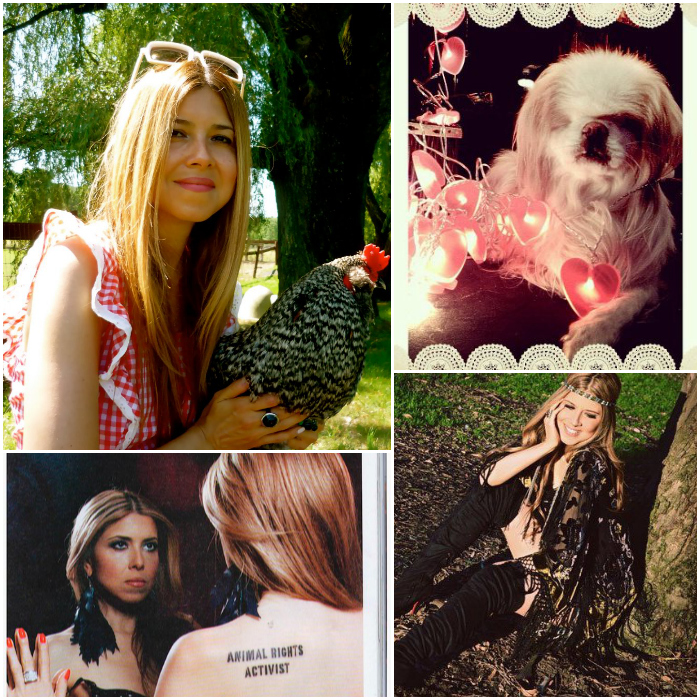
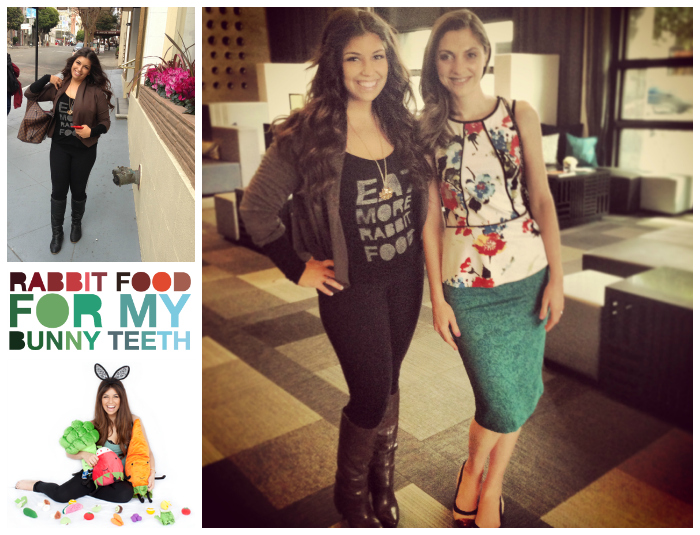
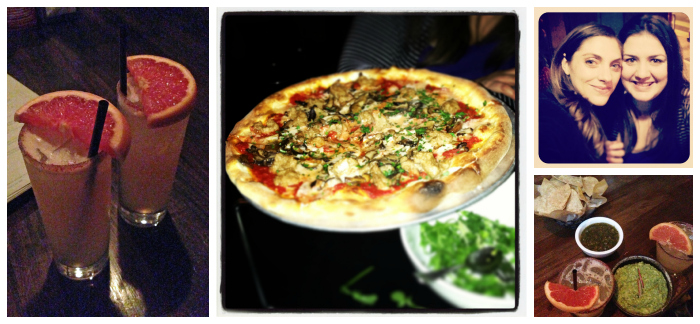
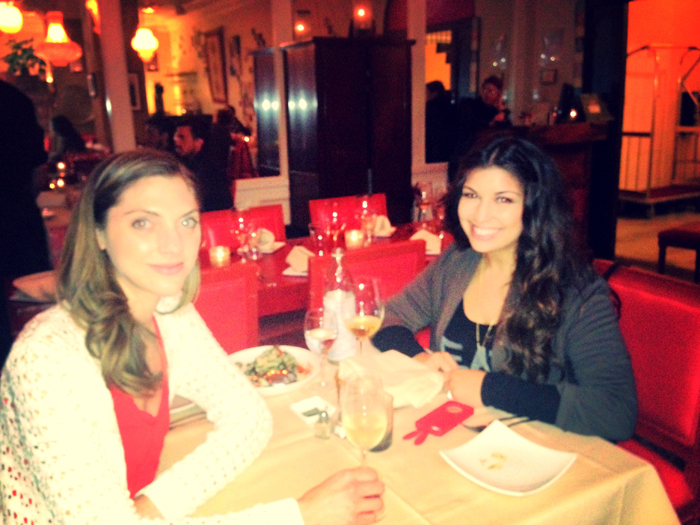
*lower left photo credit: Ink Magazine
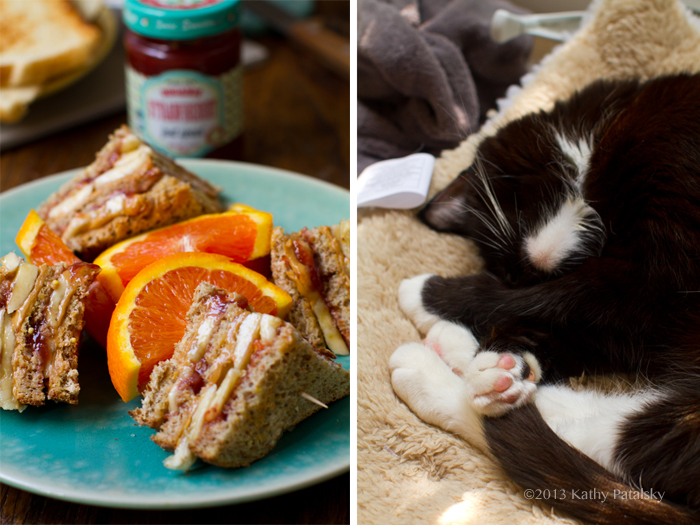
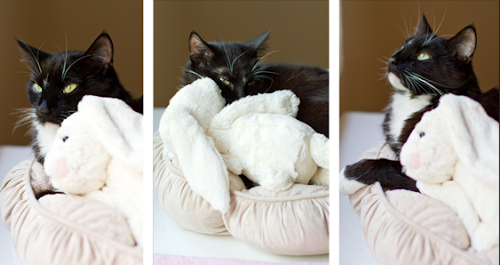
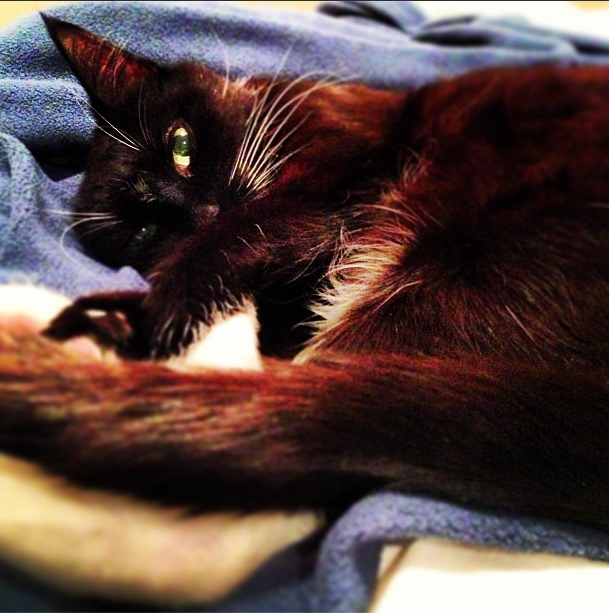
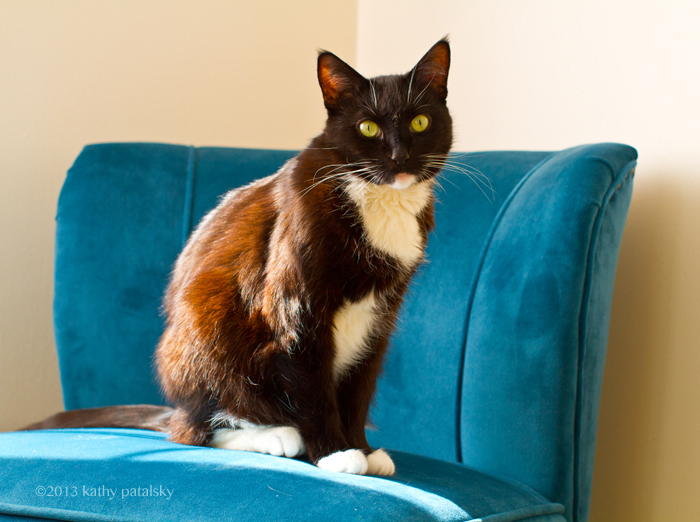
Simone's adopted pup. Sweetness..

Meeting Simone. Via email, I could tell right away that her passion in life is truly to bring awareness to veganism. And communicate to anyone who will listen (any maybe even those who won't!) that a vegan lifestyle is not only good for humans, animals and the planet - but it is the direction in which the world is moving. Veganism is not going away. It will only grow in the future. And Simone is one lady who works everyday (in any way possible) to usher in that future a bit more swiftly.
Pups. I knew I loved Simone when this happened.. When I first emailed Simone to invite her to participate in this year's series, she responded with an enthusiastic yes, plus along with the reply email she sent a photo of her dog and said this.. "And check out my blind rescue dog for one of the photos! And. He. Is. VEGAN !!" And even though I already knew that Simone was crazy-mazing, at that moment she stole my heart because:
Anyone who 1) adopts blind animals or any animal with a special need has to be loving, passionate and selfless. 2) Anyone who emails their pet as the first photo they send for an interview about themselves, has my vote for awesomeness.
Veggie Girl Power Interview: Simone Reyes
Q1: Back to Basics. When and why did you go vegan? We love a good "this is why I went vegan" story.
Simone: I went vegan in my early 20s. I had watched a documentary on TV that showed Bridgette Bardot on the ice in Canada where they are STILL participating in the atrociously cruel baby seal hunt. She had her arms wrapped tightly around a baby seal, he was small and fluffy with big pleading eyes. In French she whispered in his ear, "Don't worry, we will get them". I wanted to join the WE in that promise. I have been a soldier in this army, fighting this war against animal abuse ever since. In the early days, PETA showed me the way. Ingrid Newkirk was/is the Commander-In-Chief – I learned it all from her books. I joined a militant local grassroots animal rights group in New York City called Activists For Animals and Ive never looked back.
Q2: Help a Girl Out. The vegan transition can be tough for some! What sisterly advice can you give to new or transitioning vegans?
Simone: The best "sisterly" advice I can give to women in particular about making the switch to a plant based diet vs eating meat is we are better than that..we are better than eating the carcass of a sentient being that has been ripped from his mother and never known her loving touch. Of course I am speaking of veal here. We are better than drinking the milk from of a cow who has been on a "rape rack", a device used to artificially inseminate female cows so they become pregnant and can produce milk for human consumption.
As mothers, (to companion animals or human beings) we are better than eating the flesh of animals who never felt the sun on their backs or were given the chance to live in an environment where they weren't filthy, scared, deprived of clean air or room to even sit comfortably or turn around. I'm sorry you can't be a feminist and drink dairy or eat meat. So, my advice is to better yourselves.
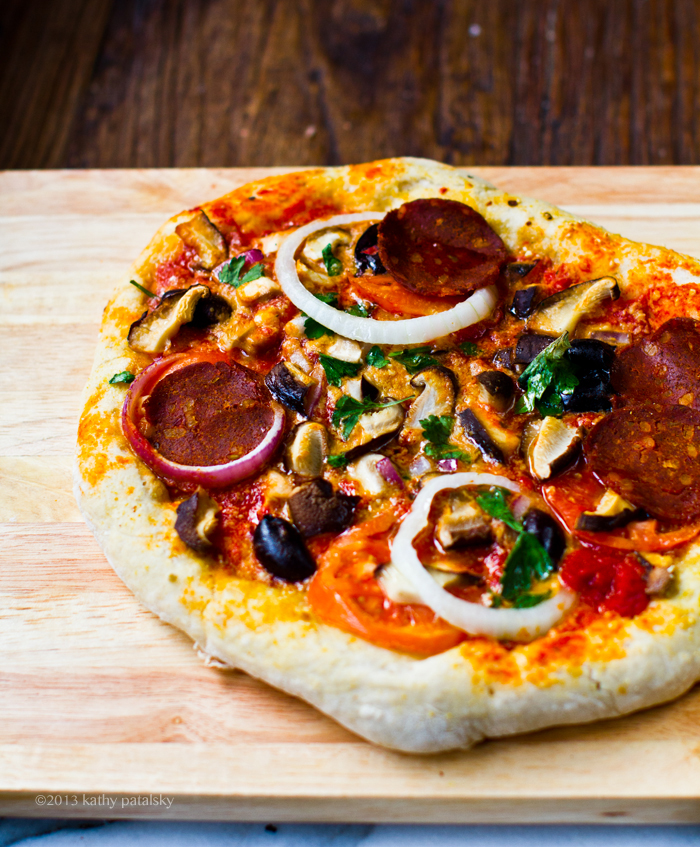
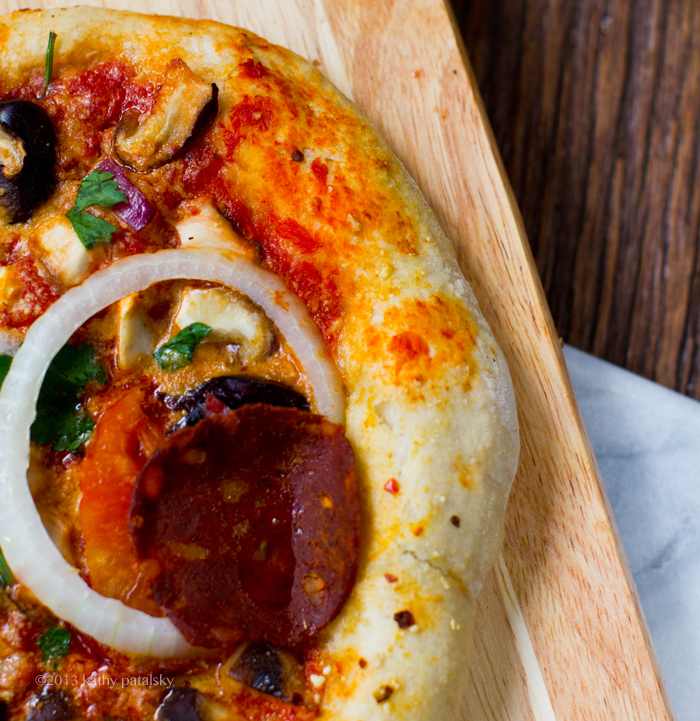
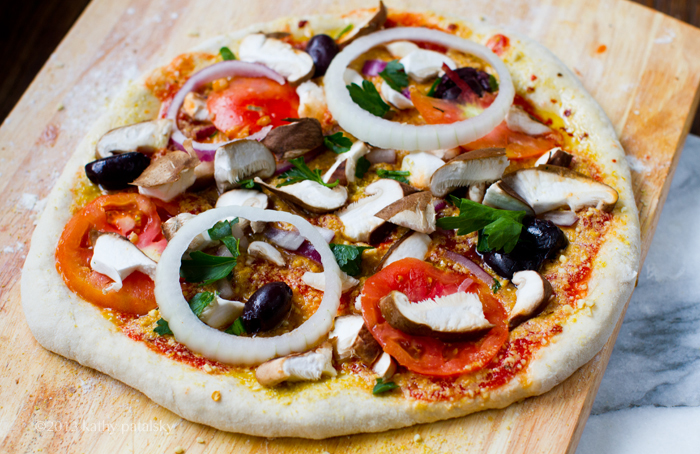
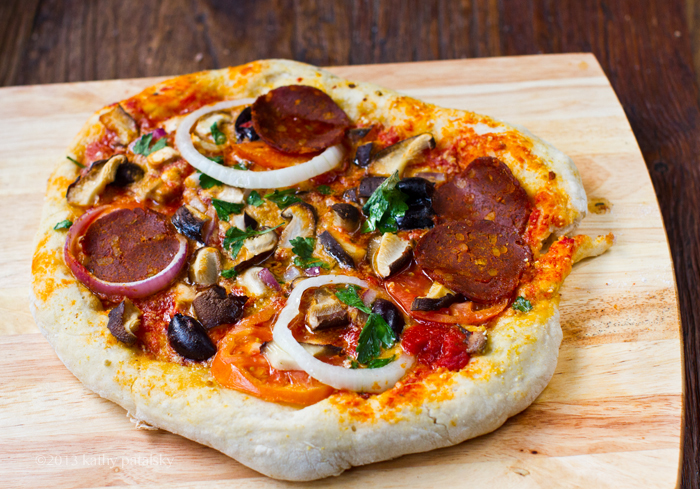
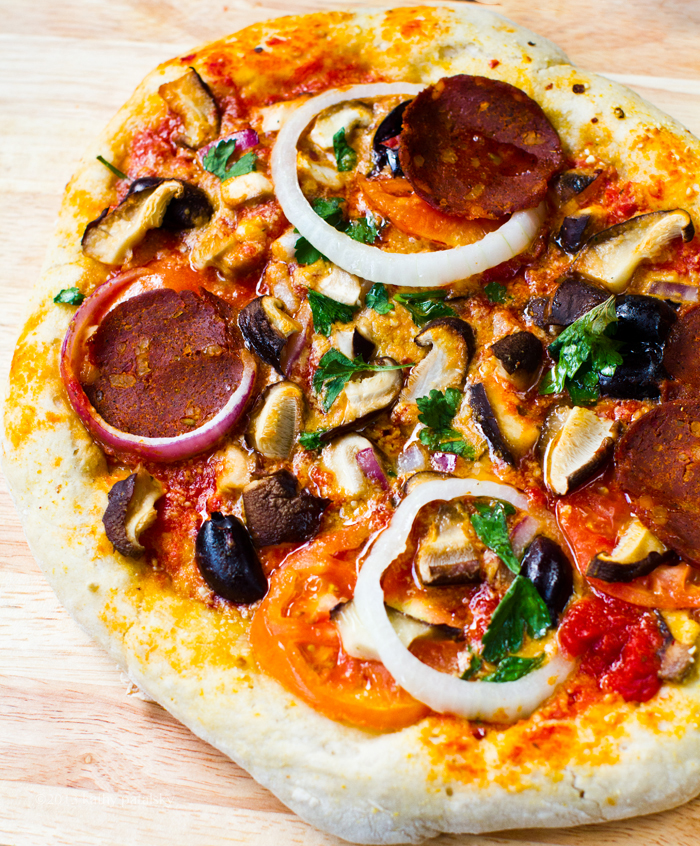
If you need to lean into veganism by using the substitution method then do it..if you crave a hotdog (can't imagine why someone would after they learn whats in it but..) have a tofu pup. Want a hamburger? Have a veggie burger. A pizza? No problem, Daiya cheese melts. We can have it all ..without the suffering.
Q3: On Food. What is a typical day of vegan eating for you? Fave eats?
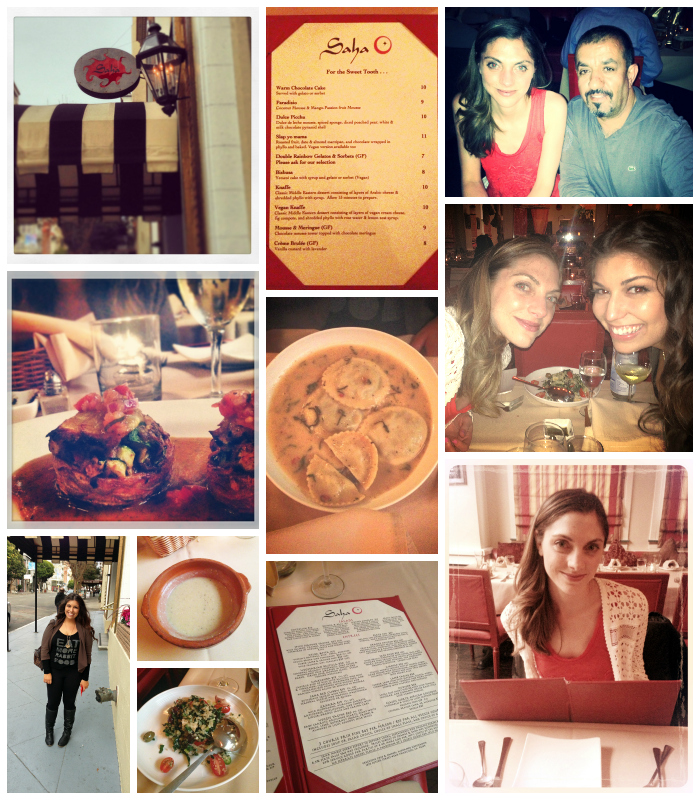
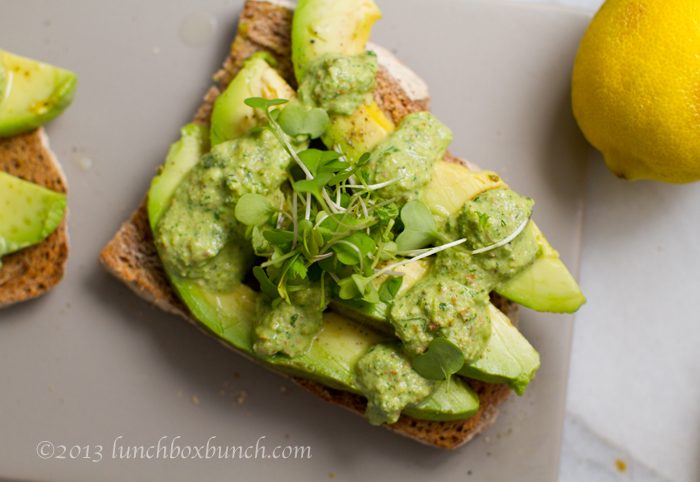
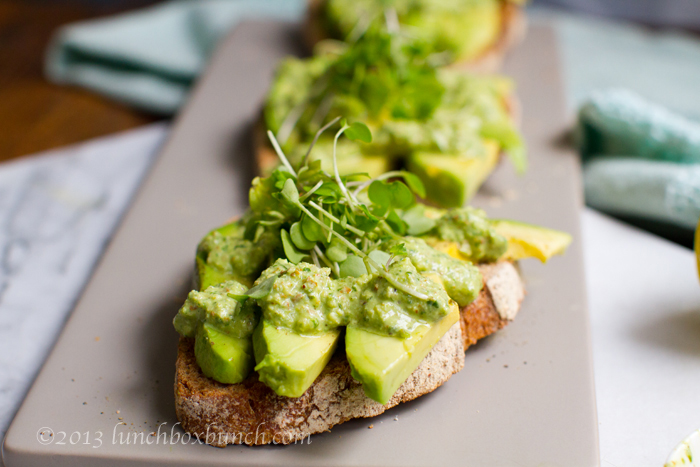
Simone: A typical day for me of vegan eating starts with organic oatmeal. Then, for lunch I usually have a Carne Asada sandwich and Steamin' Kale from Veggie Grill and Dinner is usually a big ol' plate of nachos from Real Food Daily or a pizza from Cruser Pizza. All their toppings hold the cruelty. So yes I'm a bit of a junk food vegan but don't get me wrong, I also love my veggies and salads. For dessert, there are so many places to get dairy free cakes and cupcakes or just a great bowl of fruit. Vegans are so lucky.
Q4: Words of Wisdom. Here is your chance to create your own quote. "Veganism is....."
Simone: Veganism is A Social Justice Issue. And we, as vegans are from the future, which is a quote I use all the time borrowed from my friend super vegan Ari Soloman of Mercy For Animals. So, BE from the future. Make that future the now. Dare yourself to be progressive, evolved and as brave as those that opposed slavery so long ago and saw a day when people could no longer be bought or sold. Be open enough to think like the the pioneers of the women's movement did a hundred or so years ago that knew, without question, that women would one day be granted the right to vote. Just as surely as these heroes of our history books knew these social justice issues would be abolished and freedom would ring we too know the animal's day is coming. It WILL be ILLEGAL to kill them for food, use them for medical research, enslave them in circuses, torture them for cosmetic testing, skin them alive or their fur, etc. We KNOW it.
Q5: On What is Hot. Share people, brands, books and more that you like to rave about.
Simone: What is hot for vegans…..hmmm, Hot … well, vegans are hot that for sure. We never really have to worry about our weight which is good because we are the biggest foodies ever..we have a BIG leg up on our health with our chances of getting sick/diabetes/heart disease etc. are much lower than our meat eating counterparts and we sleep well at night because we know we are making a difference.
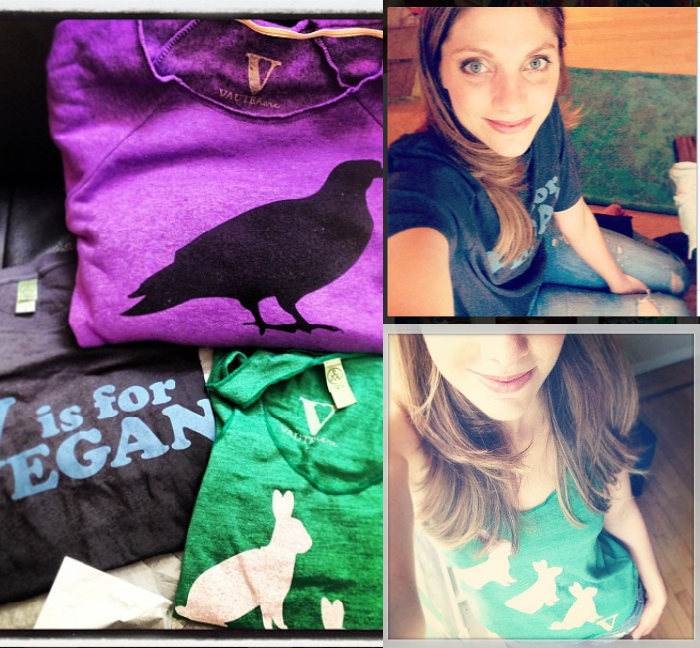
I stay up to date on the issues by going on my BFF's Chloe Jo Davis' site Girlie Girl Army, PETA, Farm Sanctuary, Mercy for Animals, and buy my clothes from Vaute Couture, and send all my guy friends to Discerning Brute so there is something for everyone.
I also support the vegans in my community such as Enlightened's brilliant co-creator Mike White, Alicia Silverstone, Dr Jenn Berman, Russell Brand, vegan race car driver Leilani Munter, Ellen DeGeneres, Kathy Freston, Lisa Bloom, Paul McCartney, my boss Peta's Person of the Year, Russell Simmons - who I have to thank for allowing me to slip the word veganism into every episode of our TV show Running Russell Simmons on Oxygen and others who are using their celebrity via social media to spread the vegan word. We are everywhere. You can't stop us.
Q6: Soapbox! Go for it ...Soapbox away...
Simone: Soap box… I am a living walking billboard for animals. I even got a tattoo on TV just to show my dedication to the cause.
If you say you love animals and still eat them and wear them and use your money to support charities that test on them or take your kids to the zoo or circus I'm sorry but you DON’T love animals. You may love your dog or your cat. But if you haven't rescued that dog or cat from a shelter then you should know that you if you bought your animal you had a gun locked and loaded pointed right at a shelter animal and when you made that purchase you pulled the trigger. Sorry, its just true. So adopt don't shop.
Use the world "love" as a VERB not just a noun that doesn't encompass all it should. ALL animals feel pain, need, and fear death. ALL mothers love their babies. ALL beings inhabit this earth, it doesn't belong just to humans -we just act that way. If you truly love animals you will be their friend and love ALL animals …it starts with your fork.
Q7: What upcoming projects are you working on? Please share!
Simone: I just moved to LA because Russell Simmons just moved to LA so my biggest project is figuring out how to drive without freaking out. That’s a joke but… not really. This NYC gal is used to riding the subway! LA is a huge change for me. But seriously, my projects include blogging for Global Grind, Hello Giggles, One Green Planet, and documenting all that LA has to offer us vegans and how I plan to shake it up now that I'm here on LA soil.
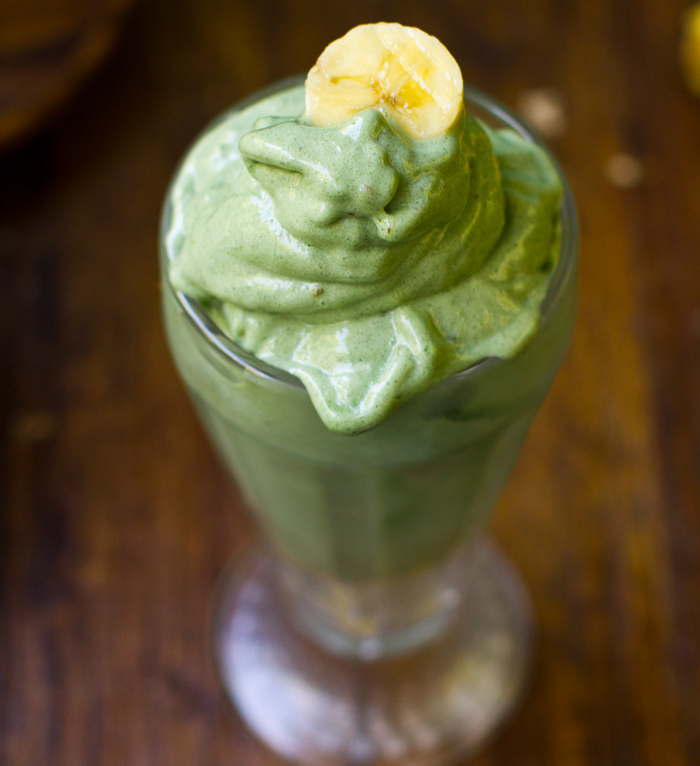
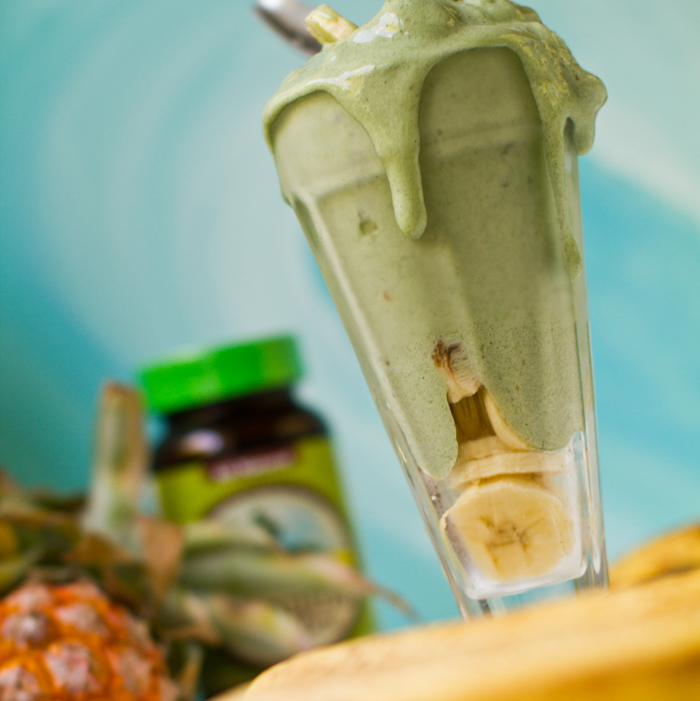
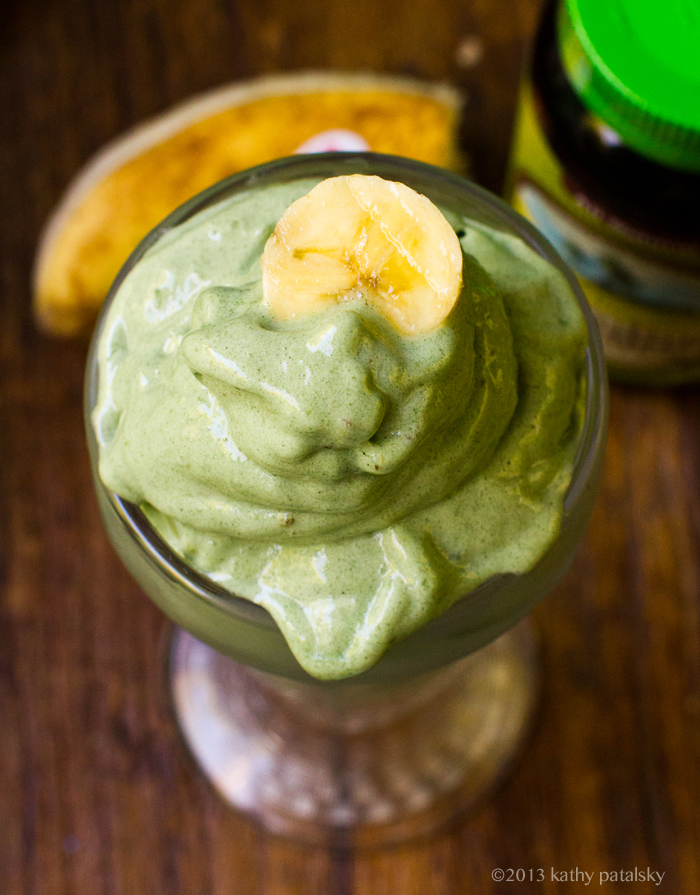
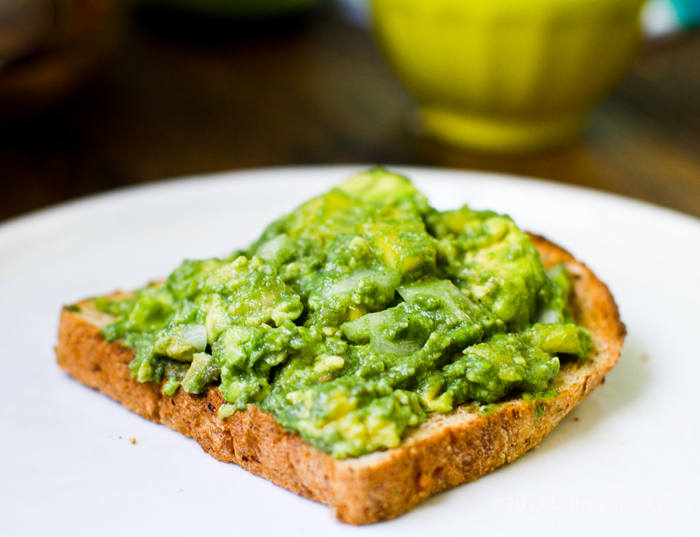
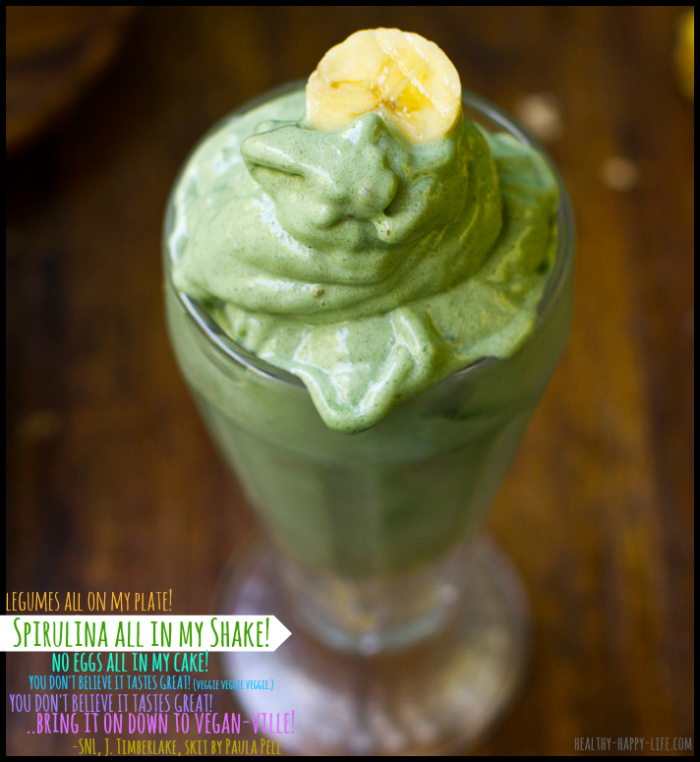
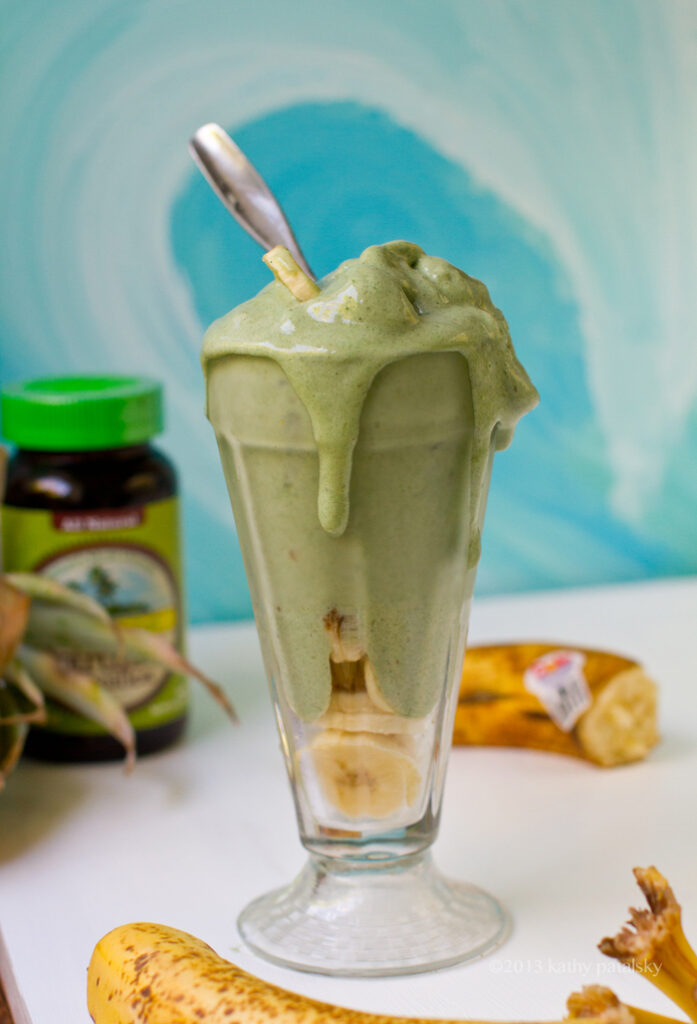
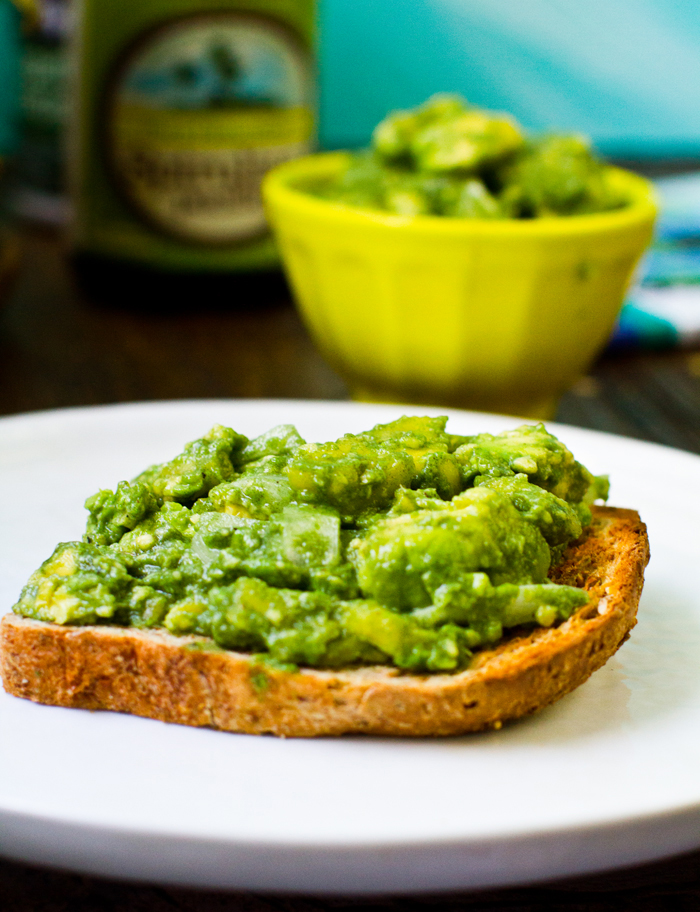
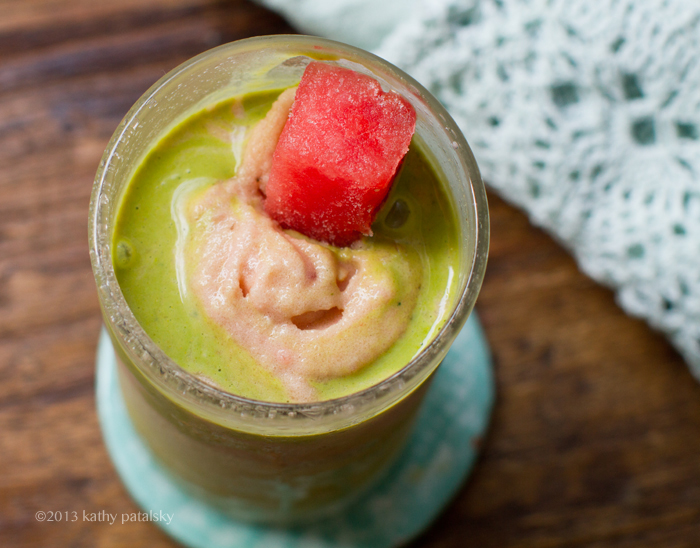
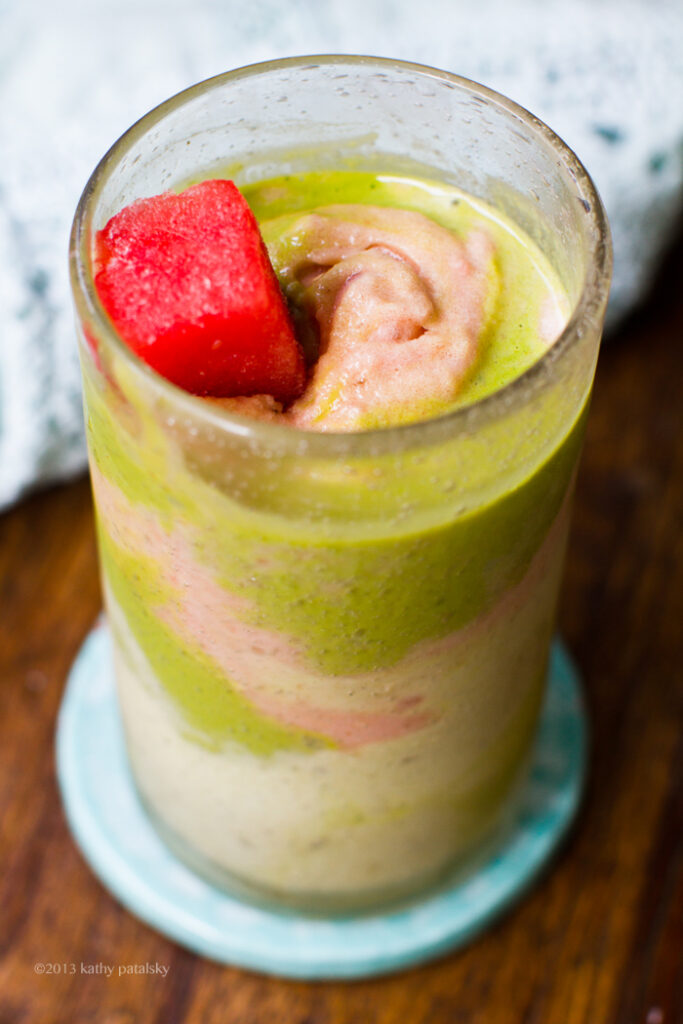
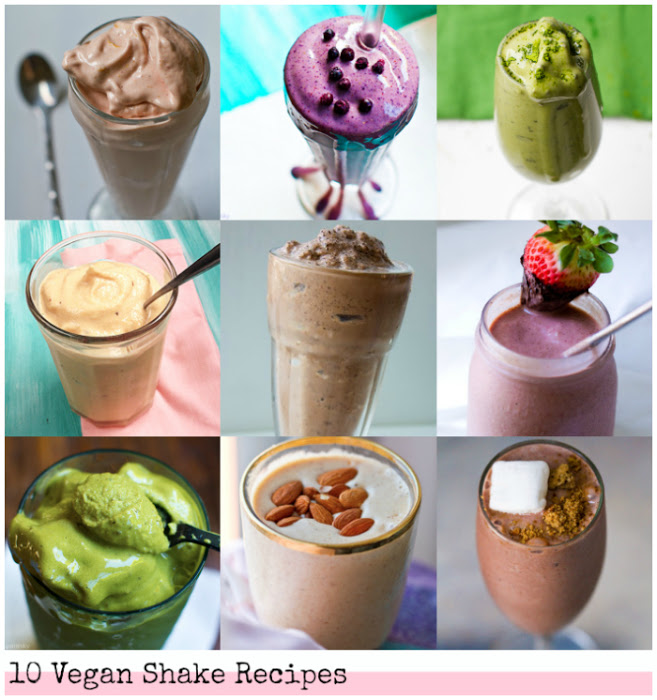
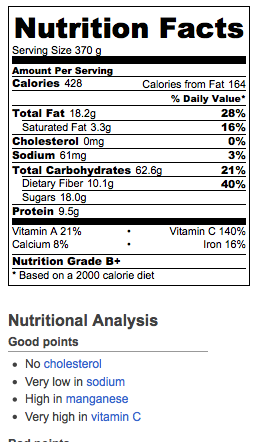
Q8. Smoothie love! I would love to hear about YOUR favorite smoothie recipe..
Simone: I can't help much on the smoothie question. I usually get my green juices from Pressed Juicery here in LA. Other than that I don't cook or blend at home. I am of the Carrie Bradshaw mentality and use my oven for storage.
Q9. Do you think veganism is the diet of the future? Why?
Simone: I KNOW veganism is the diet of the future because according to the United Nations, raising animals for food (including land used for grazing and land used to grow feed crops) now uses an astonishing 30% of the Earths land mass. That’s ore than 260 million acres of U.S. forest have been cleared to create cropland to grow grain to feed farmed animals Disgusting.This is why more than 70%of the grain and cereals that we grow in this country are fed to farmed animals instead of starving humans.
It takes up to 13 pounds of grain to produce just 1 pound of meat, and even fish on fish farms must be fed up to 5 pounds of wild-caught fish to produce 1 pound of farmed fish flesh. It takes more than 2,400 gallons of water to produce 1 pound of meat, while growing 1 pound of wheat only requires 25 gallons. And lets not forget water! the runoff from factory farms pollutes our waterways more than all other industrial sources combined.
Animals raised for food in the U.S. produce far more excrement than the entire US population- which is the number one contributor to Global Warming! Eating animals pollutes our air, water and Earth – not to mention our bodies. It is the cause of the murder of BILLIONS of suffering animals. This is simply not OK.
Hey, even my blind rescue dog Hubbell Yoda (whom I adopted from a great rescue called JCCARE – they specializing in placing Japanese Chins) is vegan. And he is doing great! SOOOOO what all this means is: without going Vegan there very well may be no Earth for us to share. If we want to live longer we must go vegan. If we want our conscience to be clean-we must go vegan.
And yes, if we REALLY love animals, we MUST live vegan.
Follow Simone:
Simone Reyes
TWITTER -> @simonereyes
Be sure to read all this year's VGP interviews coming up. VGP 2013
VGP Update Interview: Chloe Coscarelli
Simone Reyes, of Running Russell Simmons / Animal Advocate (today!)
Doron Peterson, of Sticky Fingers Bakery
Angela Liddon, of Oh She Glows website
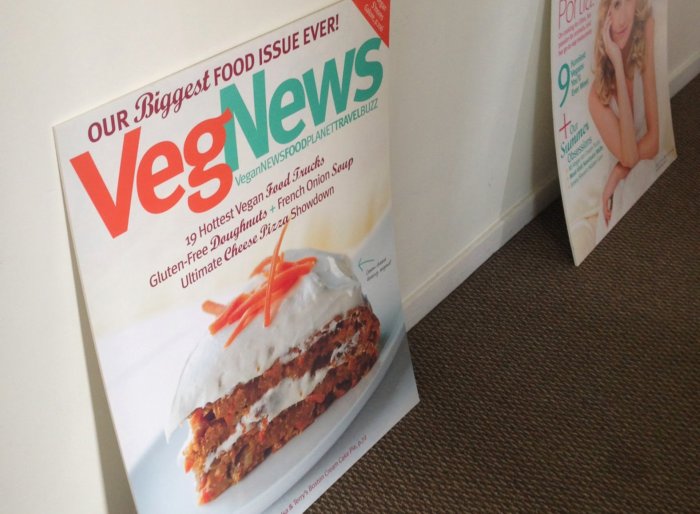
Elizabeth Castoria, Editorial Director VegNews Magazine
Katie Higgins, of Chocolate Covered Katie
Laura Beck, of Vegansaurus and more / writer
Emily Von Euw, of This Rawsome Life website
Marly McMillen, of Namely Marly website
Sara Sohn, of Sweet & Sara Vegan Marshmallows
Kathy Patalsky, (putting myself in the interview seat to close the series!)
*all photos were provided courtesy of Simone Reyes / credits as needed above