 Simple, sweet and healthy, Blueberry Walnut Muffins are the perfect cozy, made-at-home treat. You won't get those warm muffin smells and super fresh fruit flavors from a store-bought muffin.
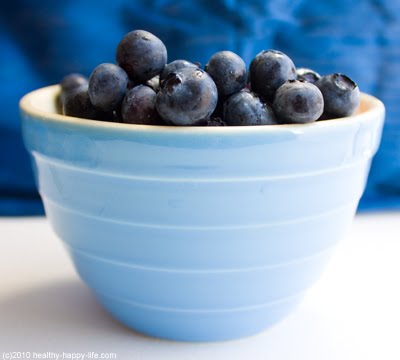
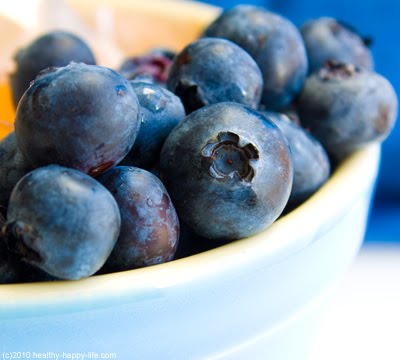
On-Sale and Organic. When I see organic fruit on sale, I get excited, since it can often be quite pricy. So when I saw fresh organic blueberries on sale at Whole Foods, I snatched up two 6 oz. packs and my muffin daydreams began. These vegan, no oil added muffins are the perfect treat on a lazy weekend morning at home. A warm mug of chai tea, a blueberry muffin, a side of some fresh fruit and I am set. Sweet. Simple. Healthy. Cozy. And who doesn't love a blueberry muffin?...
Blueberries and Health. Blueberries are one of the healthiest fruits out there. They are super high in antioxidants, low in calories, fat free, a good source of fiber, sweet, delicious and irresistible. A few stats: blueberries contain (per cup, raw) around 80 calories, 4 grams of fiber, 0g fat, 24% RDA of Vitamin C, 36% RDA Vitamin K and 25% RDA Manganese. Plus blueberries are packed with antioxidant phytonutrients called anthocyanidins - the same phytonutrient found in red wine.

Get Inspired. Check out my blueberry photos and kids poem here, to get you in a blueberry mood. Onto these muffins! Or as I call them, moo-fins.
Simple Sweet Blueberry Walnut Muffins
vegan, makes about 18 muffins
1 cup whole wheat flour
1 cup unbleached spelt flour (or white, or more whole wheat)
2 teaspoon salt
1 tablespoon baking powder
¾ cup vegan sugar
3 tablespoon blueberry-flax seed meal, Trader Joe's brand
2 teaspoon cinnamon
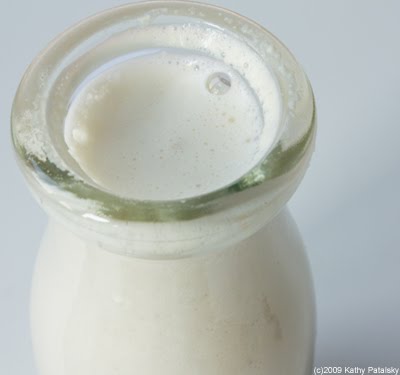
1 cup soy milk, vanilla flavor (plain is fine too)
¾ cup vanilla soy yogurt
1 tablespoon apple cider vinegar
1 tablespoon orange zest
8 ounces fresh blueberries, organic pref'd
2 tablespoon agave syrup
1 cup walnuts, pounded into meal
½ walnuts, roughly chopped
Crumb Topping: 3 tablespoon brown sugar, 2 tablespoon flour, 2 tablespoon soy milk, dash of cinnamon
Garnish Pre-Baking: 1 cup fresh blueberries tossed in 1 tablespoon agave syrup
Optional: 1 teaspoon fresh grated ginger and/or a few dashes cayenne (for a sweet spice flavor addition)
Yogurt Note: *You can also use blueberry flavor or plain flavor. If using plain, be sure to add an extra 2 tablespoon of agave syrup to your batter.
Directions:
1. Preheat oven to 400 degrees. Line muffin tins with paper cups or lightly spray with canola oil.
2. In a large mixing bowl, combine flour, salt, baking powder, cinnamon, sugar and flax seed meal.
3. Add in soy milk, yogurt, apple cider vinegar, orange zest and optional ginger/cayenne. Mix well by hand.
4. Pound out your walnuts (into a dusty meal consistency), and fold the meal into the batter. Then fold in the roughly chopped walnuts. Note: I used raw walnuts, you can use raw or roasted.
5. Wash and pat dry your blueberries. Then toss them in your 2 tablespoon of agave syrup. Fold the agave-tossed blueberries into the batter.
6. Fill muffin cups, dot each muffin with 2-3 blueberries and a few drops of your crumb topping.
7. Place in oven to bake for 18-23 minutes at 400 degrees. Check center with a toothpick. Tops will brown when ready.
Serve: Eat, freeze or store on counter for up to 2 days. Muffins freeze and thaw very well.