
disclosure: This post is sponsored by Good Foods
Summertime is a season for fast, easy, delicious meals and party snacks. Speedy smoothies, simple salads, fresh fruit! Veggie toast, ice cream, picnics and do-it-yourself meals like taco and veggie burger nights. More time in "vaycay mode," less time in the kitchen, yes?
Well today's product from the Good Foods brand is one of my favorite ways to save some time without skimping on quality, flavor or nutrition.
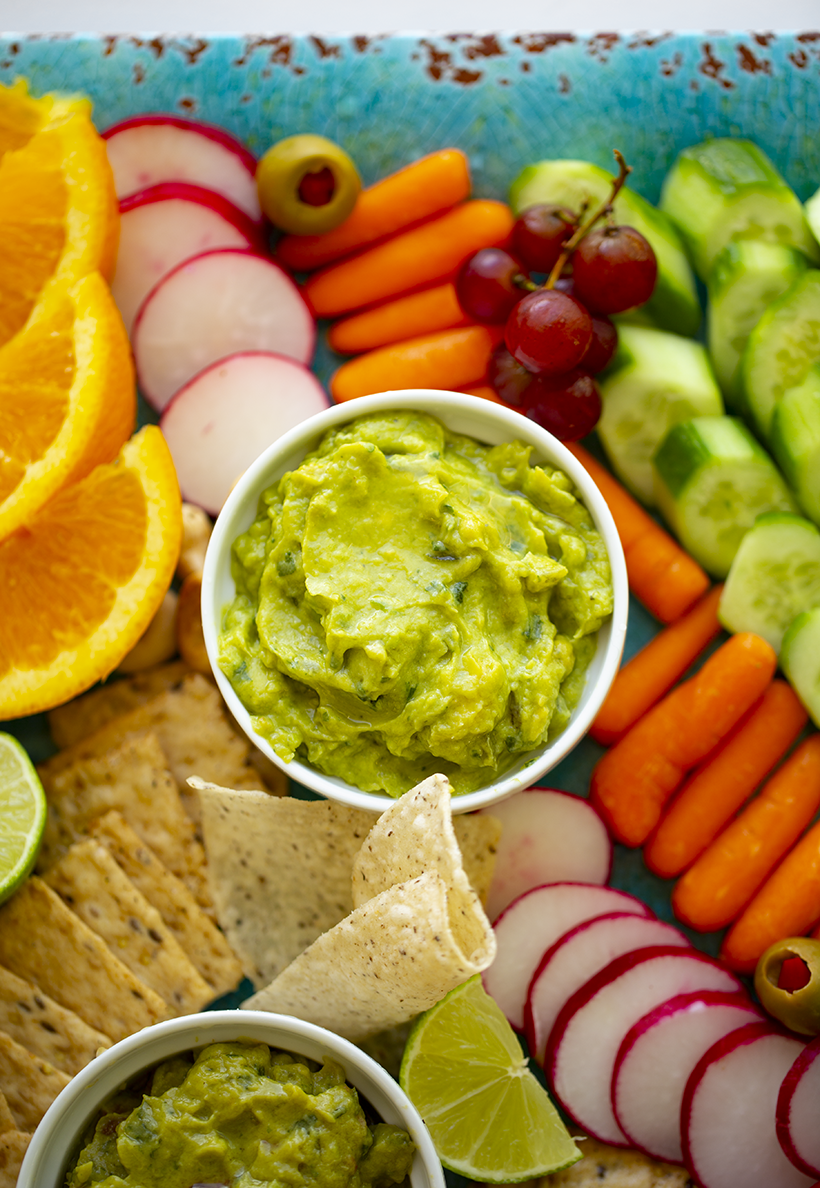
Ahead, I share my Guacamole Party Platter, that can be whipped up in just a few minutes, thanks to Good Foods. Plus, I share how you can enter to win over $1,000 in summer swag..

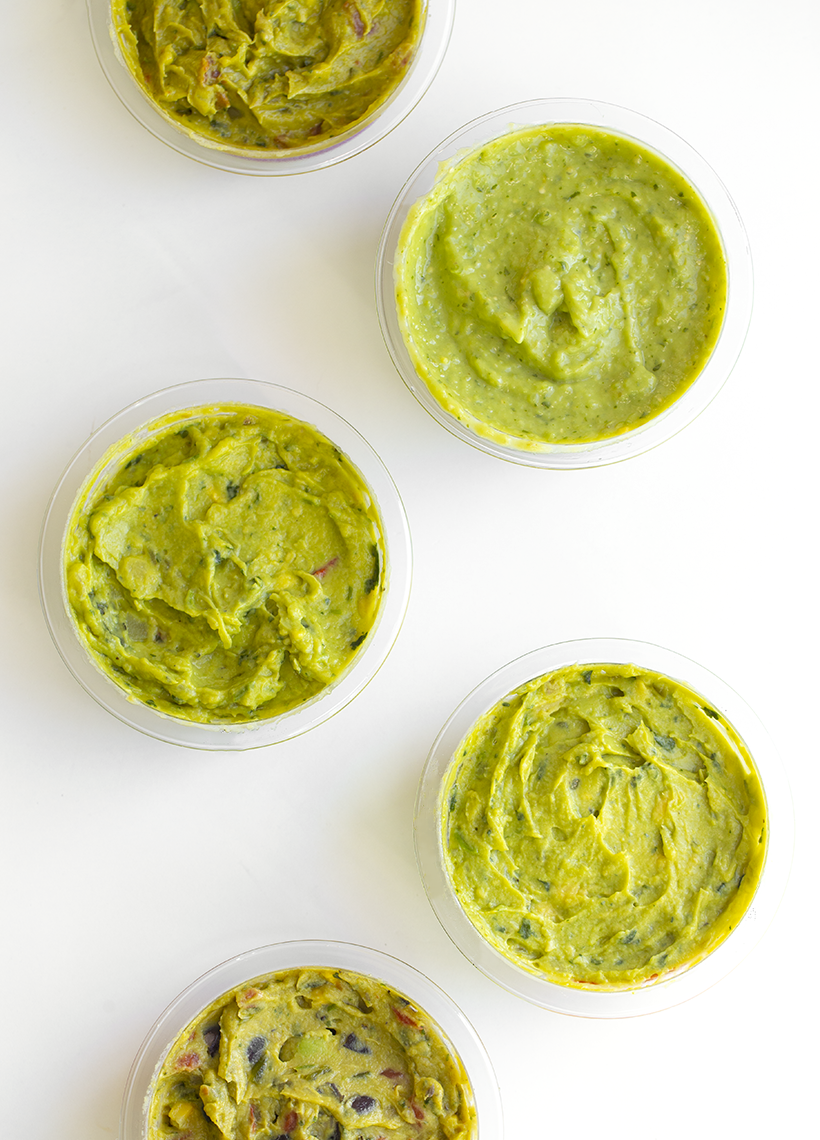
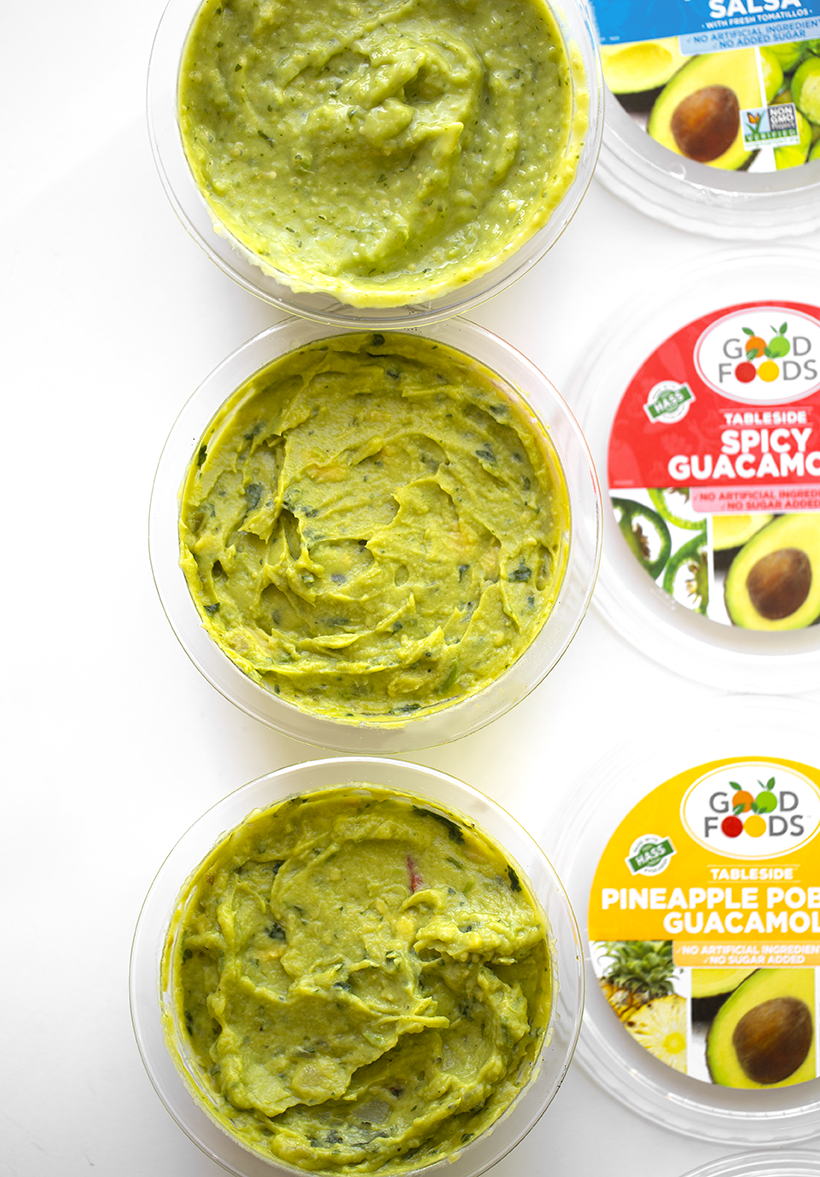
* Top to bottom - Good Foods flavors: Chunky Guacamole, Avocado Salsa, Pineapple Poblano, Spicy Guacamole, Southwest Guacamole.
I admit it. I am a snob. A guacamole and avocado snob. Brown spots be gone. Avocados that are too mushy, too firm or just look at me the wrong way, you are outta here. I have a long history with eating and making perfect, amazing, gorgeously green guacamole and I am not about to mess that up with 'just average' avocados or guac.
"So Kathy," You say. "..why would a guacamole snob like you buy a store bought guac??"
Easy answer. When it comes to store-bought guacs, I am very very picky! I give each one a sturdy side eye and taste test with a skeptics taste buds. And so when I taste tested Good Foods line of guacamoles I was beyond thrilled that they are amazing. From one guacamole snob to another, (That's you. You know you are too, right?) This guac is good to go. Good Foods Guacamole should be on everyone's summertime playlist. Er, shopping list..
We all need a few short-cuts this time of year. With Good Foods guacs you get fresh, flavorful, gorgeous green Hass avocado guacamole in seconds. Whip up a guacamole party tray and nibble as you sip fizzy or rose-colored beverages and chat with your fave person or people.
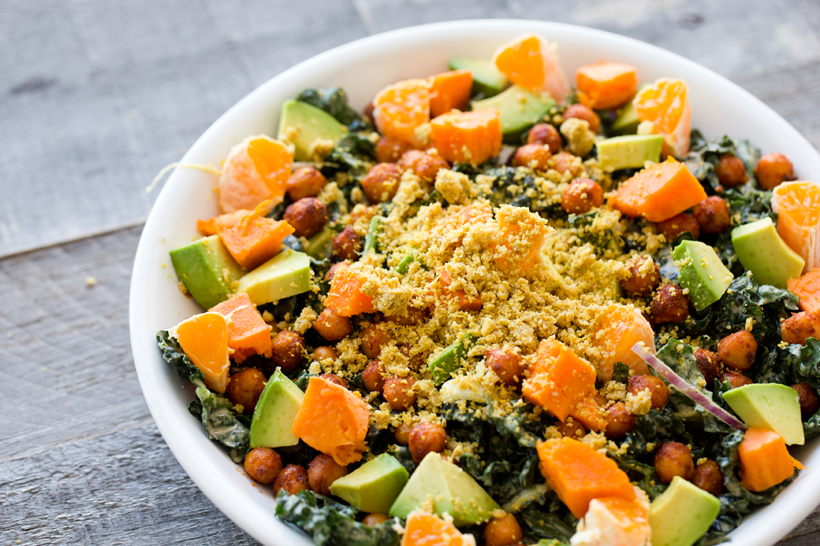
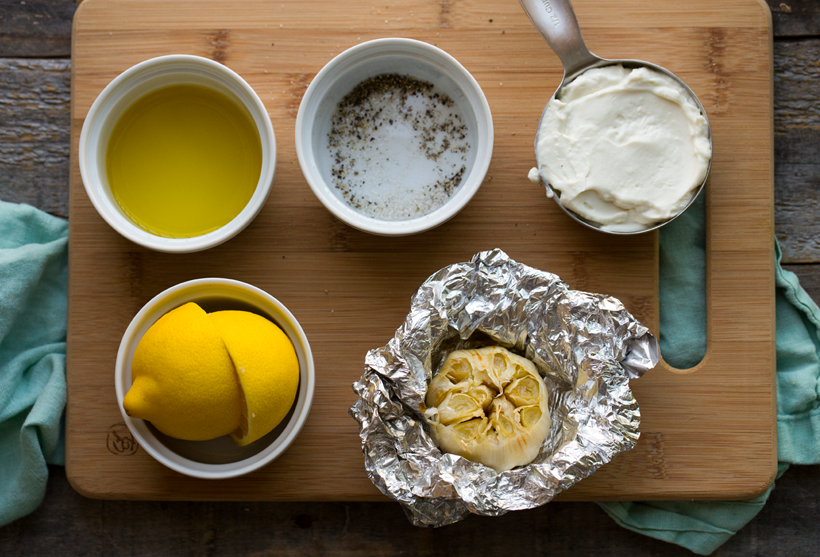
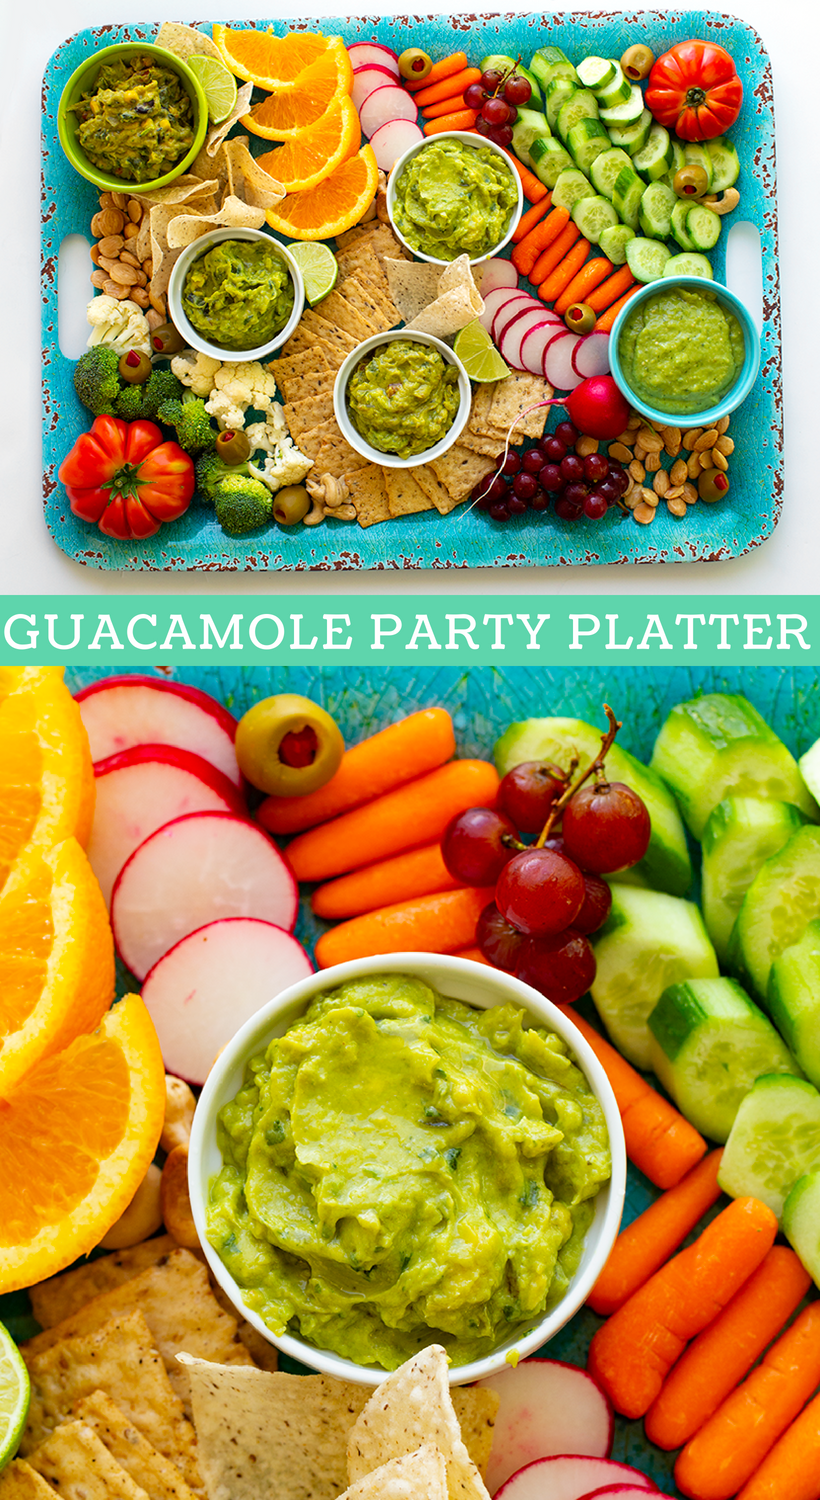
My platter ingredients: fruit, veggies, nuts, dips, chips, vegan cheese and of course, dips like hummus and guacamole.
For today's platter I used:
- radish
- rice crackers + chips
- carrots
- broccoli
- olives
- marcona almonds
- cashews
- lime and orange
- cucumber
- grapes

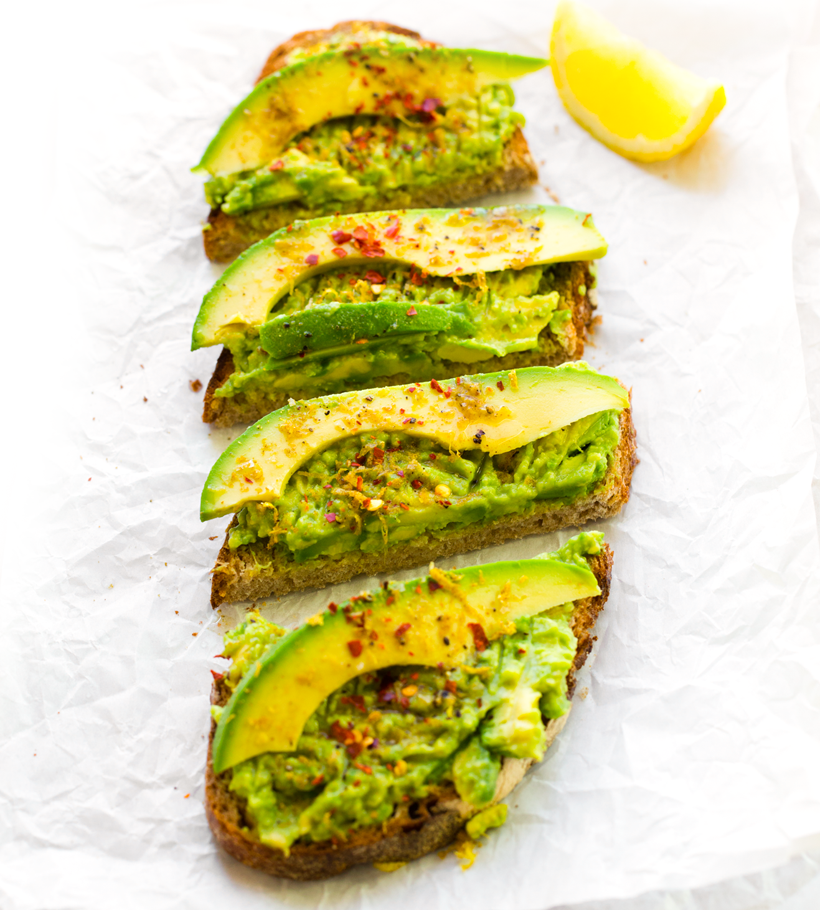
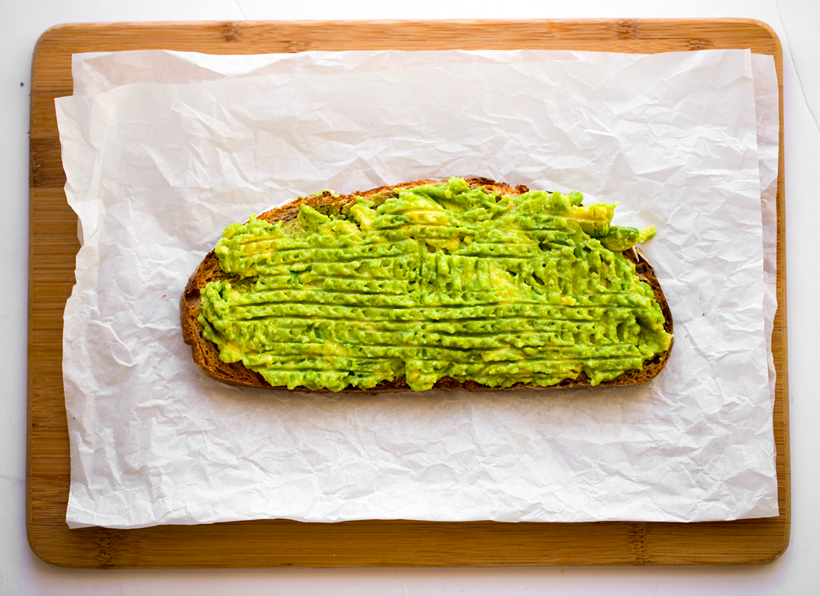
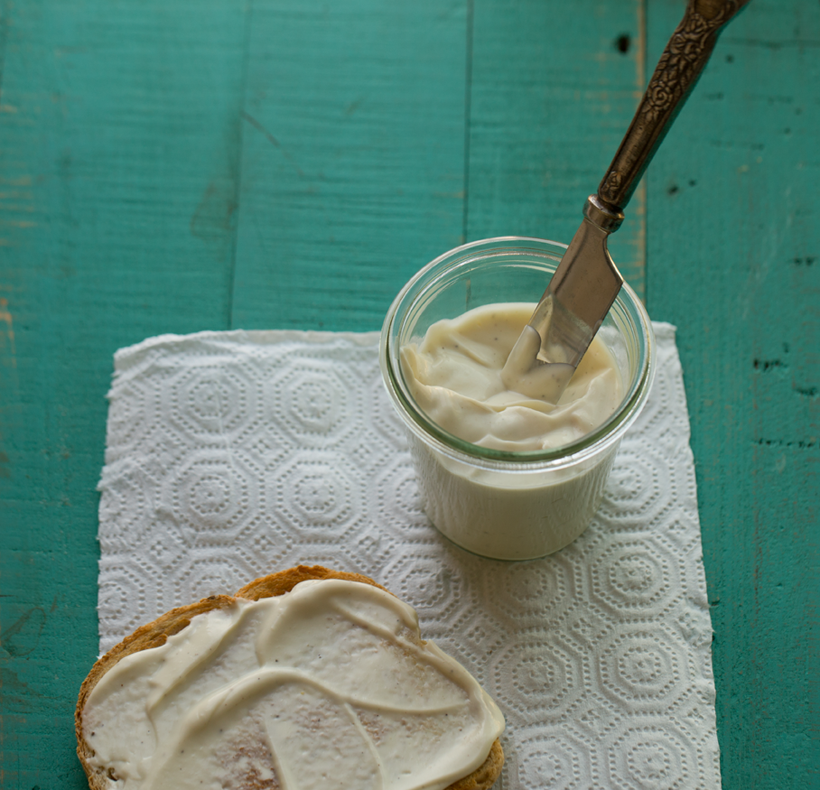
Look, you guys know that I absolutely love to make my own guac. But sometimes it is really really reallllllly nice to have guac in seconds, so I am so glad that I found a brand that it is legit. And can keep up with my obvious avocado snobbery.
Good Foods Guacs are made using Hass avocados, which are a source of healthy fats, fiber, folate with nearly 20 vitamins, minerals and phytonutrients. And really cool fact: Good Foods Hass avocados are hand-scooped, by humans. You can taste the homemade, hand-scooped flavor in there.
Good Foods products are natural. No chemicals, preservatives, artificial ingredients, colors, flavors or additives. EVER.
Good Foods also uses innovative facilities that never break the cold chain. Everything is freshly picked, packed & delivered. And that commitment to freshness shines through in the flavor.
Really Green. And a fun fact about Good Foods, they turn their avocado pits and skins into compost! Their goal is to become a zero waste facility.
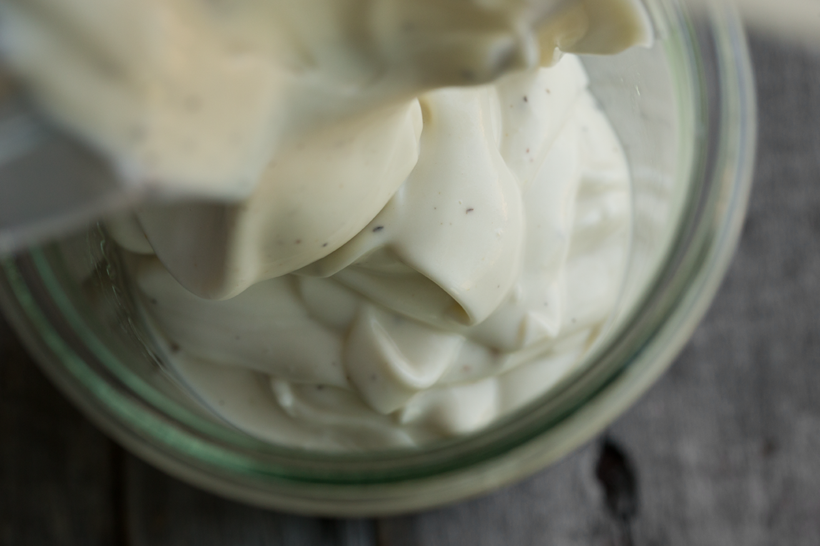
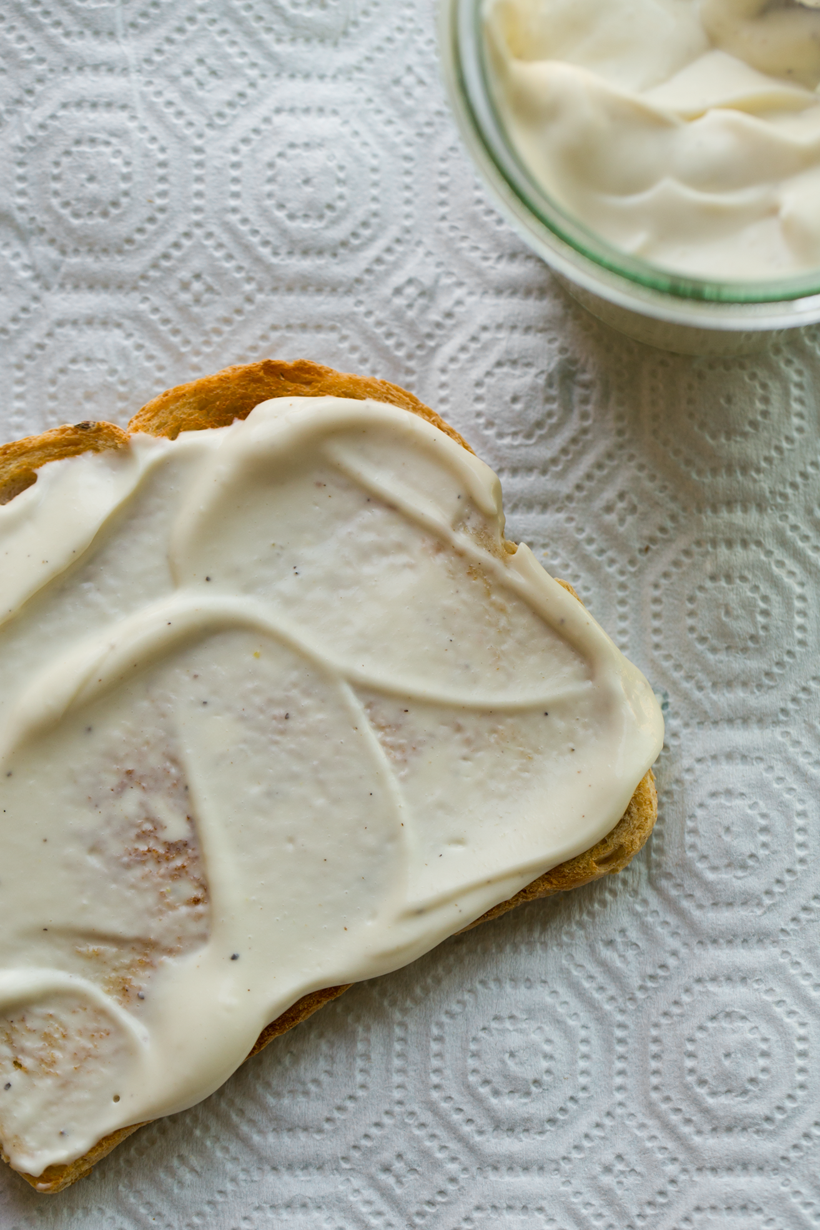
Taste Test. The first thing I noticed when taste testing was the bright green color. Then came the creamy and chunky homemade-style texture. Followed by the bright, fresh, layered flavors.
Good Foods "Tableside Guacamole" Flavors.
- Chunky Guacamole - Hass avocados, tomatoes, garlic, onions with fresh lime juice.
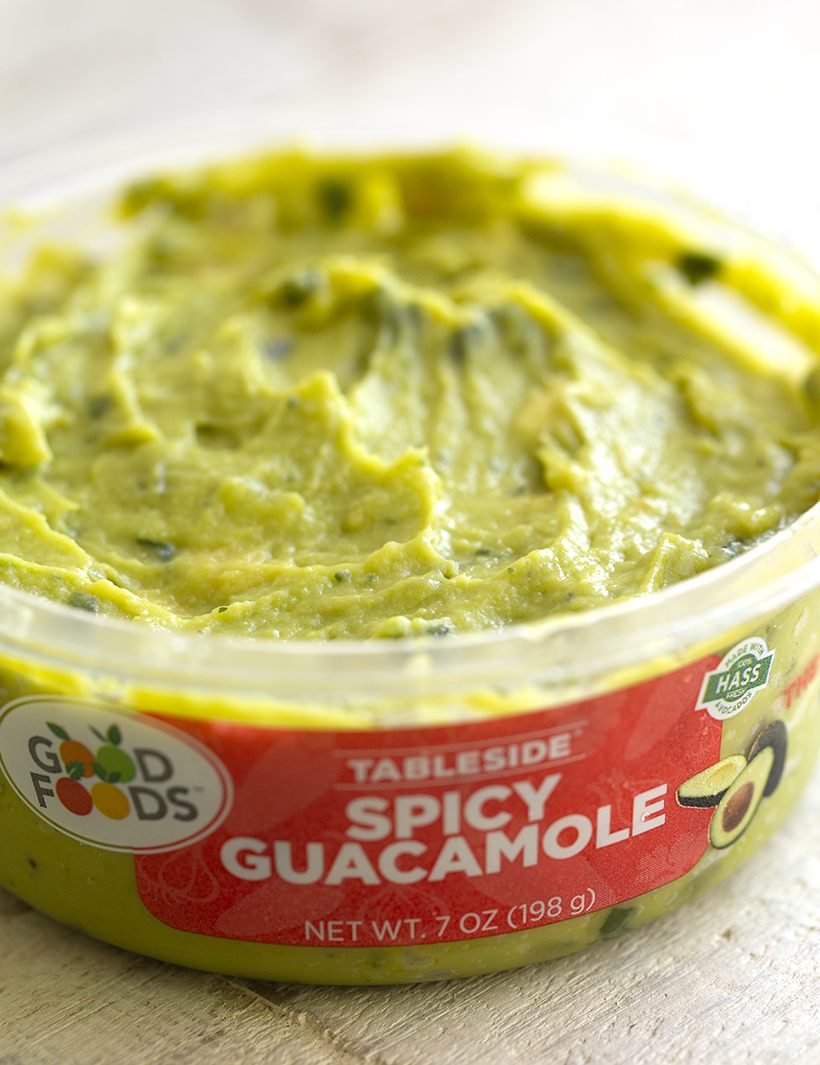
- Spicy Guacamole - Hass avocados kicked up with jalapeño and serrano peppers to deliver spicy goodness.
- Southwest Guacamole - This Southwest inspired guacamole has fire-roasted corn and black beans and is so darn good.
- Pineapple Poblano - Sweet pineapple paired perfectly with spicy poblano peppers and big chunks of Hass avocados.
- Avocado Salsa - Fresh tomatillos blended with only the best Hass Avocados and just a pinch of jalapeño.
..My favorite flavor was the Spicy Guacamole because I love a little heat in my guac. I also loved the Southwest Guacamole, with the hearty black beans and fire-roasted corn. I also really loved the Chunky Guacamole, with giant chunks of avocado in each bite. It was really fun to have a variety of flavors for a party platter.
I really love that they have mini guacs. Tote them on picnics, to the beach, or snack poolside!..

Enter the Good Foods Skinny Dips Contest!
You could win one of 4 Visa gift cards or one of 4 Pool Party Prizes valued at $1,000, packed with summer fun including:
• A Premium Cooler
• Tumbler Cups for Poolside Drinking
• A Fruit and Veggie Dip Tray for Healthy Snacking
• Produce Pool Floaties
• A Giant Swan Float
• Coupons for FREE Fruits and Veggies!

On-the-go snacking! Before a tennis match, I enjoyed some chips and Good Foods guac! So good. Love a light savory snack when working out.


Looks like a giant pool party of green guacamole goodness. Chips ready!..
Pin it for later:
disclosure: This post is sponsored by Good Foods but all opinions are my own.