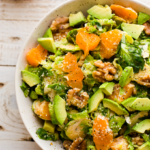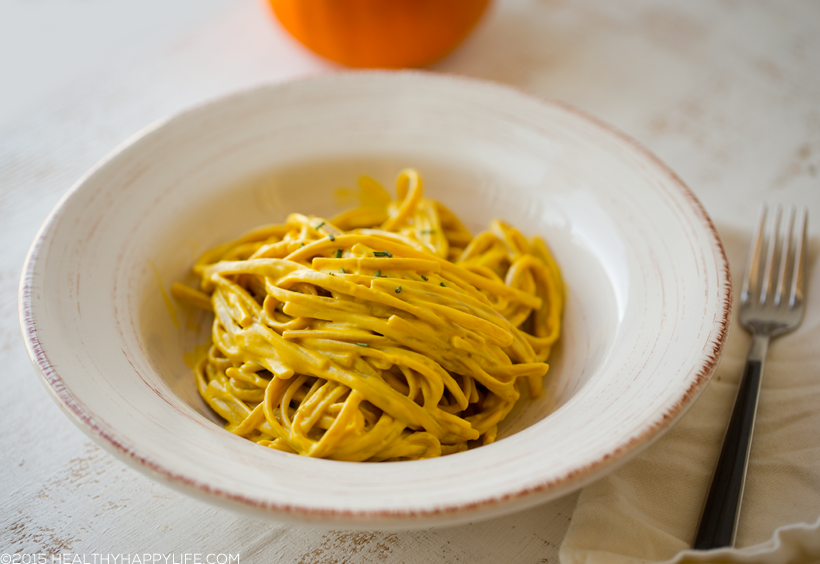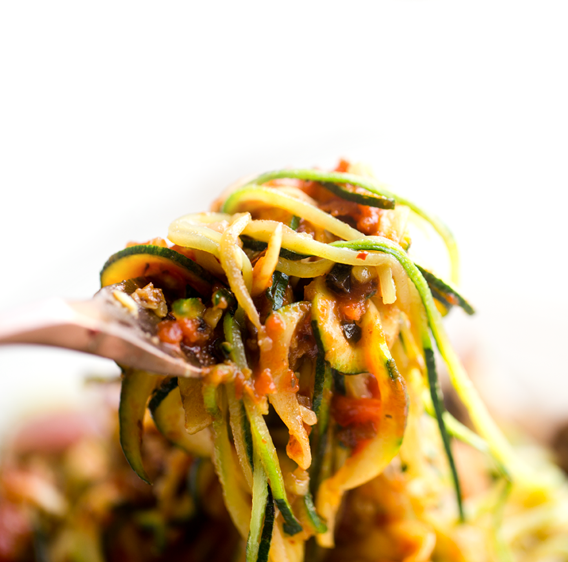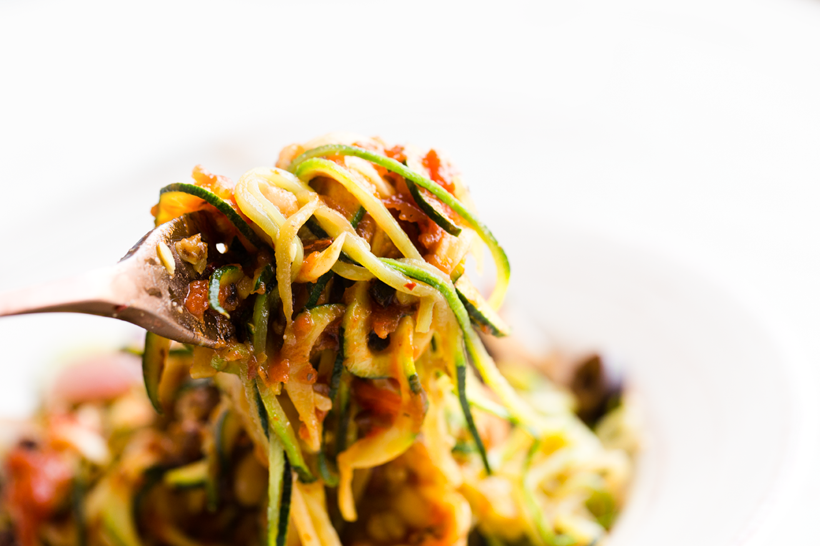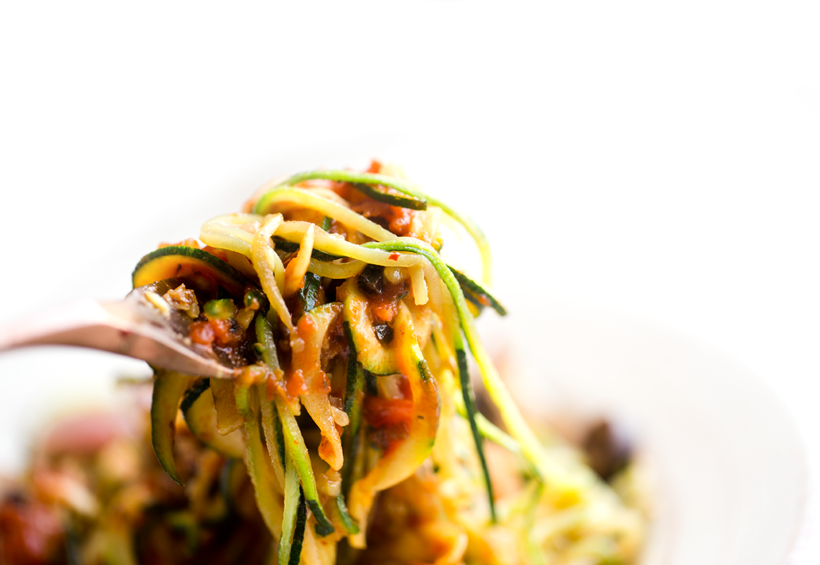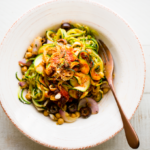


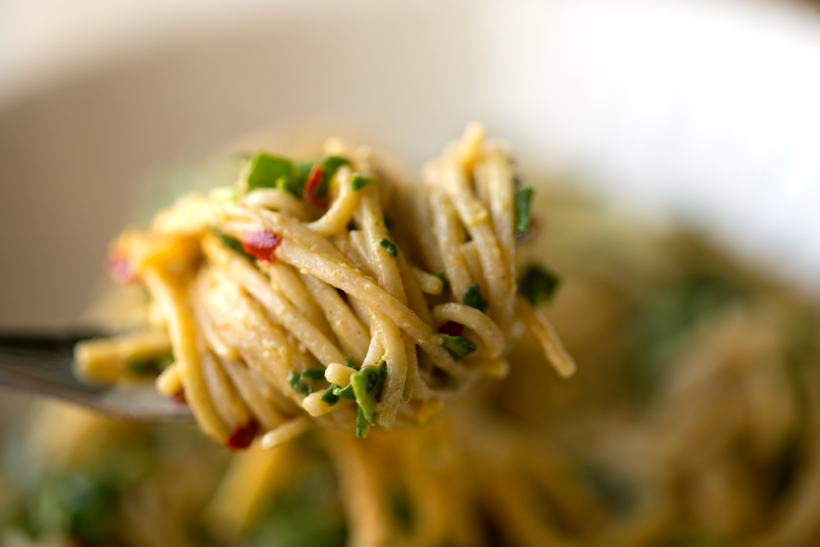
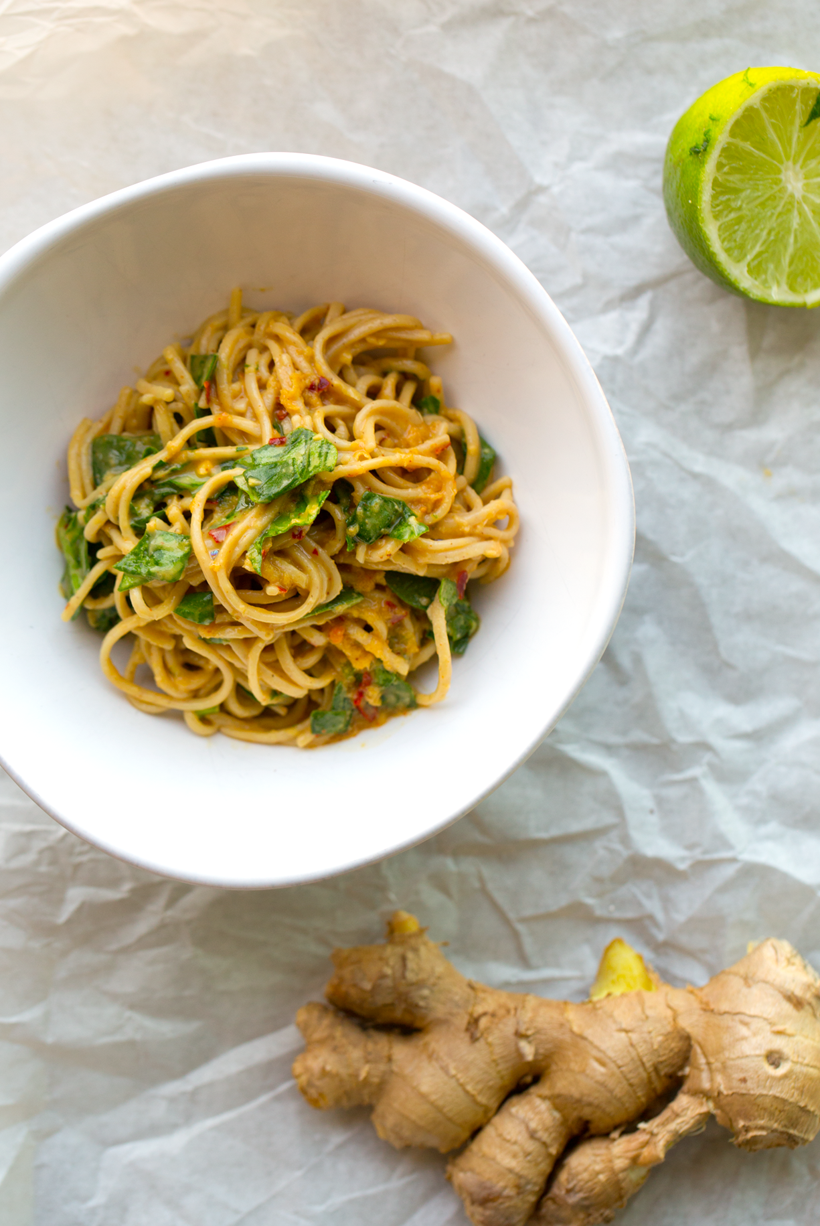
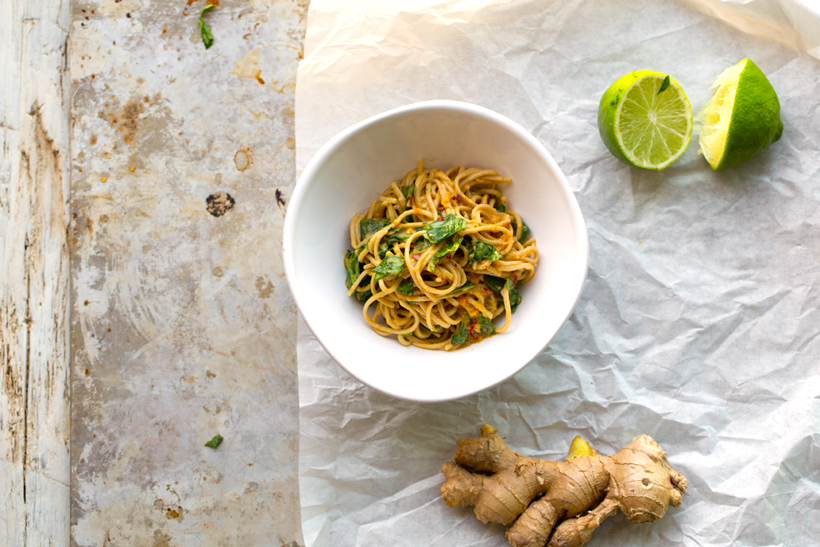
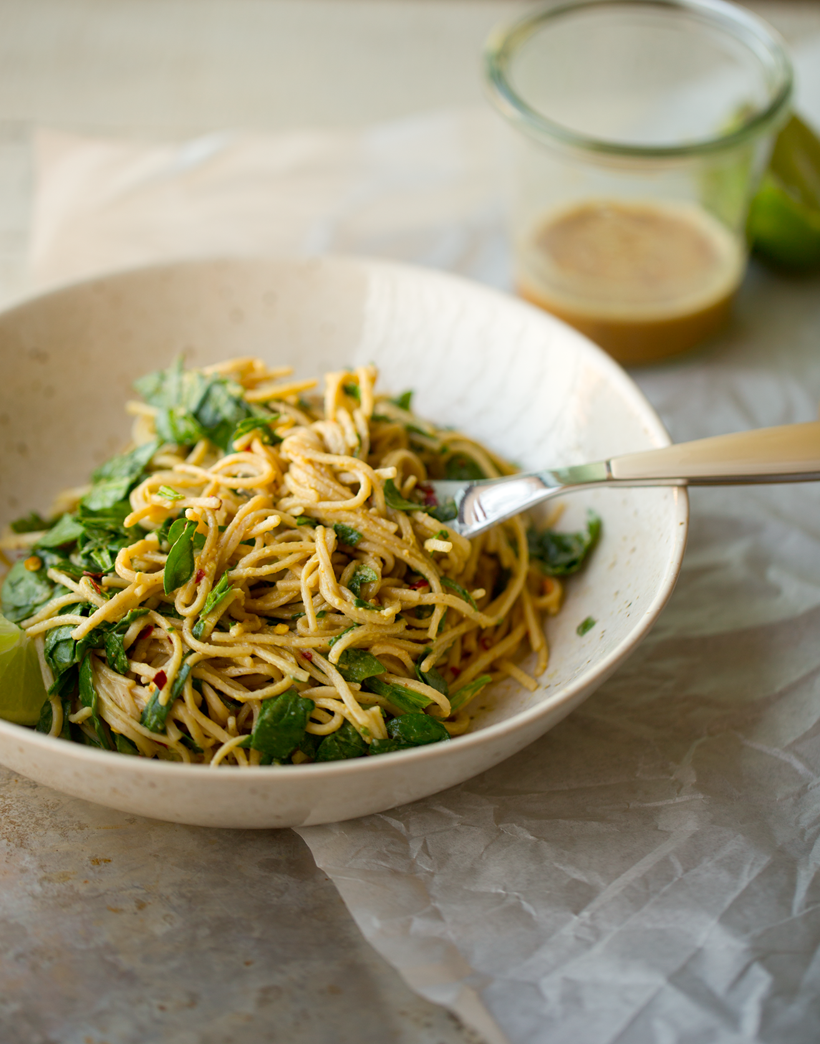
These Spicy Peanut-Ginger-Lime Soba Noodles can be whipped up in just about fifteen minutes and taste super satisfying for lunch or dinner. A bold flavored sauce brings the dish together as warming raw ginger mingles with peanut butter, red pepper flakes, bright fresh lime juice and a hint of sweet maple syrup. A handful of cooling raw spinach balances things out a bit.
Get the recipe, plus 5 reasons why I love soba noodles...

5 Reasons Why I Love Soba Noodles
- They cook in a flash. Just about 4-7 minutes, depending on which variety you use.
- They are easy to measure. I always get a bit thrown off when trying to decide how much pasta to make. But soba noodles come wrapped in bundles. Generally about 3oz per bundle. Three ounces makes one large serving or two good sized servings.
- They taste amazing warm or chilled. Leftovers taste so delicious served straight from the fridge! The soba absorbs flavors so well and chilled noodles are almost as good as warmed!
- They are a healthy noodle option. Buckwheat soba noodles are a sturdy source of protein. Each bundle contains about 8g - 13g protein. Nutrients will vary based on the brand you choose. They also contain fiber, iron, zinc and more.
- Options. You can either choose 100% whole grain buckwheat noodles, which tend to be a bit more rustic in texture and nutty in flavor. Or you can choose a buckwheat blend, which produces a smoother noodle. The 100% buckwheat noodles are generally more expensive and also take slightly longer to cook. The buckwheat/wheat blend noodles only take about four minutes to boil.

S O B A.
For some reason, soba noodles just feel incredibly nourishing and cozy to me - yet they do not have that sedative effect like other pasta dishes have on me sometimes. After soba noodles, I still feel really energized and able to continue my workday. Maybe it is the lighter 'sauce' or maybe it is the fact that soba noodles are not served piping hot. They seem more cooling. Even served warmish. I'm not exactly sure why, but I love it.
Today's recipe makes a perfect energizing lunch. Especially with all the warming spiciness from the ginger and red pepper flakes!
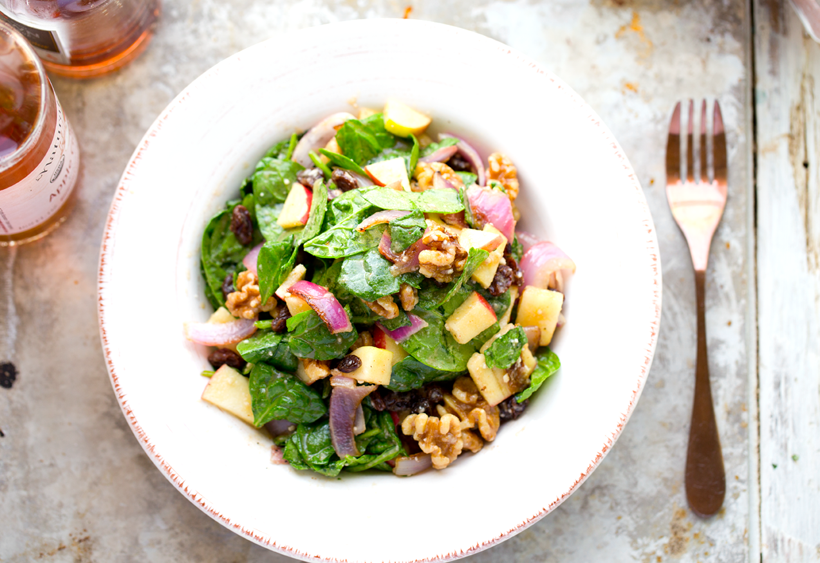
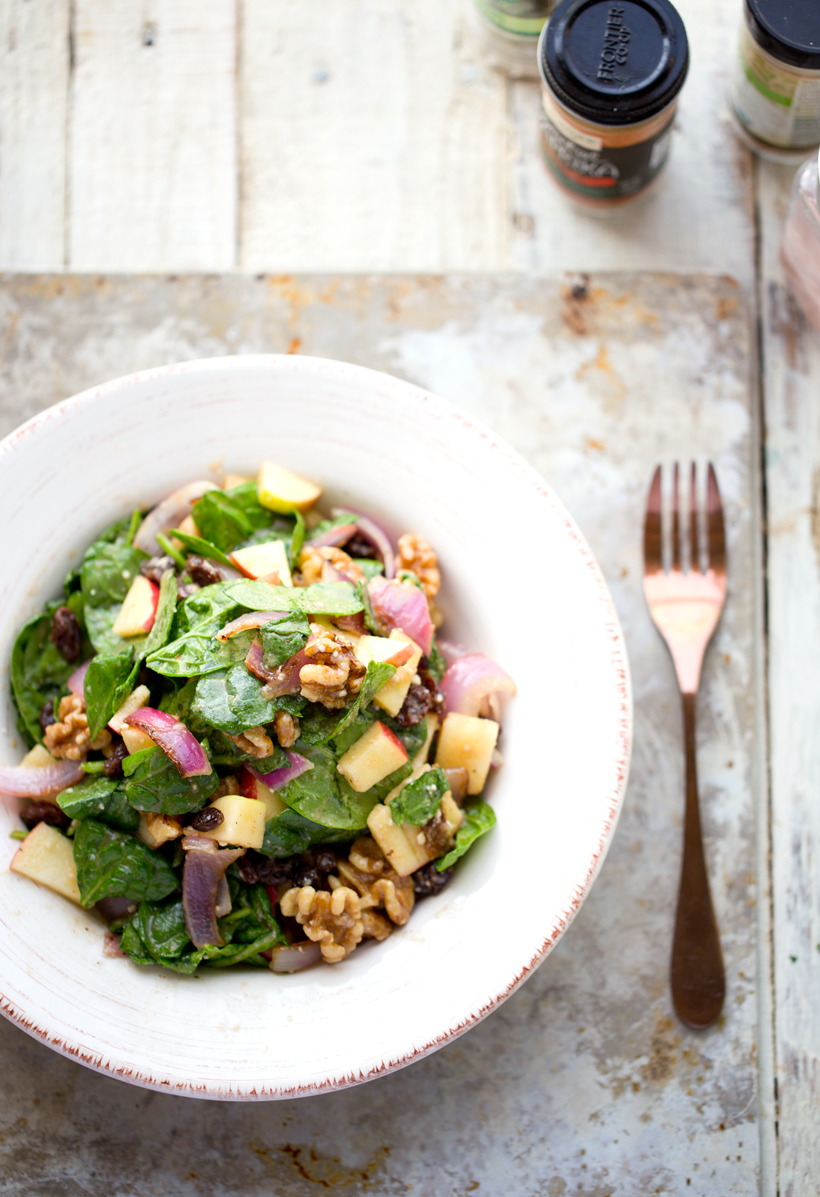
January is a month when things are fresh and crisp.
Winter white. Snow (actual snow or imaginary) quiets the land and quiets our post-holiday busy minds. So if you are in a quiet sort of mood this month, allow yourself to fully embrace the reset, the pause, the 'creativity' mindset.
Close all the Apps. Close all the windows on your browser. Delete Instagram for a few days. Turn off the binge-watching and pick up a book. Maybe a 90's comic book. Or Harry Potter. Whatever lets you escape. Or maybe just makes you feel like you are home. Watch something that makes you laugh. Or a movie you know will make you cry. Watch a cooking show, note pad in hand. Fold a bunch of pages in your favorite cookbook. Or one you have barely opened. Bake bread. Fill a bowl with spicy soba noodles. Make a long list. Or tear your list up and toss the shreds in the air. Snow, see? Doodle. Prioritize. Hibernate. And do what needs to be done. And only you know what those things are.
PS. Shoutout to all my fellow January birthday babes. Light a candle. Make a wish. Close your eyes and wait for it to come true.
Love these noodles? Try my peanut kale tempeh noodle recipe!
Do You Use Amazon Alexa?
If so, check out my new HHL Alexa Flash Briefing Skill! You can add HHL to your "Flash Briefing" and get the latest headline, and even get my latest blogpost sent to your phone, via the Alexa App. Check it out.
How to use it? Once you add it to your profile, you just say, "Alexa, what is my flash briefing?" Boom.

Spicy Peanut-Ginger-Lime Soba Noodles
Ingredients
- 3.1 oz soba noodles 1 round of noodles
Spicy Sauce:
- 3 tablespoon fresh lime juice
- 1 pinch lime zest
- 2 tablespoon tamari sauce or soy sauce
- 1 knob raw ginger about 1 tablespoon - peeled + microplaned
- 1 teaspoon red pepper flakes or red chili paste
- 1 tablespoon creamy peanut butter softened
- 3 teaspoon maple syrup or agave, brown sugar or coconut sugar
- a few pinches cayenne or black pepper - optional
- 1 teaspoon sesame oil or olive oil - optional
Fold in:
- 1 handful baby spinach finely chopped
- 1 slice lime chopped peanuts - optional
Instructions
- Bring a medium pot of water to a boil. Add in the soba noodles. I like to break the noodles in half before boiling so they are easier to eat.
- While the noodles boil, whisk together the sauce. Add all the ingredients to a mug or small bowl and whisk until smooth. It is important that the peanut butter is nice and oily and soft so that it whisks smoothly without clumps. If you peanut butter is hard or clumpy, you may want to warm in the microwave or even add a spoonful of oil to it to soften a bit.
- Noodles should be fully cooked in 4-5 minutes. Drain water and bounce noodles around in a strainer to remove all excess water. If you like really dry soba noodles you can even squeeze them very gently with a few clean paper towels. (I usually skip this step, but you also don't want watery noodles being sauced to water down the flavors.)
- Pour the noodles into a clean mixing bowl. Fold in the sauce. Start with 3 tablespoon sauce and add more as desired. Toss noodles well until coated.
- Fold in the chopped spinach to gently wilt it.
- Transfer noodles to serving bowls. Garnish with optional chopped peanuts and a slice of lime. Serve warm. Leftover can be covered and chilled in the fridge for up to two days. These noodles actually taste delicious served warm or chilled.
Nutrition