
* This post is sponsored by Duda Farm Fresh Foods.
I am obsessed with three things. 1) Pickled veggies. 2) Radishes. 3) Tartine sandwiches.
Oh shoot, I guess I could go on to say that I am also obsessed with avocados + avocado toast. (But, really, who isn't.) Oh and I am also obsessed with fresh crunchy sprouts and spring peas. So basically, today's recipe leaves me swooning, emoji-style, red hearts in my eyes.
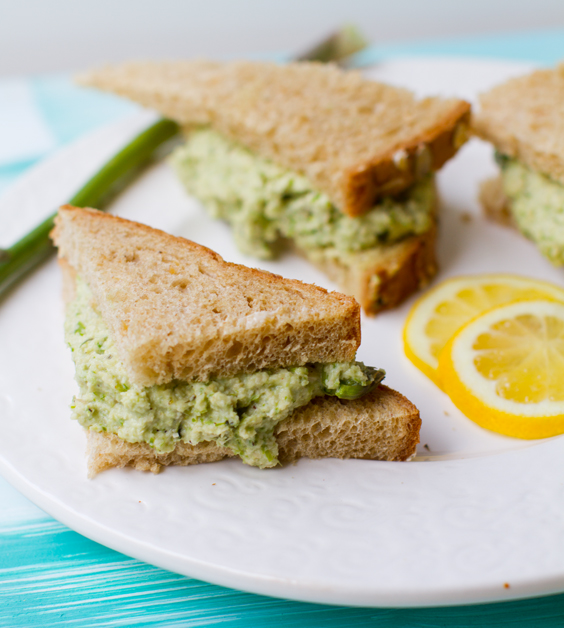
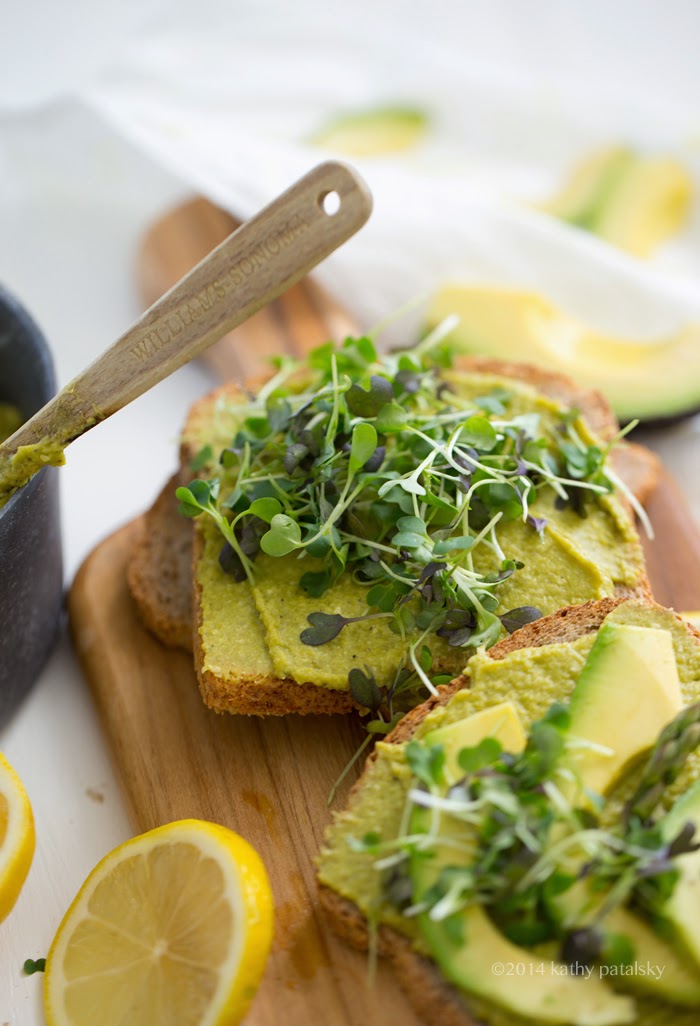
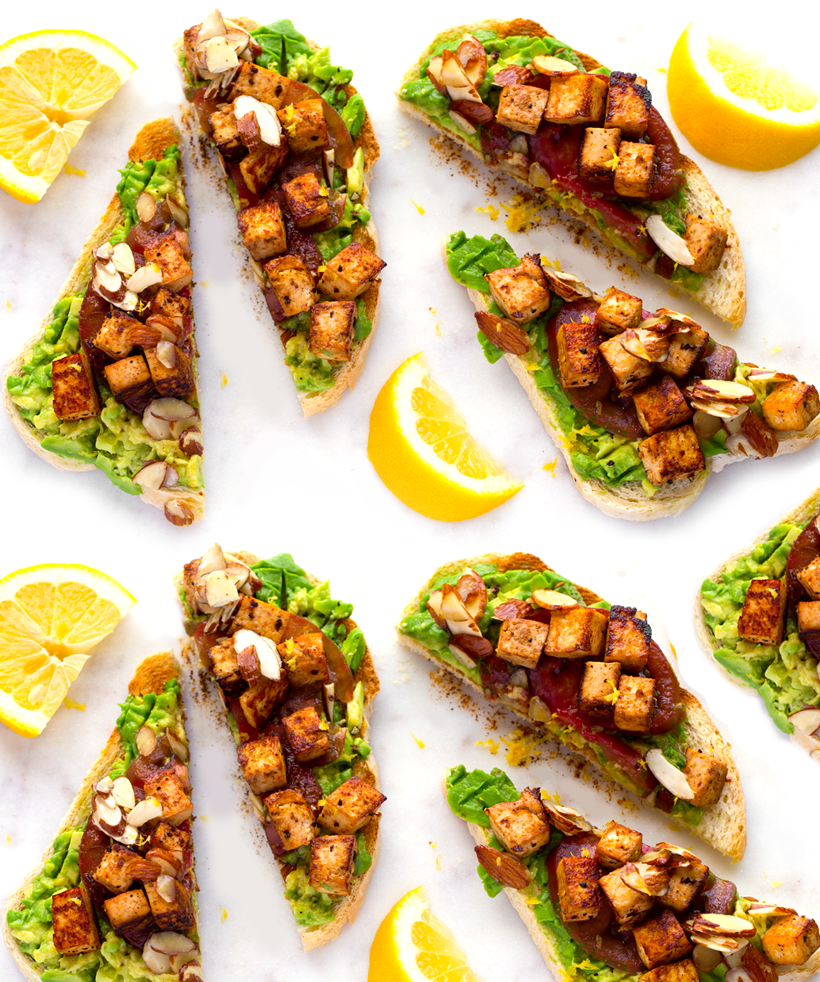
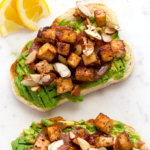
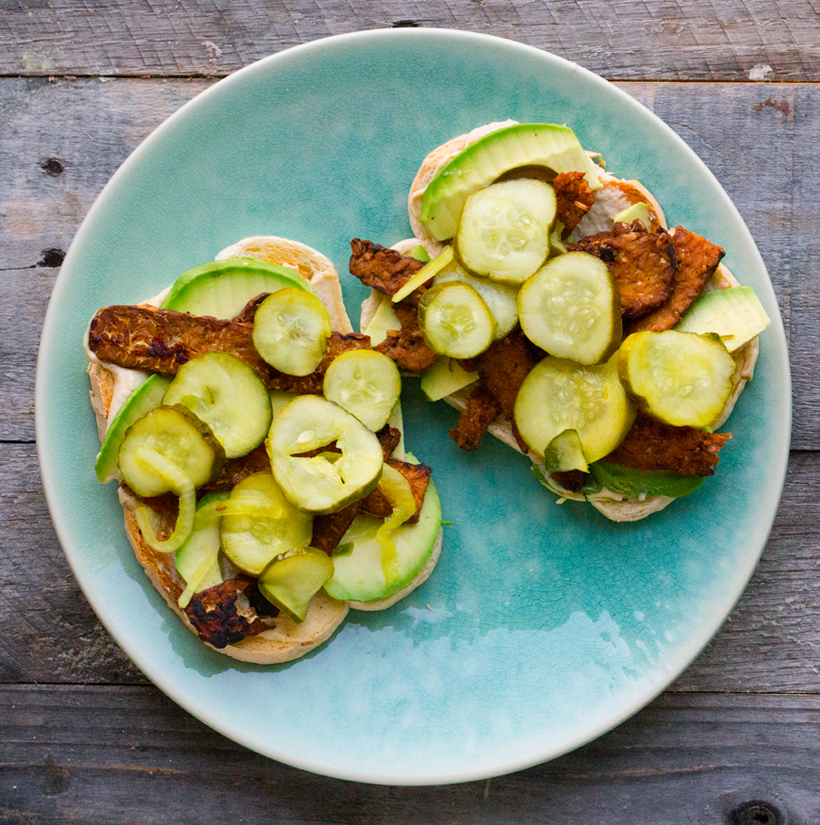
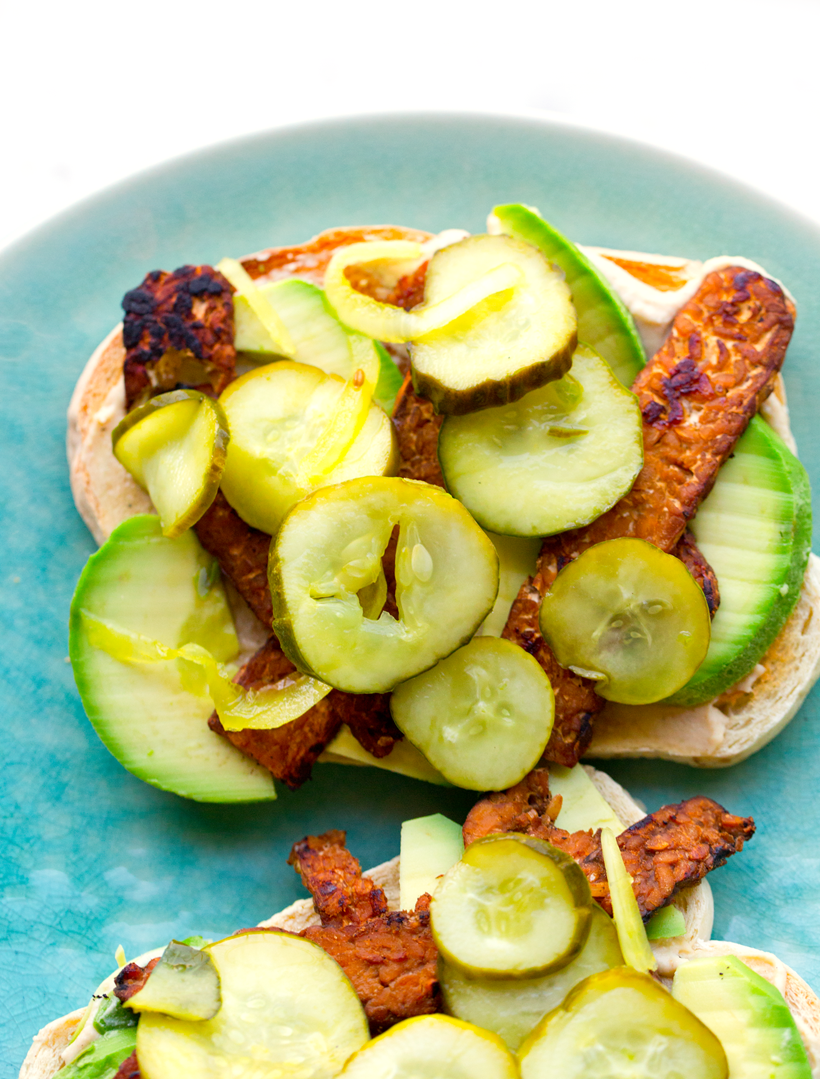
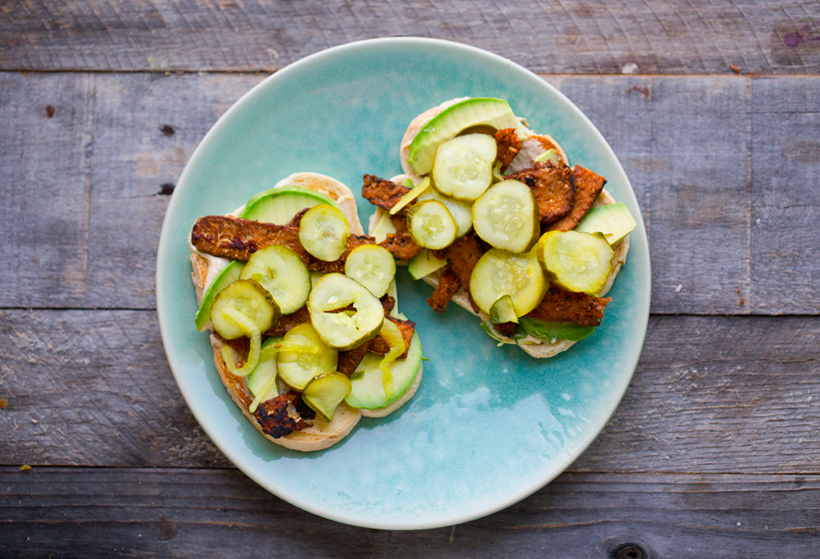
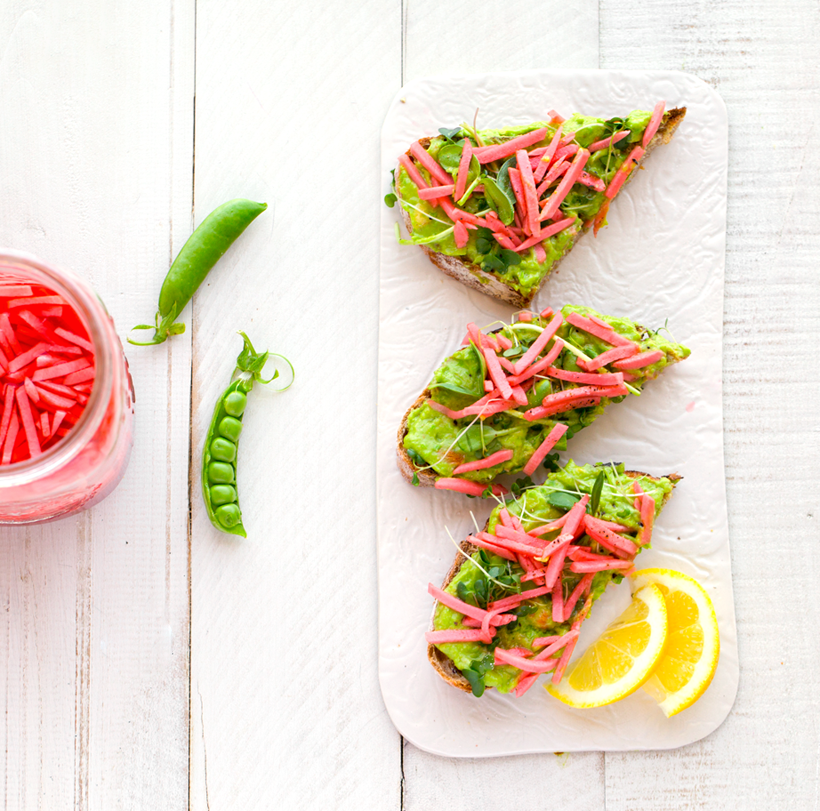
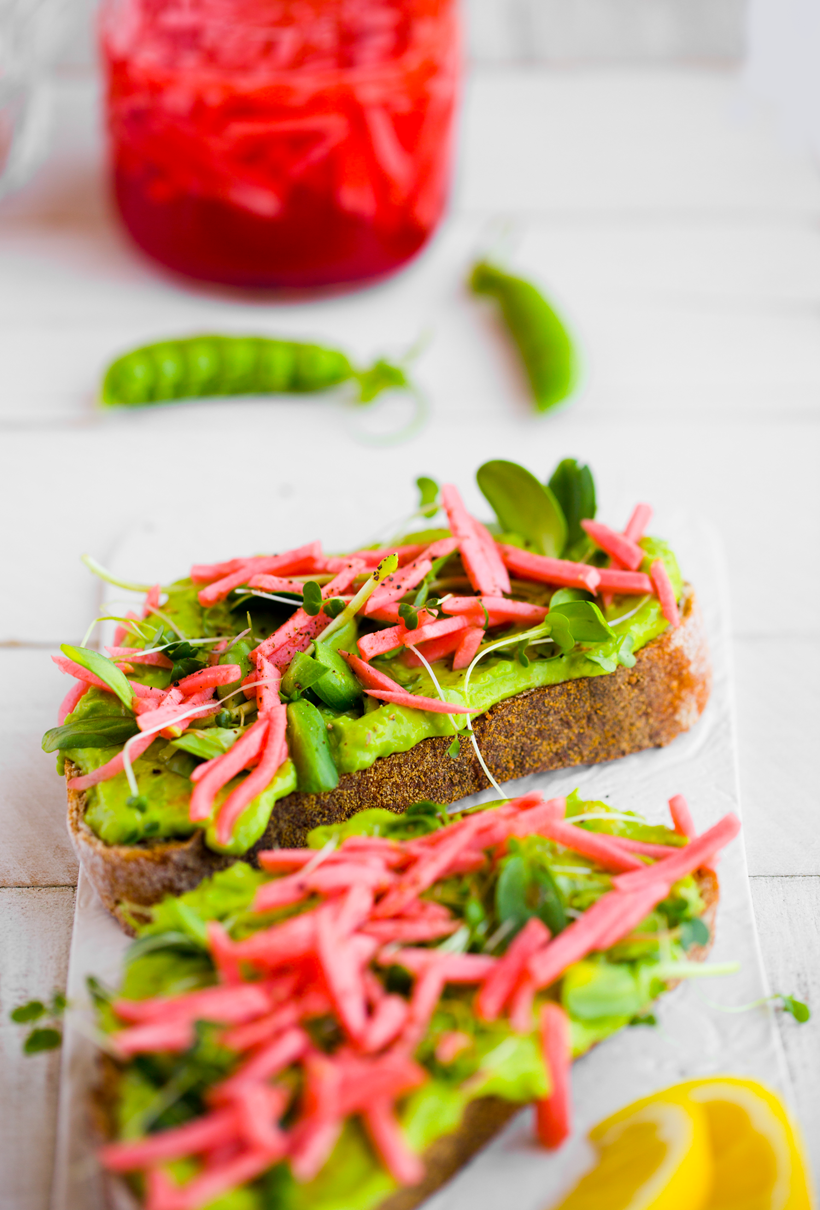
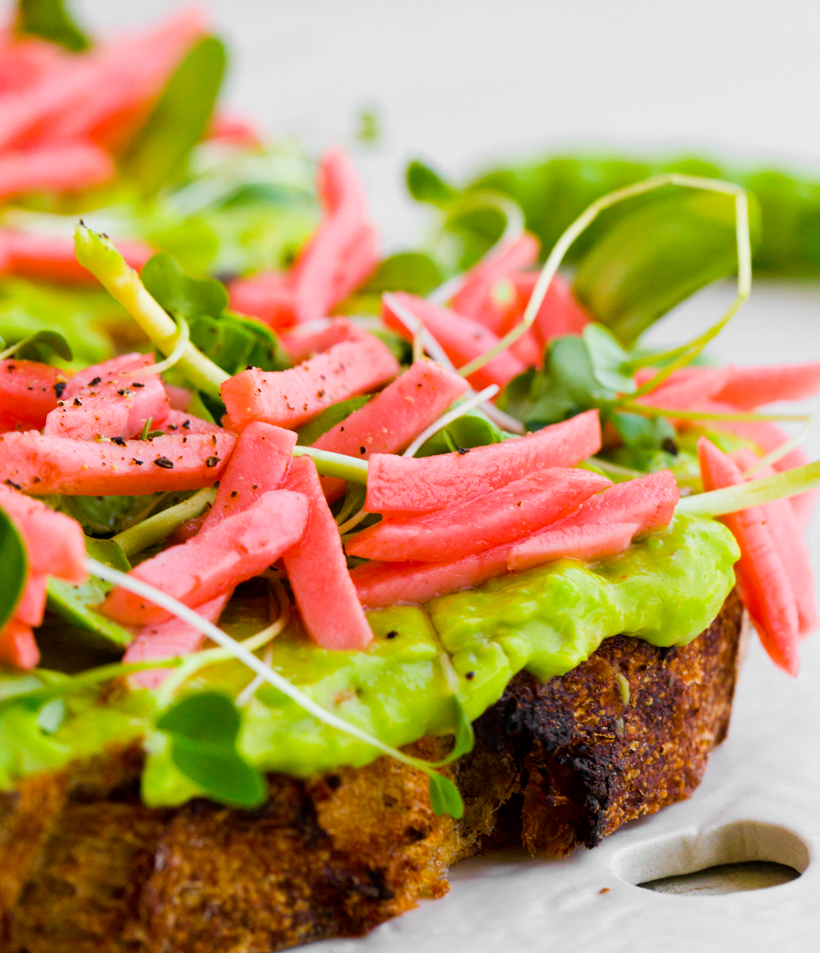
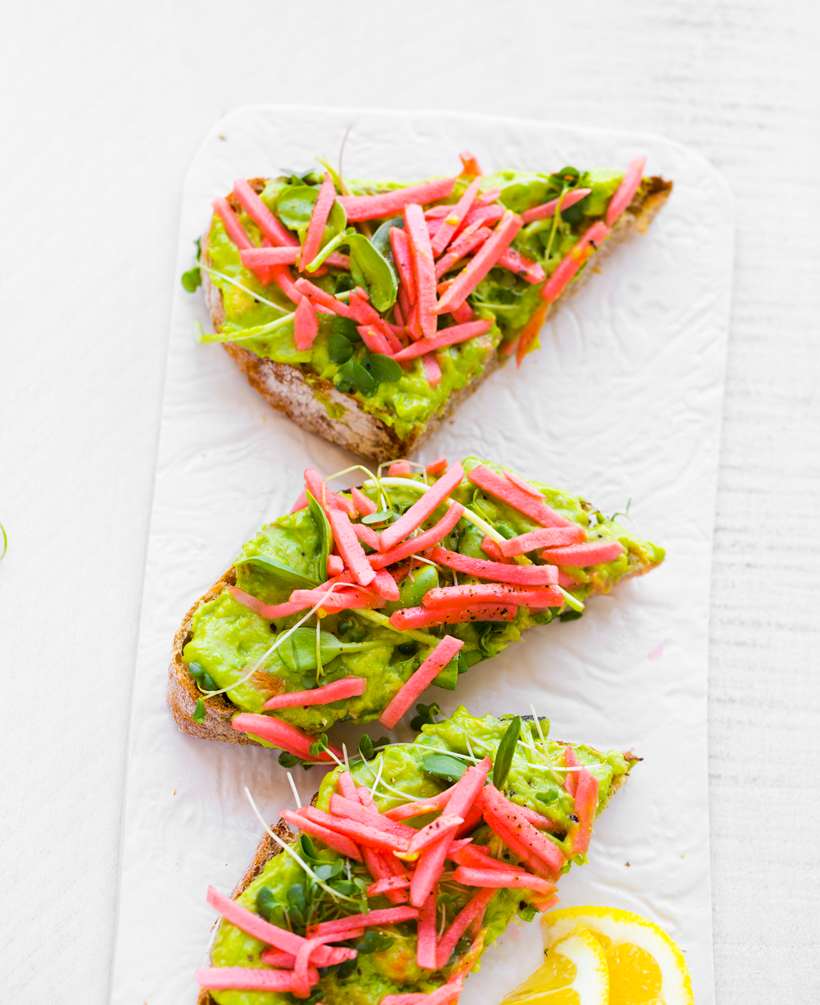
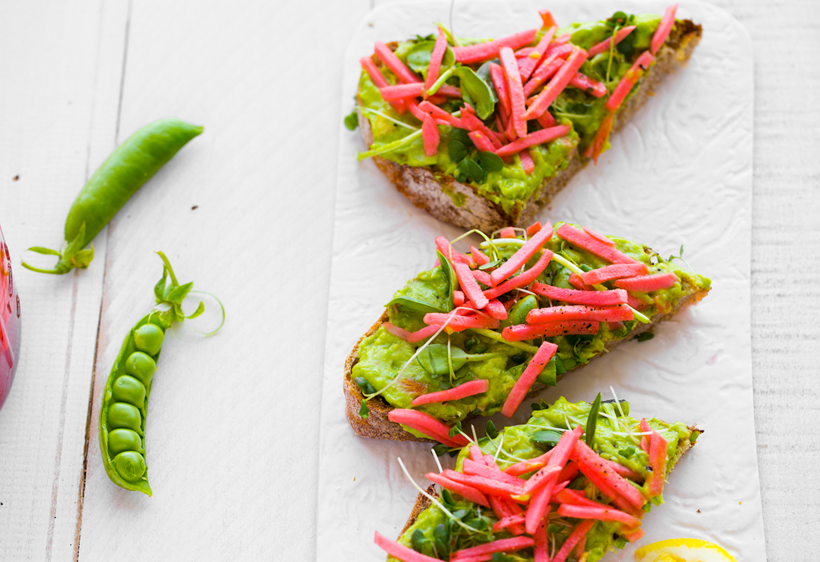
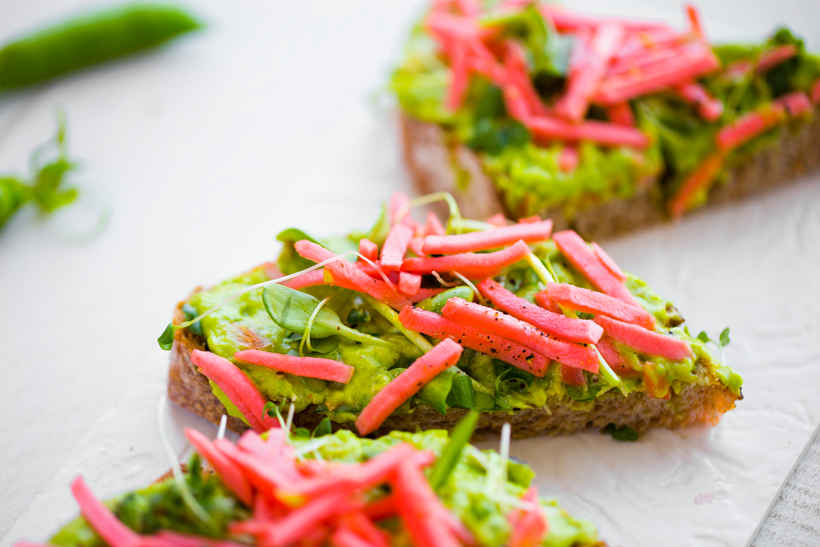
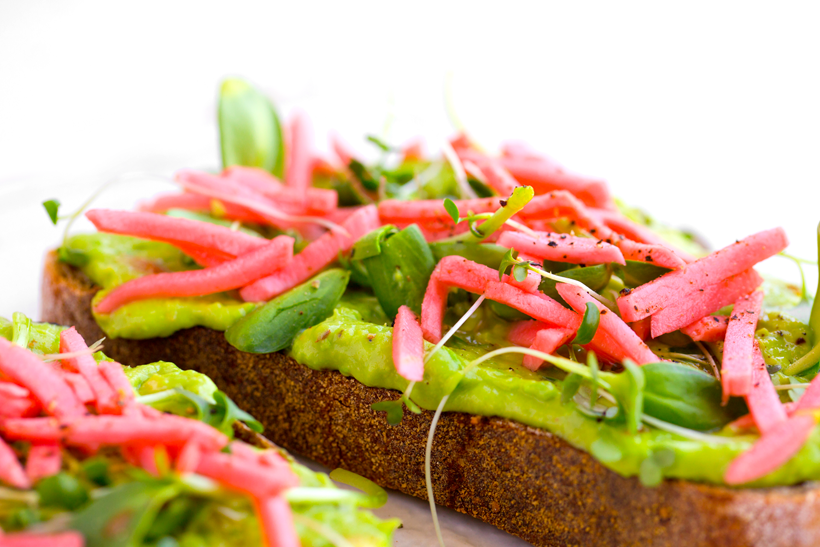
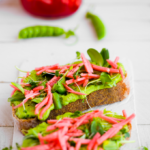
Today's Spring Pea Avocado Toast with Easy Pickled Radishes is my idea of lunchtime perfection. Smooth, rich, lemon-y avocado and fresh pea spread is slathered on bakery crusty bread, and then topped with the most amazing (and easy) DIY pickled radishes and sprouts. Slice, serve, swoon.
This meal looks and tastes like it should be served in one of those fancy European tartine restaurants. But you get to enjoy it at home, watching Netflix, in your cozy sweats. Win win win.
Get the recipe, plus, find out how you can enter to win one of five $100 Visa Gift Cards!..
Love these flavors and textures!..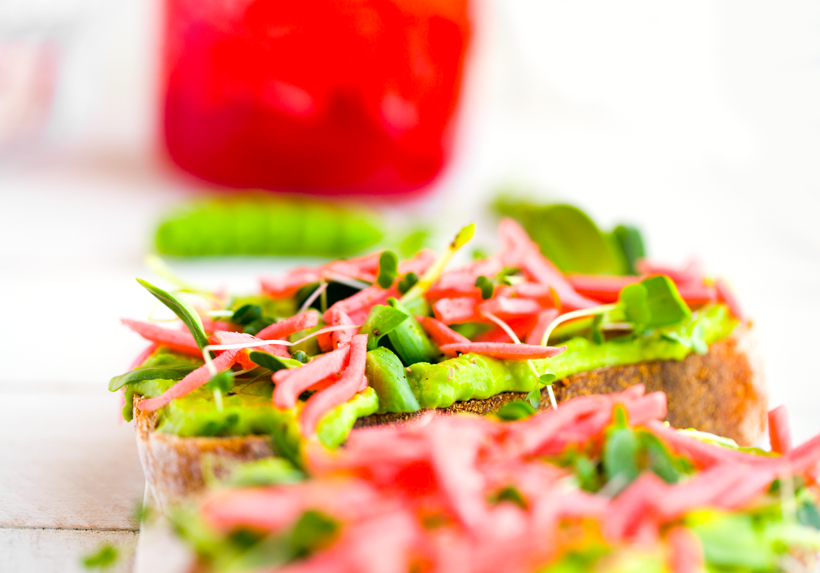
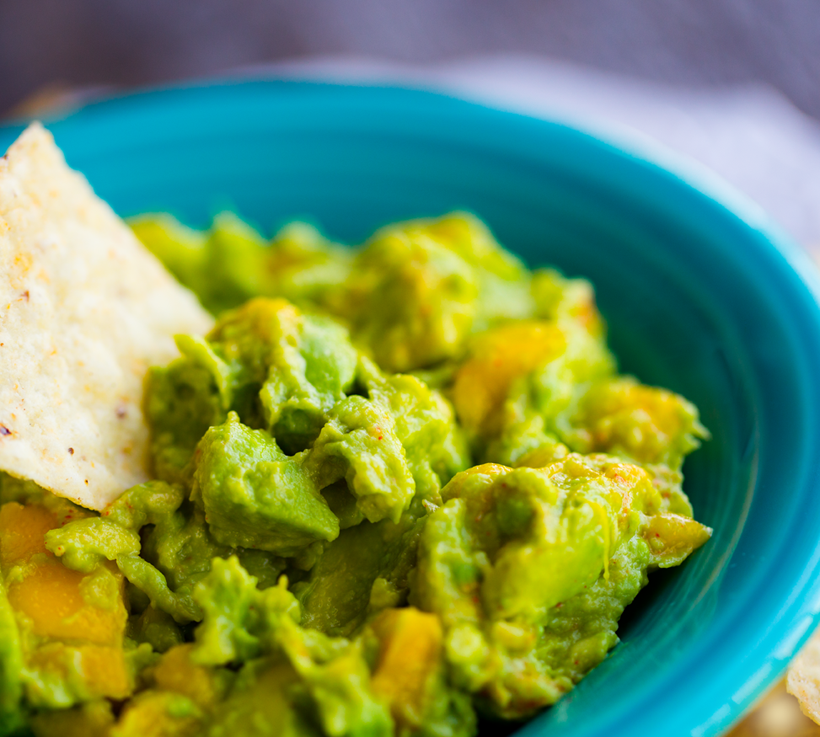
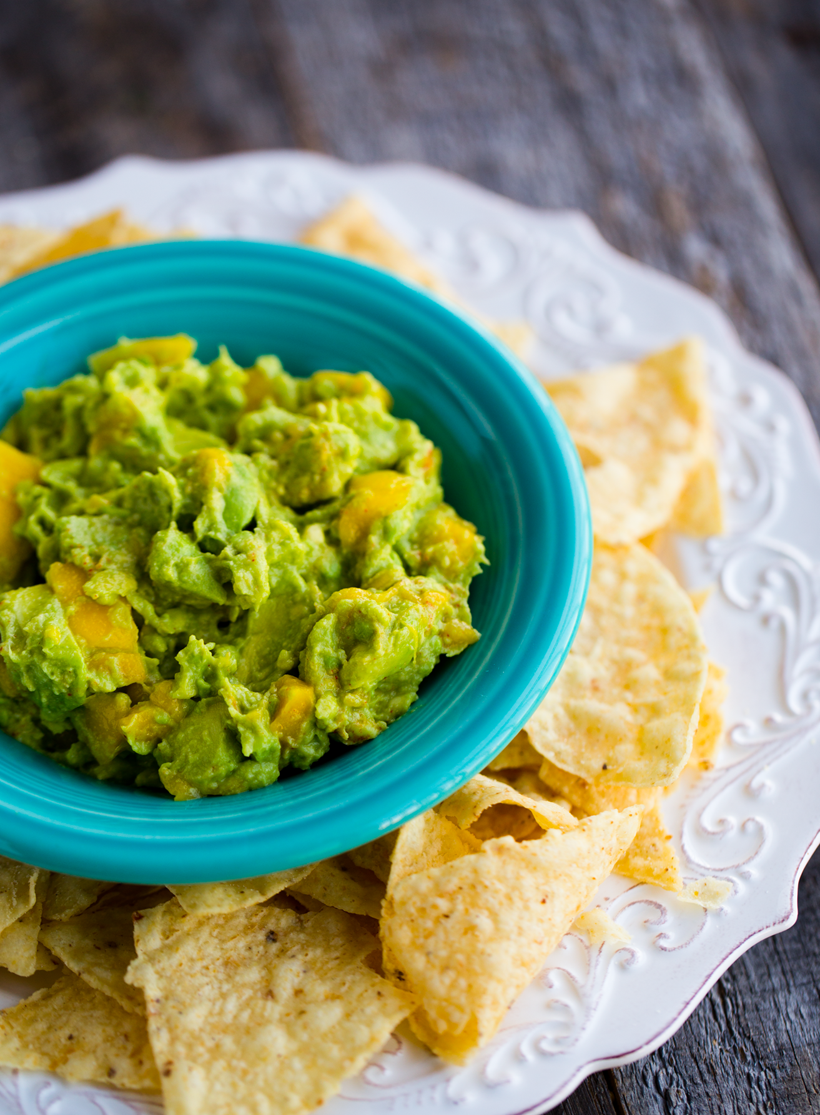
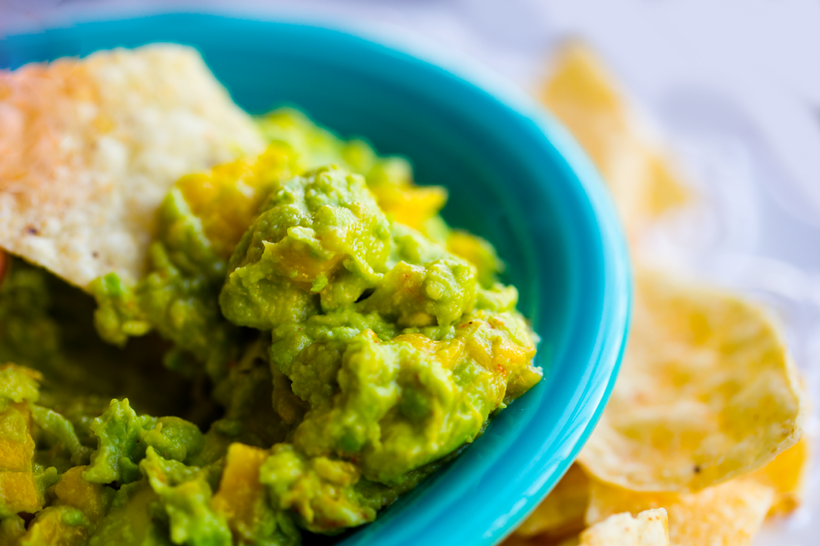
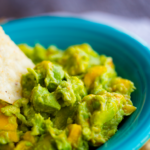
I like my spread slightly chunky..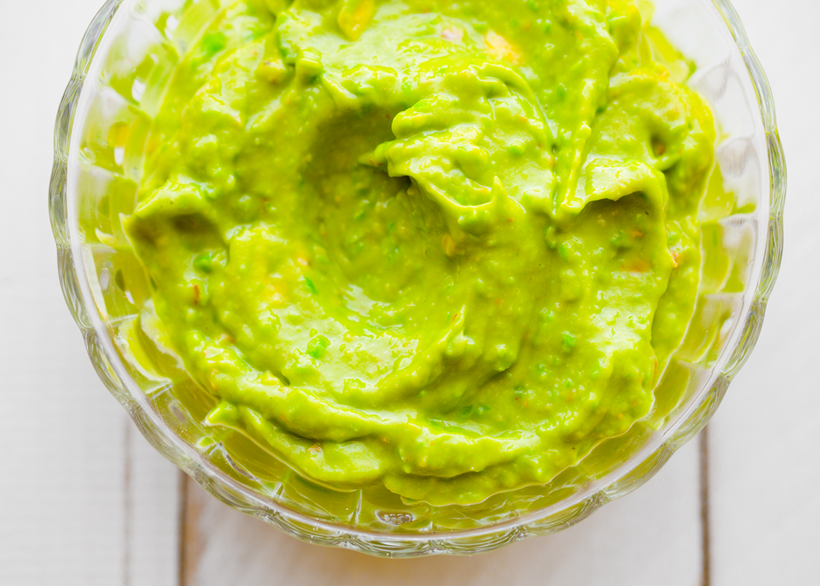
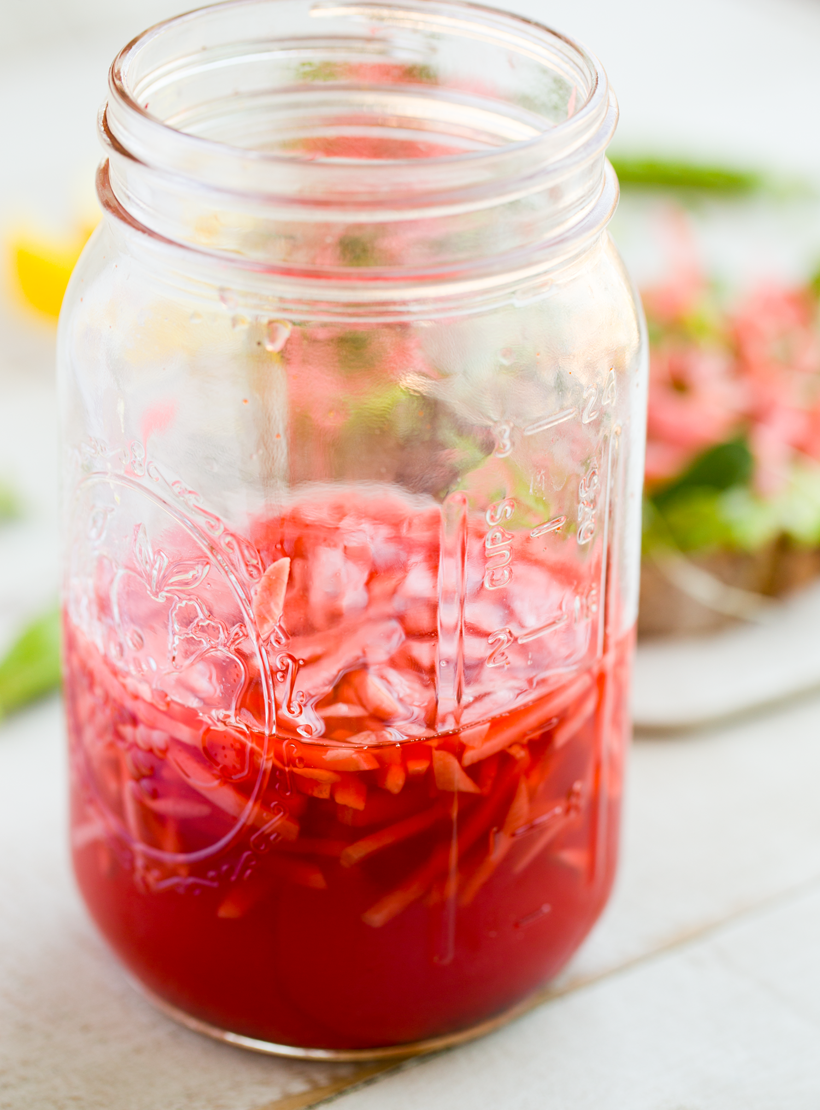
Before pickling the radishes. So pretty..
Lovely pickled radishes! These have been soaking for about 36 hours..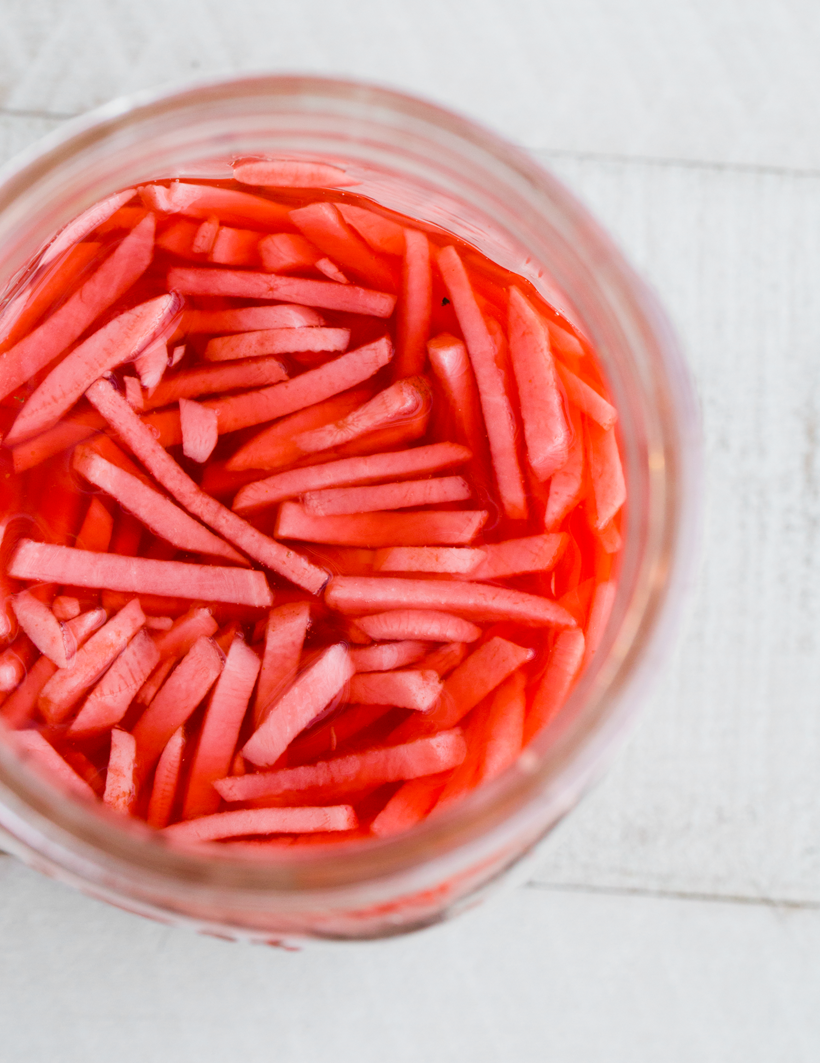
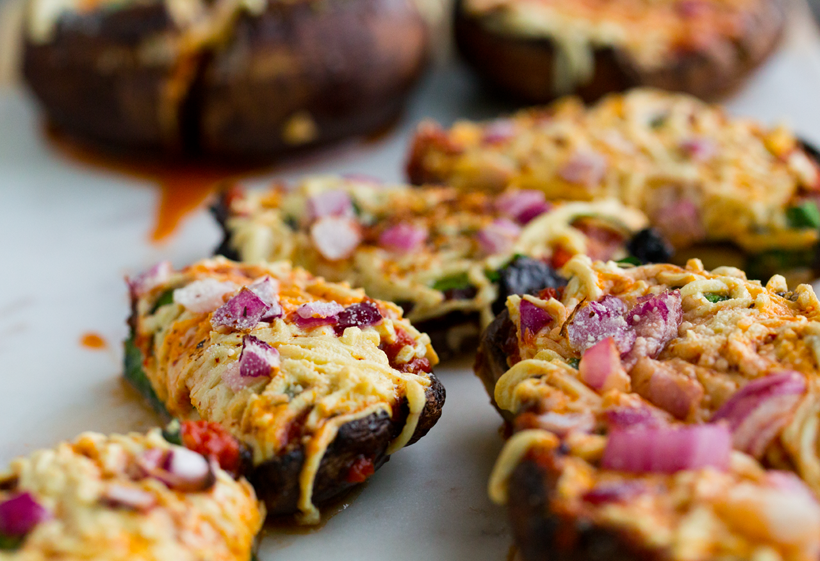
The perky pickled Dandy mini stick radishes are the perfect tartine topper in this recipe!
Dandy Radishes. I am so excited to work with Dandy on this post because, well, radishes! Radishes are one of my all time favorite veggies. They taste amazing with their spicy flavor and crunchy texture. Plus, they and are just so beautiful.
Flashback. You can see my radish obsession goes all the way back to 2009 on my blog, when I was determined to veganize "radishes and butter" after watching Breakfast at Tiffany's and feeling kinda fancy shmancy.
And yes, Dandy radish coins with softened vegan butter, on crackers, with a bit of salt and pepper is absolutely a yummy, sophisticated, throw-back snack.
Some reasons why radishes rock:
- Versatile! You can add them to salads, sandwiches, wraps, tacos and more.
- One cup of sliced radishes has only 19 calories, so you can snack, snack and keep snacking!
- Radishes are gorgeous. They have the most beautiful creamy white and perky pink colors.
- Healthy ingredient. Radishes contain vitamin C, fiber and minerals like potassium, calcium, magnesium, copper and manganese.
- Storage. They won't go bad in a few days like some veggies. Dandy radishes can lasts up to 17 days when stored properly.
- A half cup of radishes adds 15% of your daily intake of Vitamin C.
Dandy Radishes. I was so excited to try these ready-to-go radishes from Dandy. Just like we grab those easy baby carrot bags, you can absolutely grab ready radishes. There are three ready-to-go, bagged varieties from Dandy:
- Radish Coins
- Radish Mini Sticks
- Ready Radishes
The crunch and flavor is awesome and I love the grab-n-go feel of these bags.
Easy + Stylish. If I want a match stick sliced radish, these make is SO easy. And the pretty crimped coin radishes are perfect for a party platter.
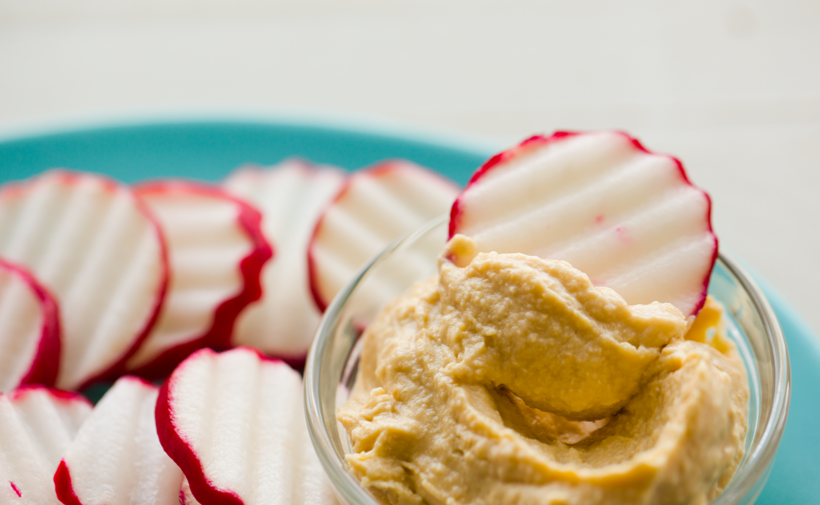
Dandy Radish Coins pair well with hummus, guacamole, vegan ranch dip and even nut butters. I snacked on some while I was developing this recipe!
The Dandy Radish Mini Sticks are perfect for salads or wraps or tacos. They have a wonderful crunchy texture and bright spicy radish flavor. OR you can even pickle them like I did for added fun and flavor.
Instantly Download a Free Radish Recipe Guide. If you are a radish lover like me, you get loads of recipes and inspiration by simply downloading the Ready, Set, Radishes Recipe Guide. (note: not all the recipes are vegan, but I looked them over and most are very veganizable. If you need tips veganizing just ask me and I will help!)
$100 Visa Gift Card BONUS: When you enter to download the recipe guide above you will automatically be entered to win one of five $100 VISA gift cards! Winners will be chosen May 17th, 2017.
The goods..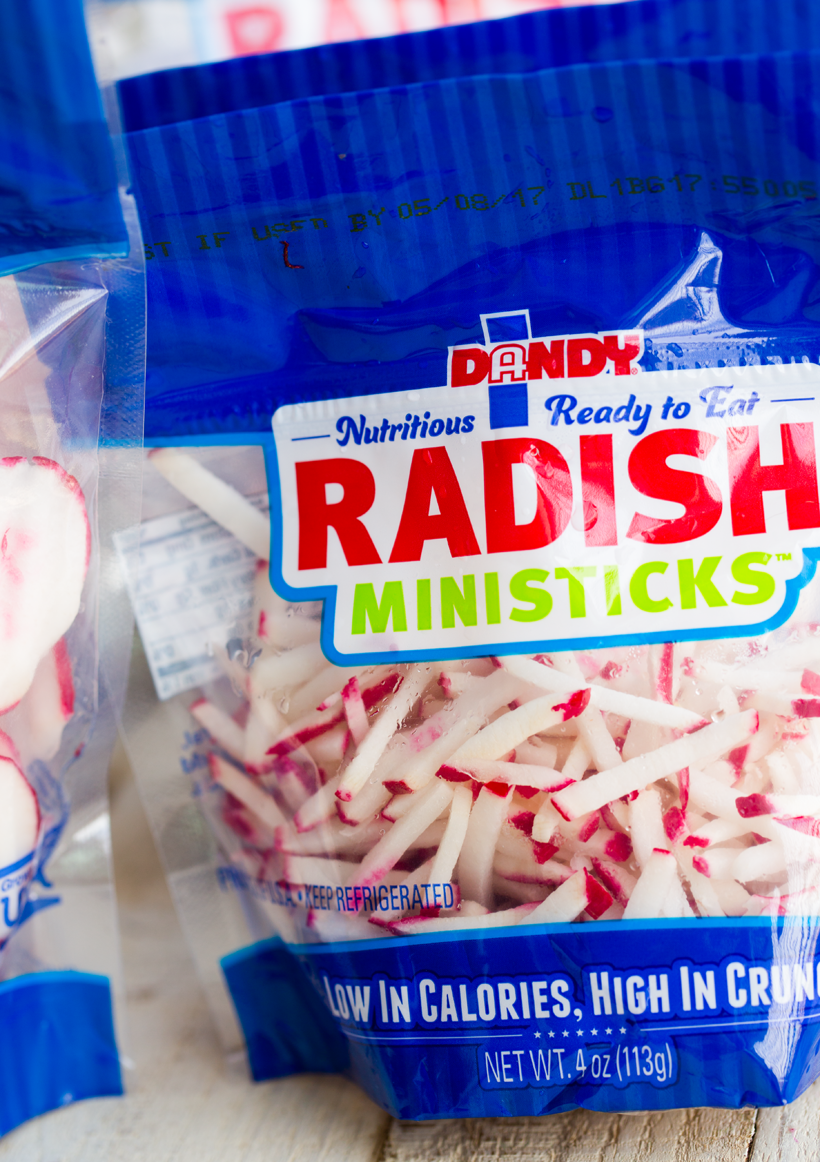
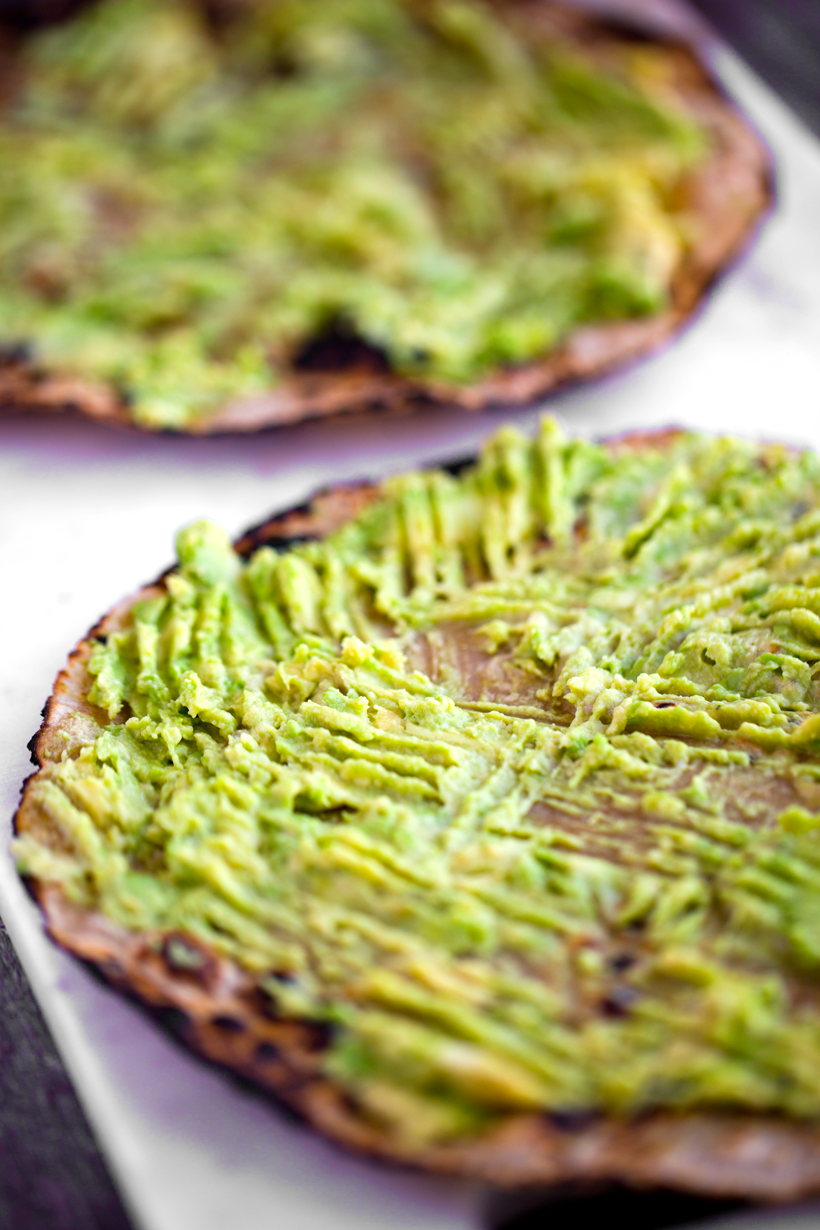
Love this spread! The peas add a boost of protein, while the avocado adds the creamy healthy fat base.
Blended pea-avocado spread. You can blend it slightly chunky like this or keep blending for silky smooth..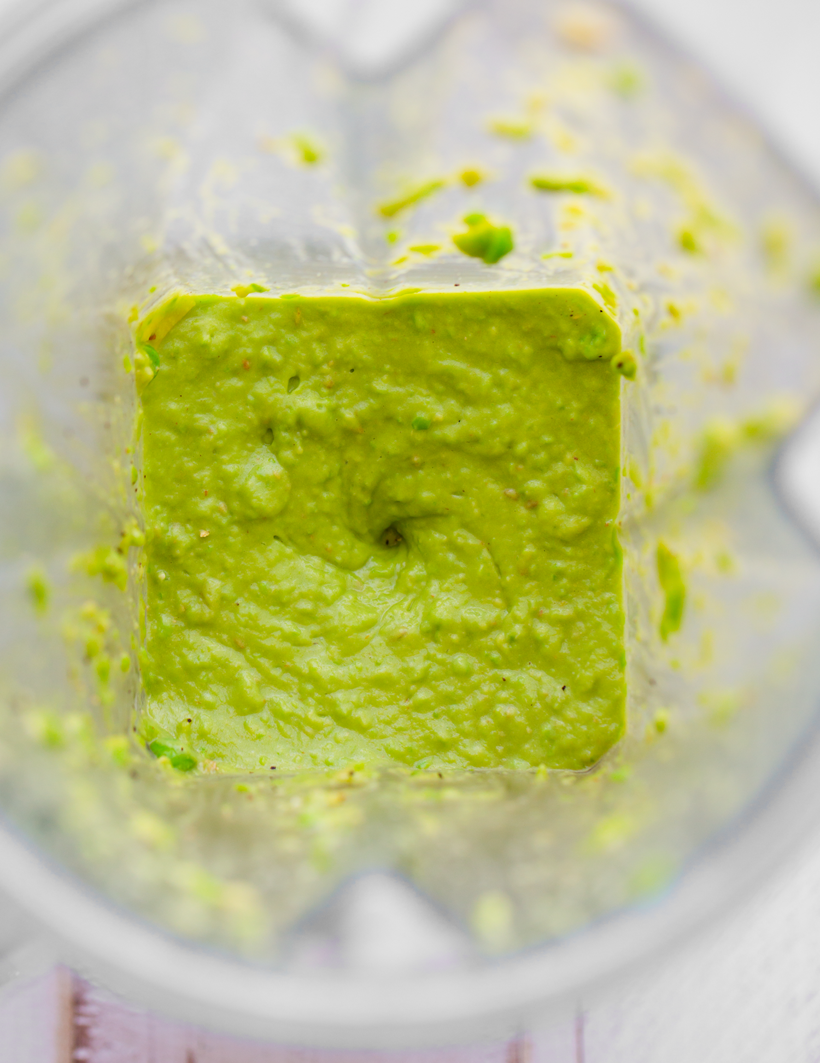
And btw, back in 2007 when I started my blogging adventure, I created a bunch of fruit and veggie characters, and one of my favorites was this guy, Punk Rock Radish...
...but anywayyyyyys.
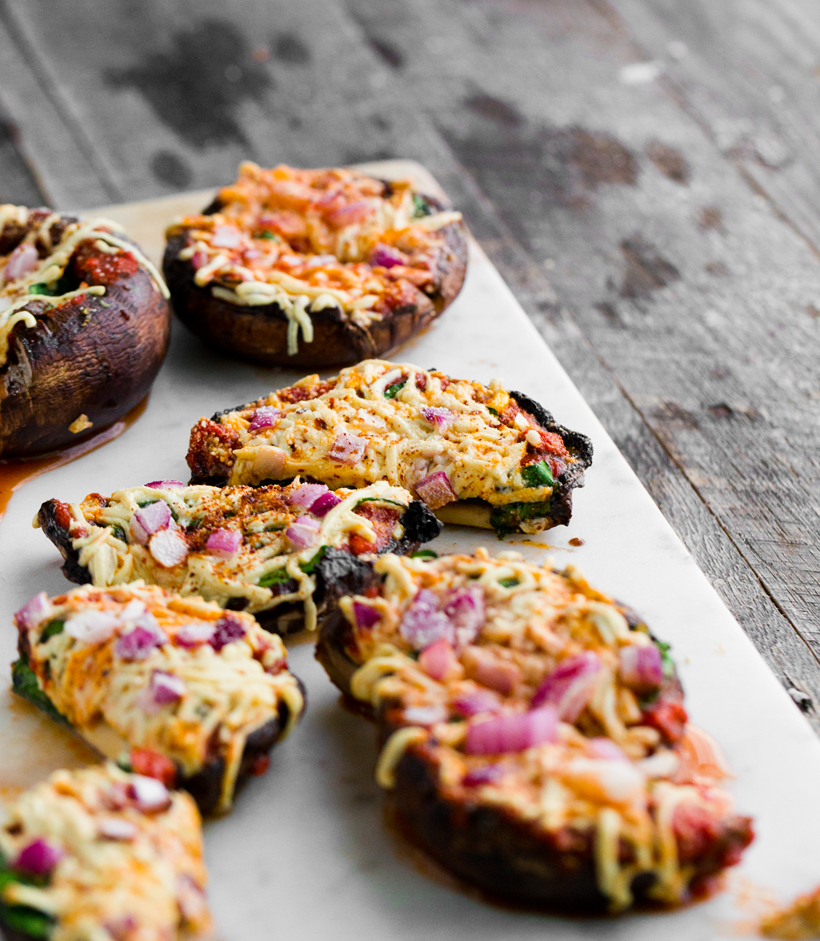
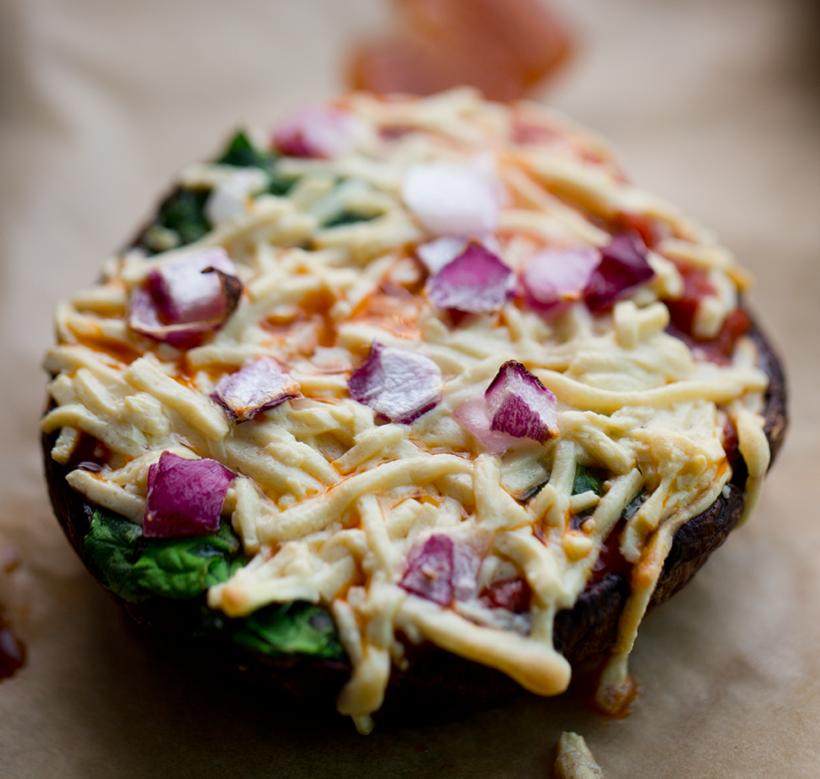
Lovely tartines!..
Love these colors..
Spring peas..


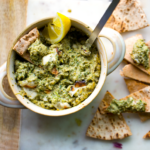
Or go with this lovely snack of radish coins and hummus..
* This post is sponsored by Duda Farm Fresh Foods. But all opinions are my own.
Spring Pea Avocado Toast with Easy Pickled Radishes
Ingredients
Pickled Radishes:
- 1 bag (4oz) Dandy Mini Radish Sticks
- ¾ cup apple cider vinegar (or a red or white vinegar)
- ¾ cup water
- ¼ cup maple syrup
- 1 ½ teaspoon sea salt
- ¼ teaspoon ground black pepper or whole peppercorns
- ⅛ teaspoon red pepper flakes or cayenne (optional)
Green Pea Avocado Spread:
- ¾ cup fresh green peas
- 1 large avocado, pitted
- 1 tablespoon extra virgin olive oil
- ¼ cup raw walnuts or almonds
- ¼ cup fresh lemon juice
- salt and pepper to taste (at least ¼ teaspoon salt)
- optional: 1 clove of garlic
Also:
- Fresh bakery crusty bread (3 large or 4 medium slices)
- assorted sprouts
- freshly ground black pepper
Instructions
- Prepare the pickled radishes at least a day before you want to serve this recipe. Add the Dandy Radish Mini Sticks to a large jar or other glass container. Add the vinegar, water, maple, sea salt, peppercorns and red pepper flakes. stir briskly. Cover jar and place in the fridge to chill for at least eight hours, and overnight is even better. The longer the radishes chill and marinate the more flavor will emerge. The color of the radishes will fade a bit into a light pink, but the pickled texture is amazing! Perfect for topping salads and sandwiches like this recipe.
- Day of serving. Prepare your pea spread. If using peas in their pod, remove them from their pods, until you have about ¾ cup. Bring a small pot of water to a boil and submerge the peas for about 2-3 minutes, or until they darken in color and soften. Once they are tender, strain them from the water and rinse them in cold water or an ice bath to preserve the green color.
- Place the peas, avocado, walnuts, lemon juice, olive oil and optional garlic clove in a blender or food processor. Blend from low to high until smooth. Add the salt and pepper to taste. Salt (and the lemon juice) are important for bringing out the savory flavors in the spread. Pour the pea-avocado spread into a small bowl.
- Slice your bread and lightly toast. Rinse and dry your fresh sprouts.
- Slather 2-3 tablespoon of the pea-avocado spread onto each slice of bread - add a generous amount for a think layer of spread. Then top with as many pickled radishes and fresh sprouts as you'd like. Finish with some fresh black pepper on top. If desired, you can add a pinch of fleur de sel or another coarse sea salt on top to serve. Slice and serve the toasts. Best served same day.